
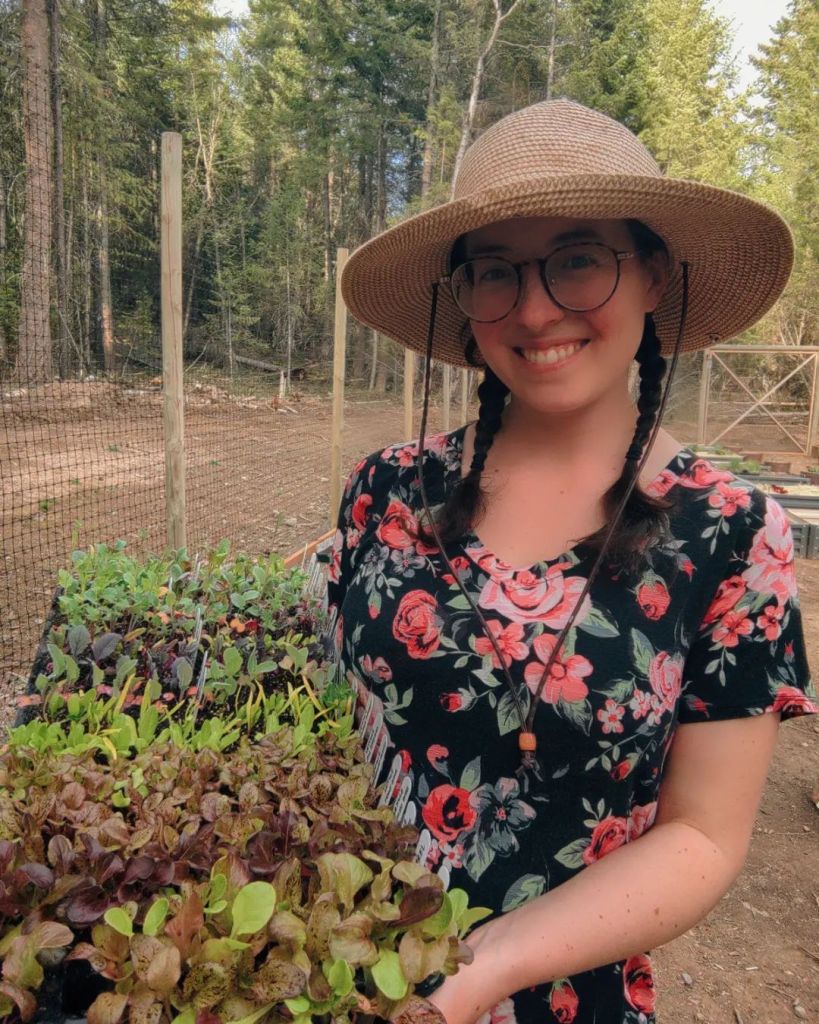
While it’s gaining relative momentum in the online community, soil blocking is still mysterious and even misunderstood by the average home gardener. I discovered it while scrolling through Instagram and when I saw the tidy little squares with their beautifully formed seedlings, my mouth dropped open. What is this sorcery and how do I master it?
I ordered my first soil blocking tool for the 2020 growing season and haven’t looked back! I am in no way a die-hard environmentalist but I do appreciate the ability to reduce my plastic waste especially in the pursuit of gardening, which benefits the environment as well as my family. Additionally, self-sufficiency is always at the top of my to-do list, and this is one way I have taken control of my gardening waste! The products that I have purchased for soil blocking are infinitely reusable and will last for decades. I love not having to run to the store for plastic cups, trays, and labels when seed starting takes me by surprise immediately following the holidays!
I get a ton of questions on Facebook and Instagram about this improved method and I would like to flush some of them out here. I am passionate about soil blocking and I love to share what I’ve learned over the last four growing seasons!
What Are Soil Blocks?

Soil blocks are a homemade, self-contained method of starting seeds. This can be done indoors or outdoors, and there are many benefits aside from being a plastic-free, renewable propagation method. Originally developed by Mike Ladbrooke, the pioneering product is manufactured in the UK and is only available domestically from US retailers who import them for our benefit. They’ve been used by home and market gardeners alike for decades but they’re just starting to gain some popularity in the social media scene. It’s well-deserved, in my opinion!
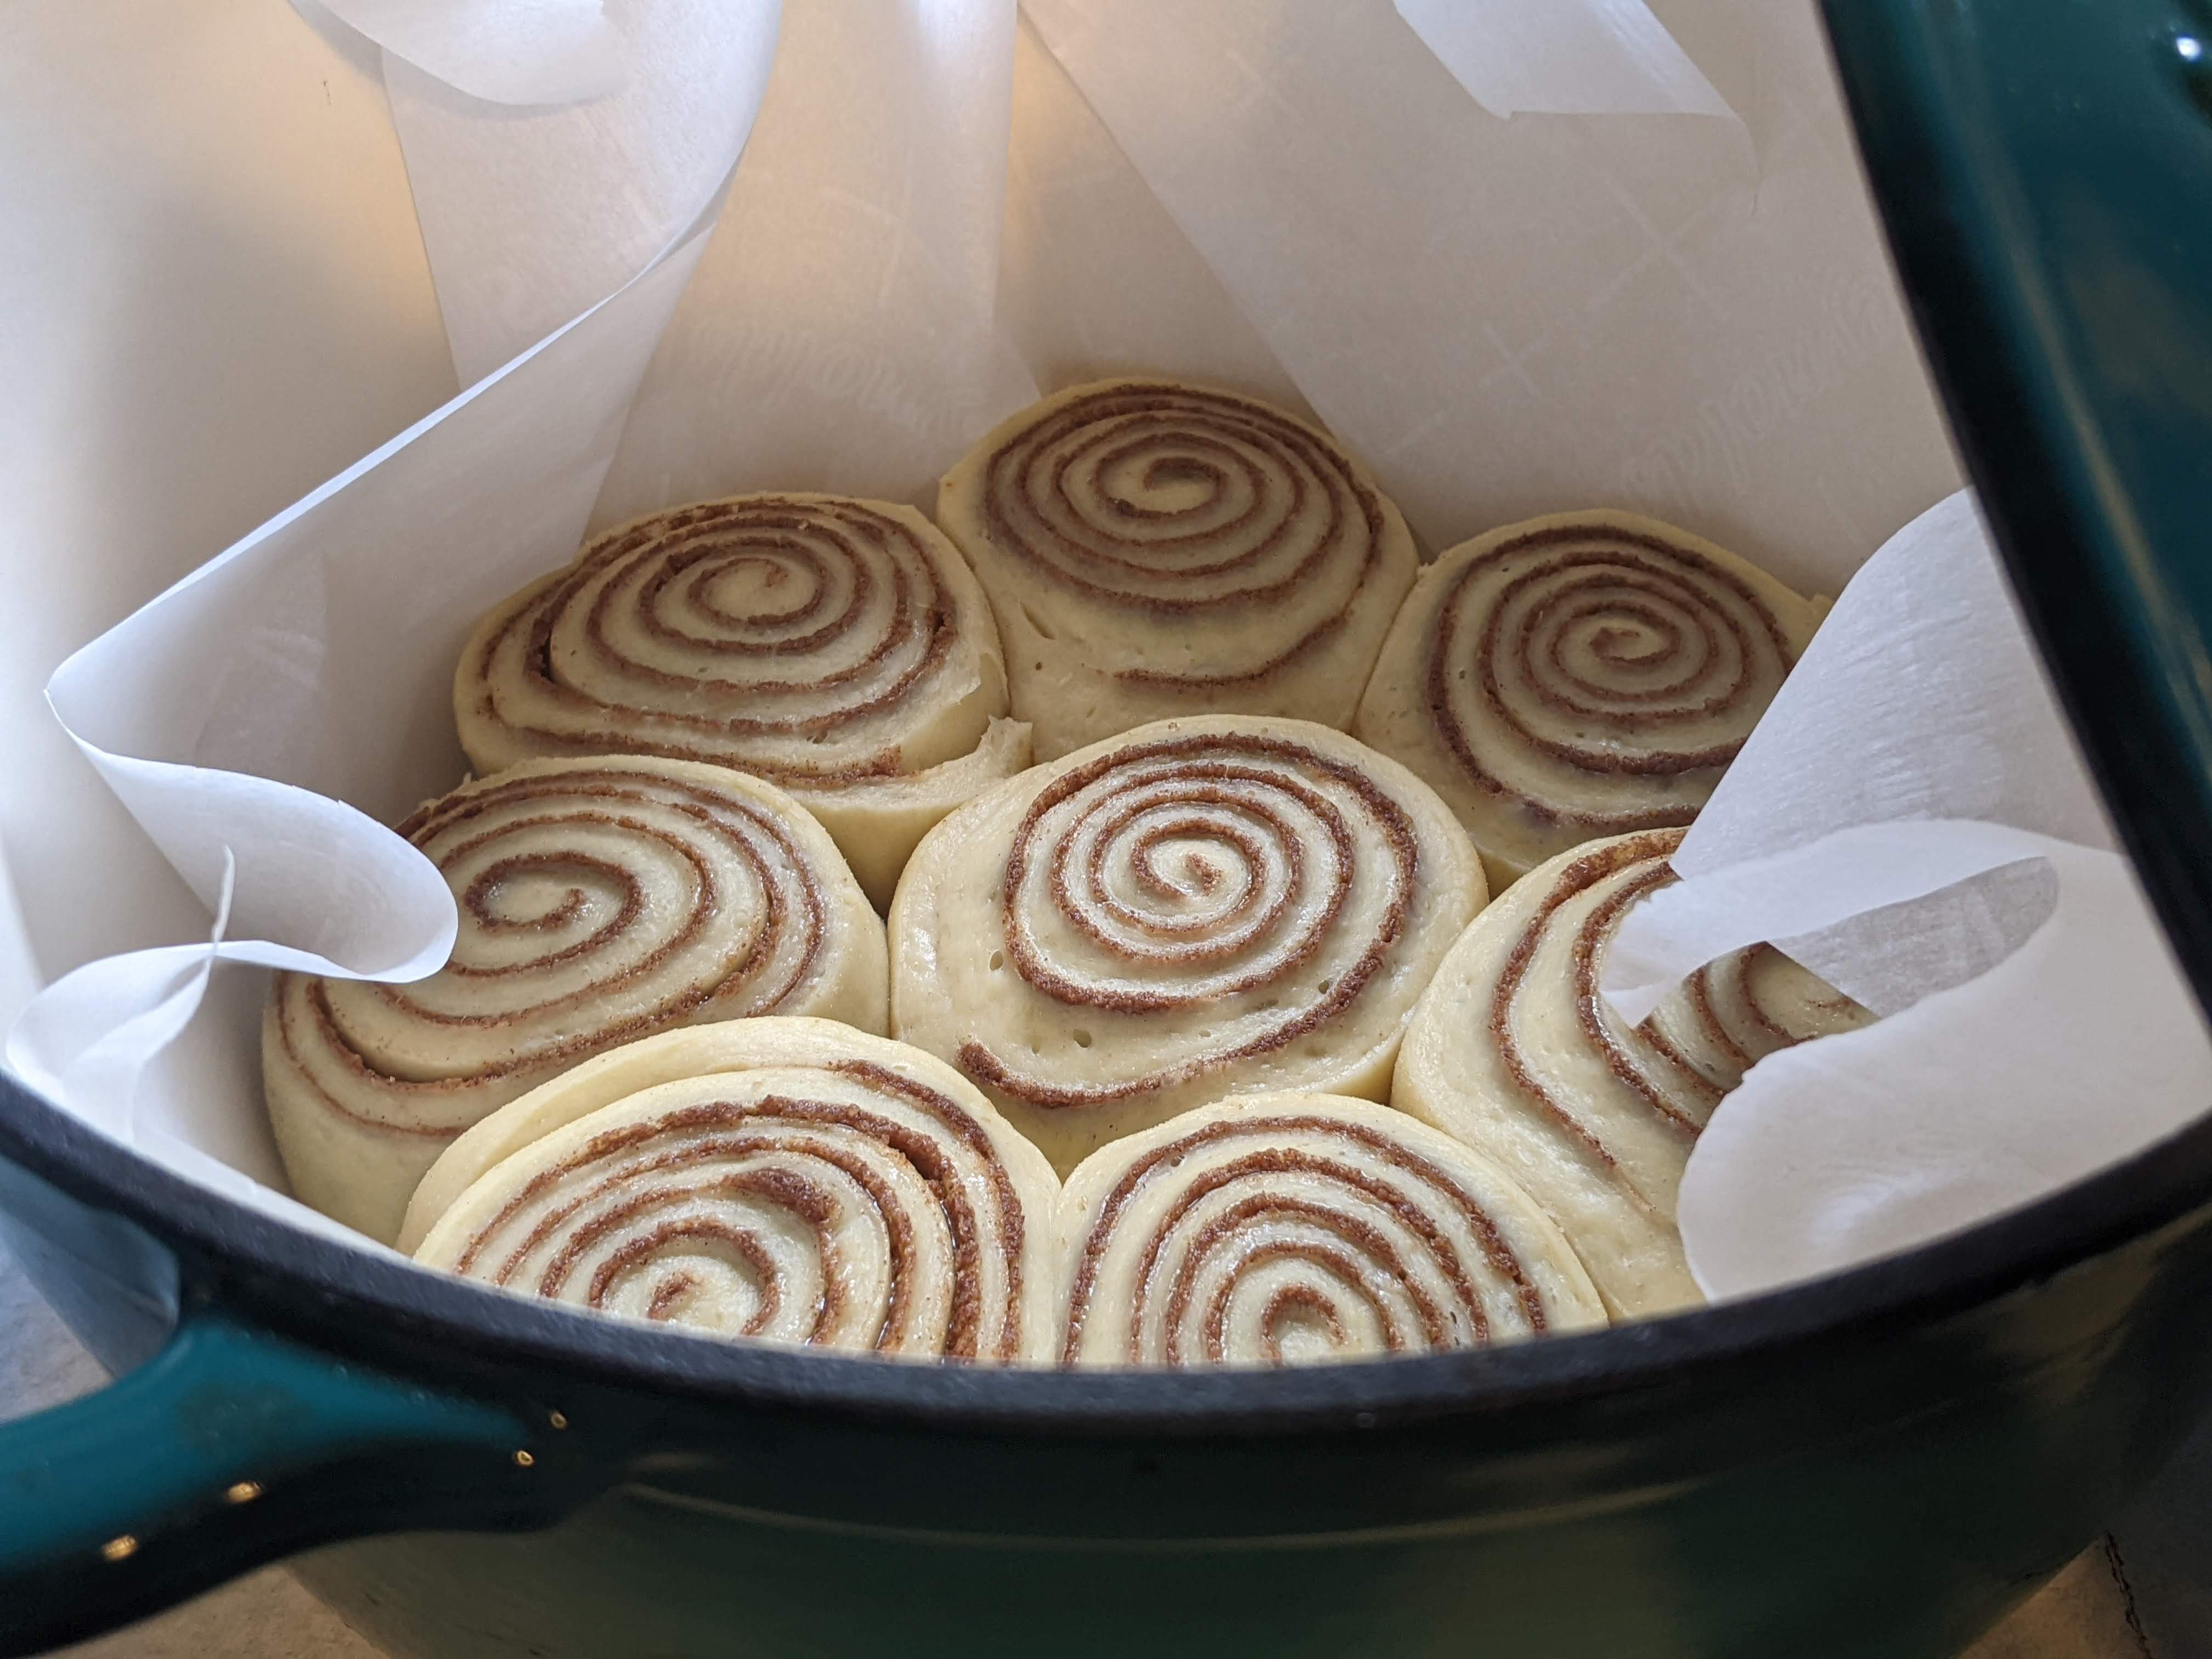
They’re produced by packing a specific mixture of soil into a press not unlike a cookie cutter. When wet soil is compacted into the press, given that the proper proportions and ingredients have been used, with the push of a lever will be released as independent little cubes of soil ready for sowing. These little blocks can be potted into larger blocks using a dibbler which creates a nest for the smaller block to fit into, eliminating the need for larger and larger containers. When they’ve dried a bit and have roots growing into them they hold their shape amazingly well and can be transported just as easily as a potted plant, given they’re not sopping wet when moved around.
The easiest way to get started with soil blocks is to purchase a professional press, and while this can be a hefty investment for some, I believe it is worth its weight in gold; and the tool easily holds its value if for any reason it doesn’t work for your personal gardening needs. You use this patented tool to press out compacted blocks of soil mix which are indented for seed placement. However, the shape of the compact, self-contained units of plant propagation isn’t its main benefit.
The Magic of Self-Pruning Seedlings

The absolute best part of soil blocks is that they promote the healthiest, most robust plant starts you’ve ever seen. No, really. Read any of the reviews online and you’ll see how amazing they are! The genius behind the concept is that when the roots of the plant reach the edge of the soil, they will come into contact with the open air and “prune” themselves, rather than spiraling and becoming rootbound as they do inside of a container. They also promote healthier seedlings by increasing circulation and evenness of moisture within the blocks. They really are a fantastic innovation!
I have personally done a number of trials in my home garden setting and have found time and again, test after test, soil blocks outperform cupped starts by leaps and bounds. I have even taken plants that I’ve started in the same micro soil blocks and split them into two groups: half of which I potted up into cups, the other half into the next size soil block; and even with the head start of the micro-block the cupped starts didn’t stand a chance.

So how does one get started with soil blocking?
Required Tools & Materials

First to make soil blocks you’ll need a press. I’ve seen many homemade varieties and even 3-D printed versions which may be a good option if you’d like to try making soil blocks before investing in the somewhat-spendy professional-grade equipment. Keep in mind that these homemade presses will only cut out one block at a time, so keep your experiments small while getting used to method in order to avoid burnout. This is one of the main reasons why I went straight for the official product – I start seedlings in such quantities that I would drive myself mad trying to stamp hundreds of them out, one at a time.
The second thing you’ll need to consider is your growing medium. A soilless mix is recommended for soil blocking, although I tend to include at least a little nutrition in my mix. You can see a handy list of soil recipes on my post here! You can absolutely make your own mix, or purchase it by the bag at your local hardware store or nursery. Just make sure you’re using something marketed as seedling mix, and not potting or raised bed soil. These typical mixes have lots of inclusions like bark and rock that will inhibit the packing of the soil blocks and ultimately make your experience 1000% more difficult. Ask me how I know!
Finally, you will need some sort of trays to hold the blocks. I have used both 1020 trays and cookie sheets, and I have gotten about the same results from both. The only difference I can mention is that the cookie sheets can be more difficult to keep moist especially if you’re going to be away from your plants for any length of time. The main thing to keep in mind is that you need a flat, stable surface to press the blocks into that will hold some water for the seedlings overnight.
Optionally you may want to purchase a tabletop soil tray which I find to be indispensable in my arsenal of seed starting equipment!
Aside from that all you will need is whatever variety of seeds you’d like to try sowing in your blocks, and some method of labeling that works for you. Labeling can be one of the trickier parts of soil blocking and this is where I’d like to jump into the pro’s and con’s chart below.
| Pro’s of Soil Blocking | Con’s of Soil Blocking |
|---|---|
| Exceptional plant health | Can be expensive to start |
| Ease of use (with experience) | Can be difficult to learn |
| Supplies are durable and renewable | Requires specific soil |
| Eliminates plastic waste | Can require more frequent watering |
| Reduces annual cost after initial investment | Difficult to label |
Labeling Soil Blocks
I have tried many ways of labeling when it comes to soil blocks and have found two things that work for me: applied labels, and reference charts.
Sometimes it’s easier just to stick a binder clip to the edge of a tray with the name of the plant attached on a label. I have done this for many seasons, especially with trays in which I’m starting a smaller quantity and that I don’t want to print out a reference chart for.

For most of my soil blocking needs I will draw or print out a chart which corresponds to a tray number in my setup. It’s important to keep track of which end of the tray faces upward, so that you will know which seedlings are what, no matter which direction the trays are facing. You can then write in the plant names or varieties on the chart and file it away in your garden planner for later.
Alternatively you can take a standard plant marker and tuck it into the group of soil blocks that it belongs to. I have tried this with limited success. I prefer to have my labels attached more permanently, or clearly documented in a table like I mentioned above. I have absolutely ended up with trays of seedlings that I couldn’t identify and that not only caused great frustration but also a loss of income when it came to my market seedlings. I couldn’t very well sell seedlings that I wasn’t sure of what varieties they were!
Potting Up and Planting Out
Soil blocks could not be any easier to pot up! Potting up is the process of sizing up the container that your plant is in when it outgrows its current container or needs additional nutrition from the soil. Since soil blocks don’t use a container, you will just need to make the next size of block with the appropriate dibbler to create an indentation in the top. This makes it so that you can plop the plant in its current soil block right into the hole made in the new, larger soil block. I love this method and I use it with all of my starts other than my tomatoes. Because tomatoes benefit from a deep planting, I will grow up my tomato seedlings in the first two block sizes and then drop them into a cup for the final month of indoor growing time. This way the seedlings can put out roots from the stem and they produce a vigorous, bushy start. This is the only plant I use cups for anymore and it’s for a very specific purpose.
When you’re ready to plant out your seedlings there is no wrestling with rootbound starts or flimsy plastic containers. You simply separate the desired start from the tray, dig a planting hole, pop the block in the ground and cover it with native soil. I love how easy planting day is with these convenient little blocks, and it drastically decreases transplant shock as well. Because you’re disturbing the roots as little as possible you’re giving the seedling the best head start on planting day.
I hope this post was helpful, and please feel free to reach out if you have any questions about soil blocking or gardening in general! I wholeheartedly believe this is the ideal way to start seeds as a home gardener and I’m happy to help anyone who would like to get started. Leave a comment below or visit our Contact page and we’d be happy to help!


Leave a Reply