-

How to Make Your Own Laundry Detergent
Both my husband and I (and now unfortunately our son) suffer from excessively sensitive skin. For decades we had no other choice than to use expensive hypo-allergenic detergents that shroud their ingredients in a veil of (somewhat suspicious) secrecy. But after I saw a multitude of recipes on Pinterest I decided to give my own…
-
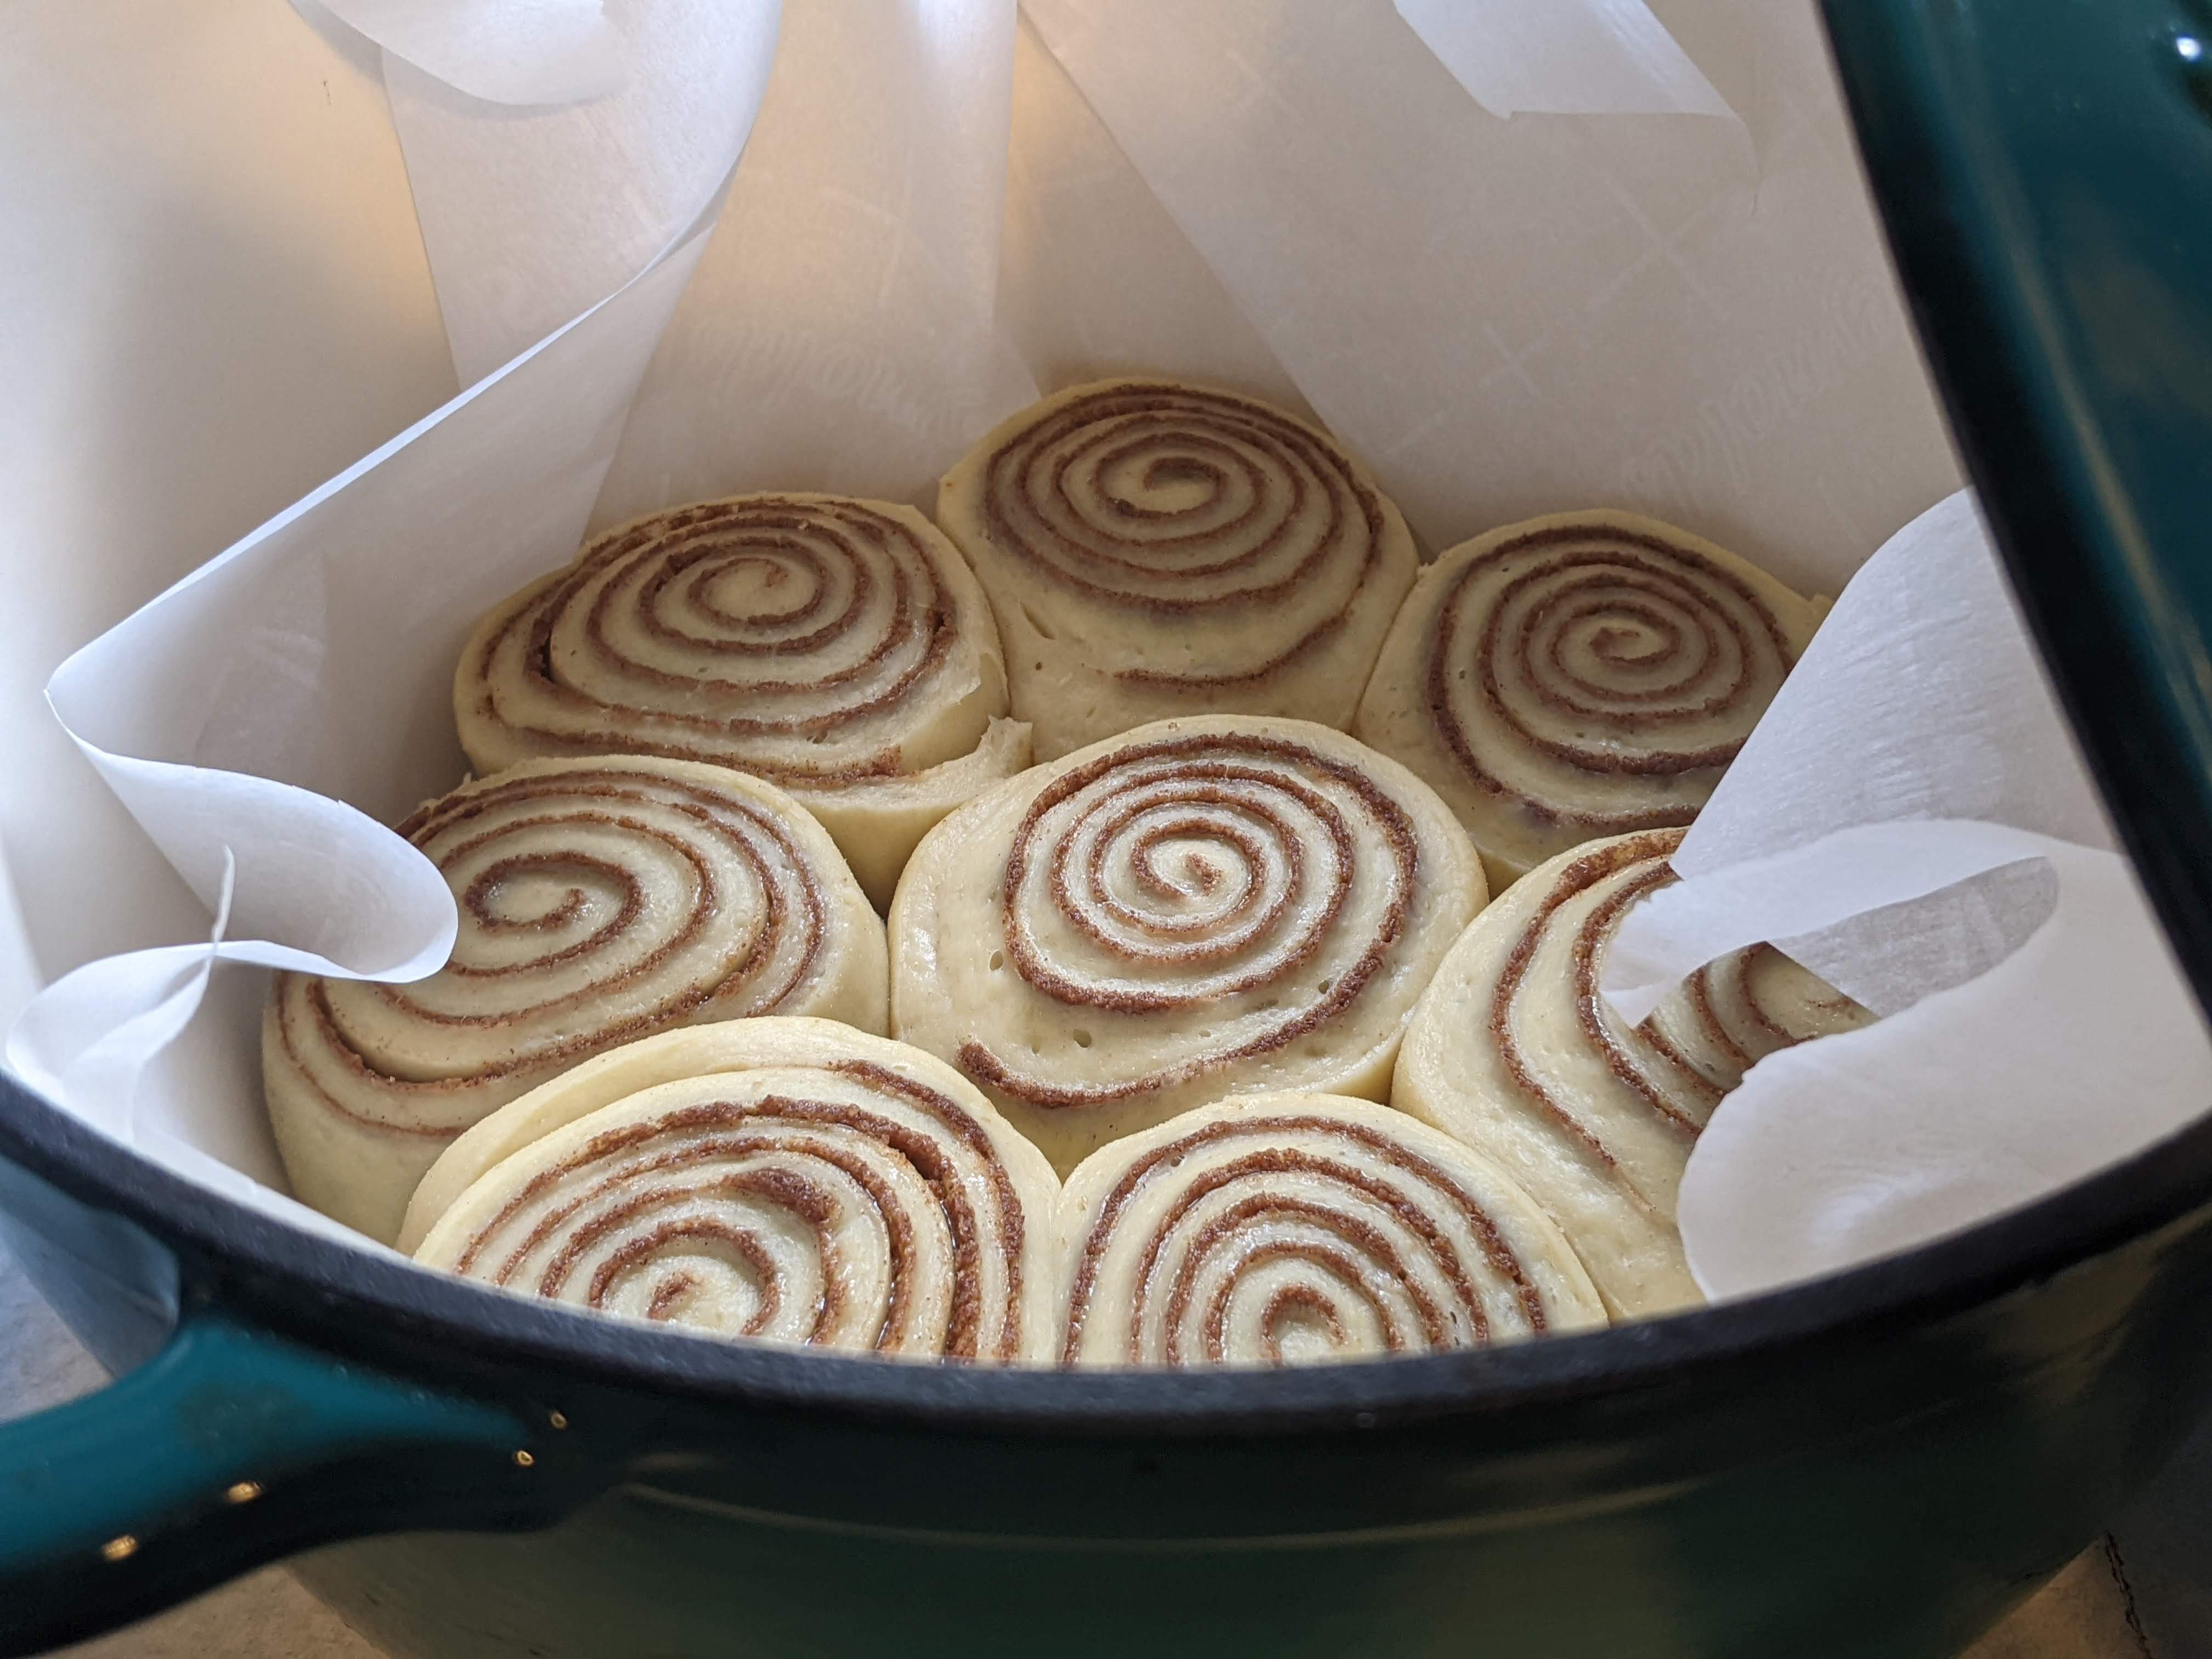
Homestead Diary: Secrets for Cinnamon Roll Success
Despite the easy access we have to commercially produced cinnamon buns there is just something incomparable about homemade sweet rolls. Like any other baked good, scratch-made is always just better. Sometimes you can’t put your finger on exactly why it’s better, but especially in this age of curbside pickup and hot ‘n ready, the taste…
-

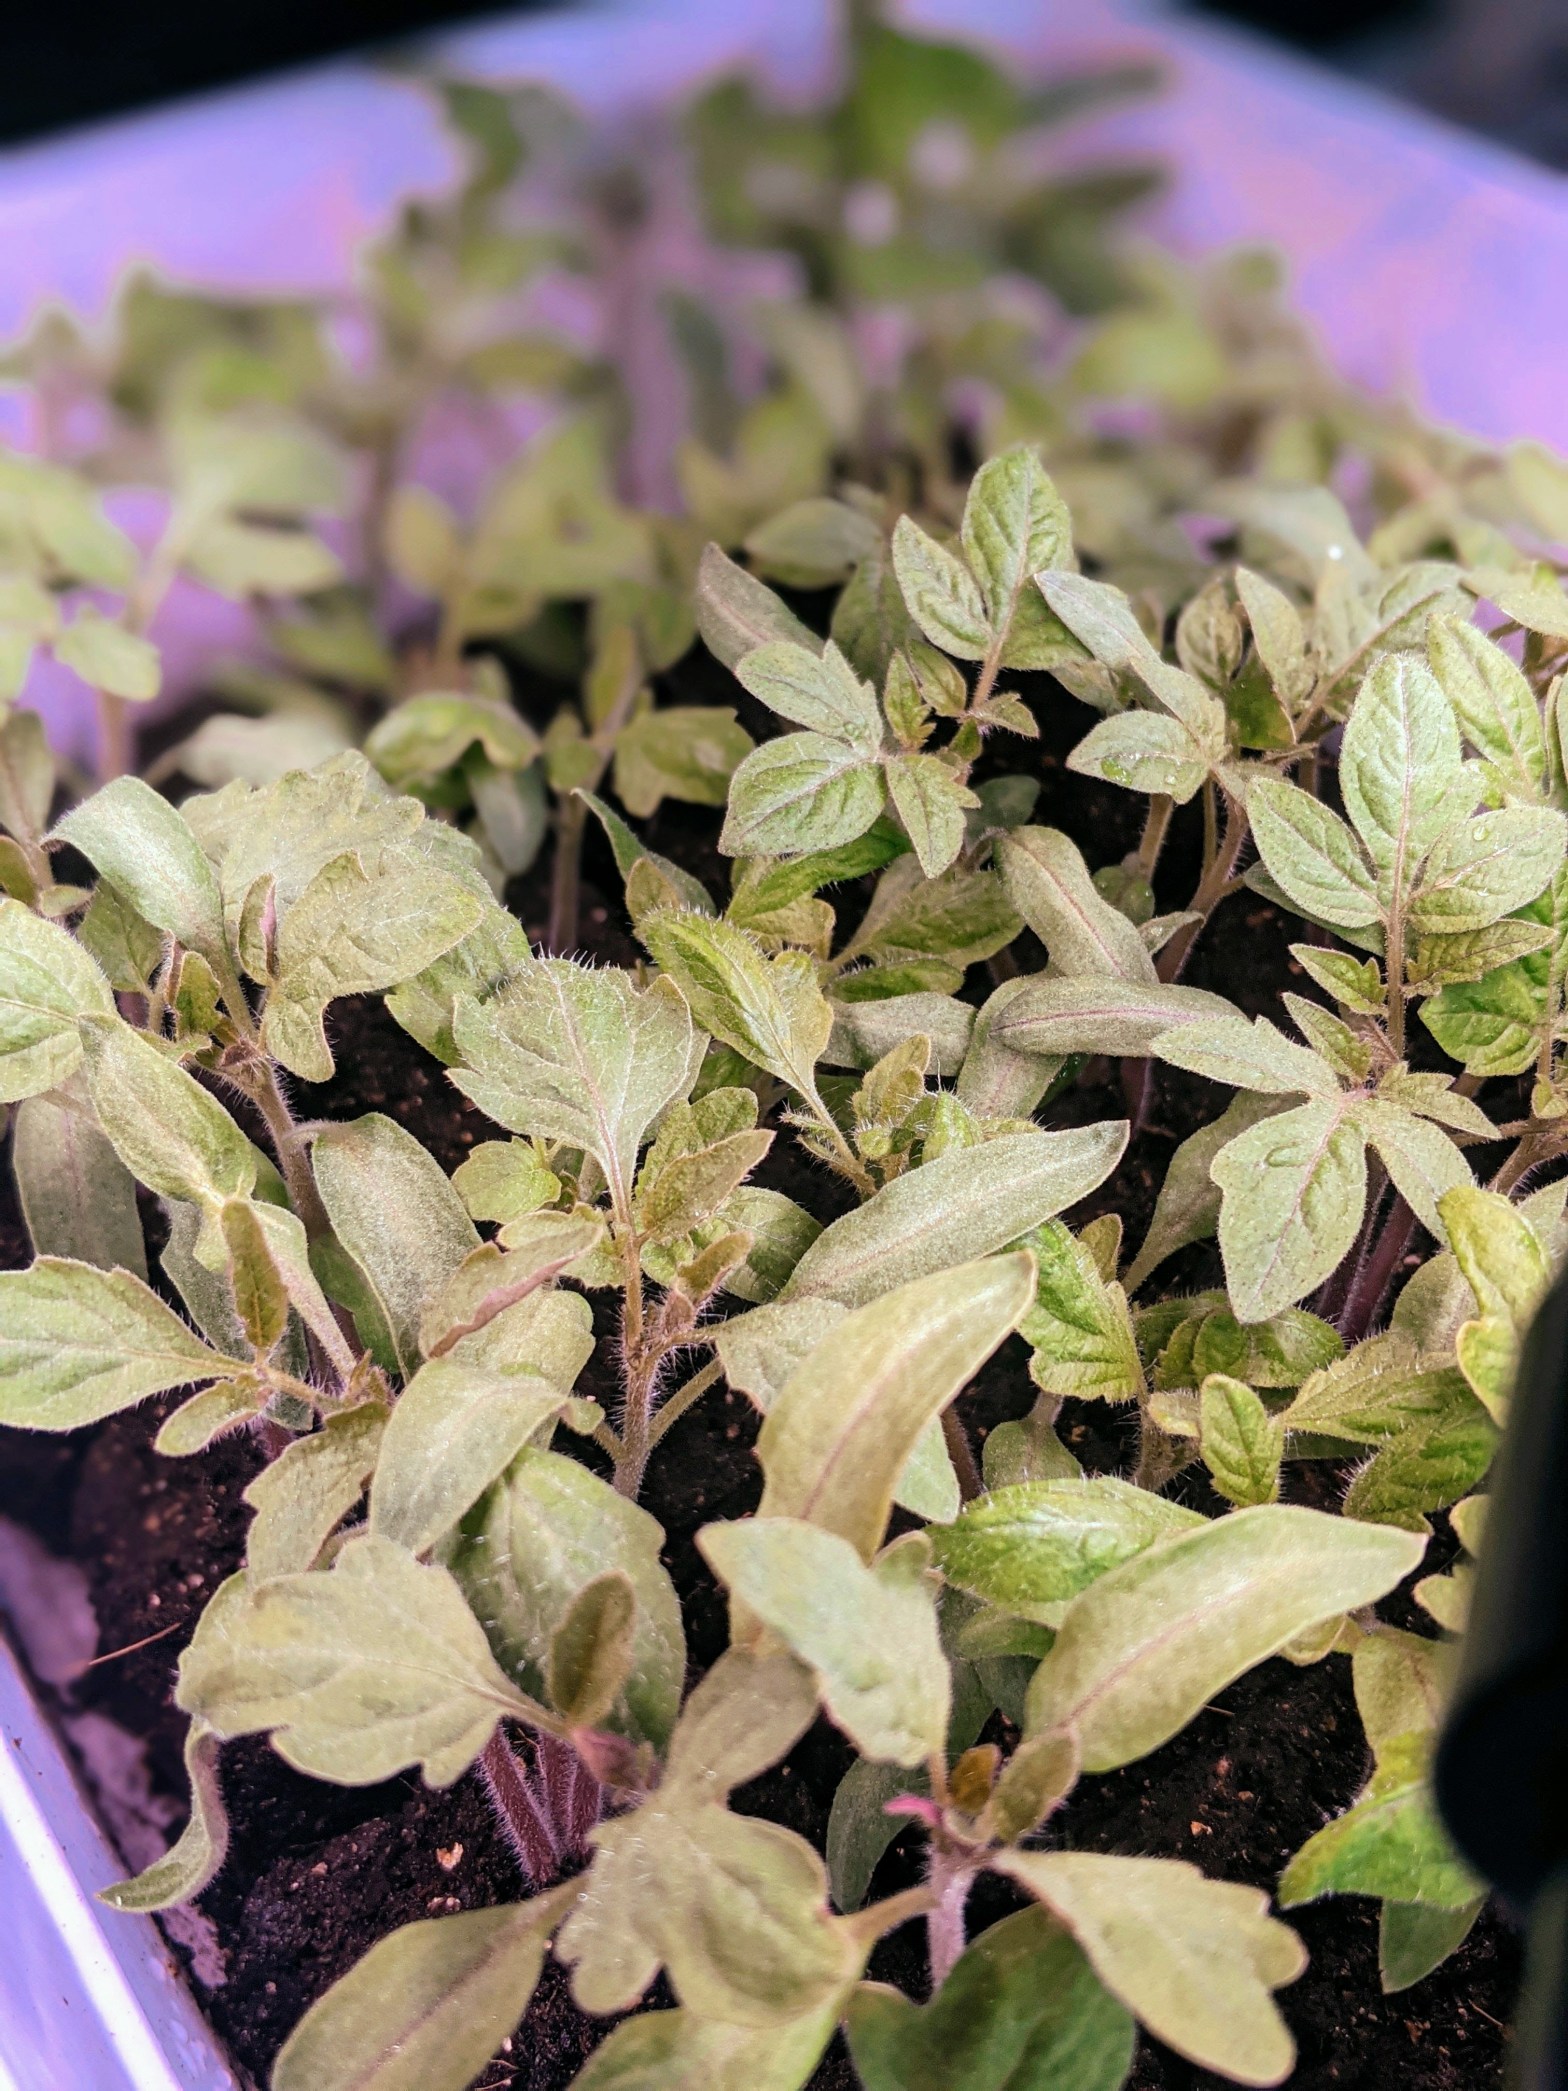
Determinate vs Indeterminate Tomatoes
What is the difference between a determinate tomato and an indeterminate tomato, and does it even matter to home gardeners? The answers may surprise you! We will explore all in this post on tomato types and varieties. If you stick around I’ll even share some of my favorite seed sources!
-

My Favorite Home Canning Gadgets
Over the last few seasons I have found a couple of things that make the process much easier and therefore save a lot of time while home canning, whether water bath or pressure canning. I absolutely love these products and want to share them here with you! I am not sponsored or compensated to share…
-

Homestead Diary: The Heritage Apple Project
Over the last few years I have been building a generous collection of foraged apple seeds. I have a tradition of sprouting these seeds as early as New Year’s as a totally gratuitous mid-winter gardening activity. The first couple of years I only collected a handful of varieties, but over this last summer my little…
-

Where to Get My Favorite Free Seed Catalogs
In the colder months when the wind blows snow flurries over our lifeless garden and the fire burns cozy in the living room, one of the most anticipated events in my house is the mid-winter arrival of the annual seed catalogs. There are few things more comforting than relaxing on the couch with a colorful…
-

How I Organize my Garden Seeds
Welcome (or welcome back) to the cabin! I’m sitting down with a cup of tea and my seed purchases for the 2023 season to chat with you about what I’m most excited to grow this year as well as how I organize my seed stash.
-

Homestead Diary: Making Yogurt At Home in The InstantPot
But now that I’ve started making my own yogurt at home I have cut our overall dairy cost by over half, even though I’m paying twice as much for milk – and in my mind that’s an investment worth making. A two week supply of yogurt now costs us $7 instead of $50 and it…
-

Homestead Diary: My First Butchering Experience
I finally got the courage to cull my first hen after we adopted a few rescue chickens from a backyard chicken owner. They had been kept indoors pretty much all their lives and came to us with a number of problems, one of which being the dreaded egg-eating. This counterproductive problem got worse and worse…
-

Weather Reporting on the Homestead: AcuRite Products That We Couldn’t Live Without
I hope those of you who are familiar with the “quality” of AcuRite products don’t scoff at the title of this post. While the entire line of products leaves a lot to be desired, they have a monopoly on the weather reporting market, so therefore they can charge an outlandish amount of money for items…
-

Homestead Diary: My First Loaves of Sourdough
This post – the first of what I hope to compile as a series of notes on culinary experimentation – covers my sourdough journey thus far. While I’m still in the beginning phases of sourdough bread making I’ve fed (and killed) many starters, and I’m finally getting the hang of using ferments in my cooking.…
-

How to Make and Maintain a Sourdough Starter
it or leaving it in the fridge over vacation until a thick layer of blackish alcohol forms on the top. With the assistance of a calendar reminder I’ve got a jar of levain just waiting for the weekend baking rush.
-
How Many Plants For Your Family? Vegetable Planting Chart
feed your family through the summer? What about for your home canning needs? Depending on what type of fruit and veg your loved ones eat the most, it can be more than you think. I’ve compiled this handy chart to help you plan your seed starting or plant shopping, and below you’ll find tips on…
-

3 Reasons Why You Should Be Saving Your Own Garden Seeds
Did you know that with proper selection and care you can grow your own seed stock right in your home garden? Planting heirloom fruits, vegetables, and herbs can provide you with an unlimited supply of garden seeds for generations to come. Read on for my top reasons why you should start saving seeds this season.
-

How to Shop for Garden Seeds Like a Pro
Hybrid, heirloom, non-GMO? Oh my! What do all these things mean for a gardener when shopping for seeds? I’ll tell all in this lengthy post and I’ll also share some of my favorite vendors (and coupon codes!) with y’all. If you’re ready to dive into my best practices for seed shopping, grab a hot drink…
-
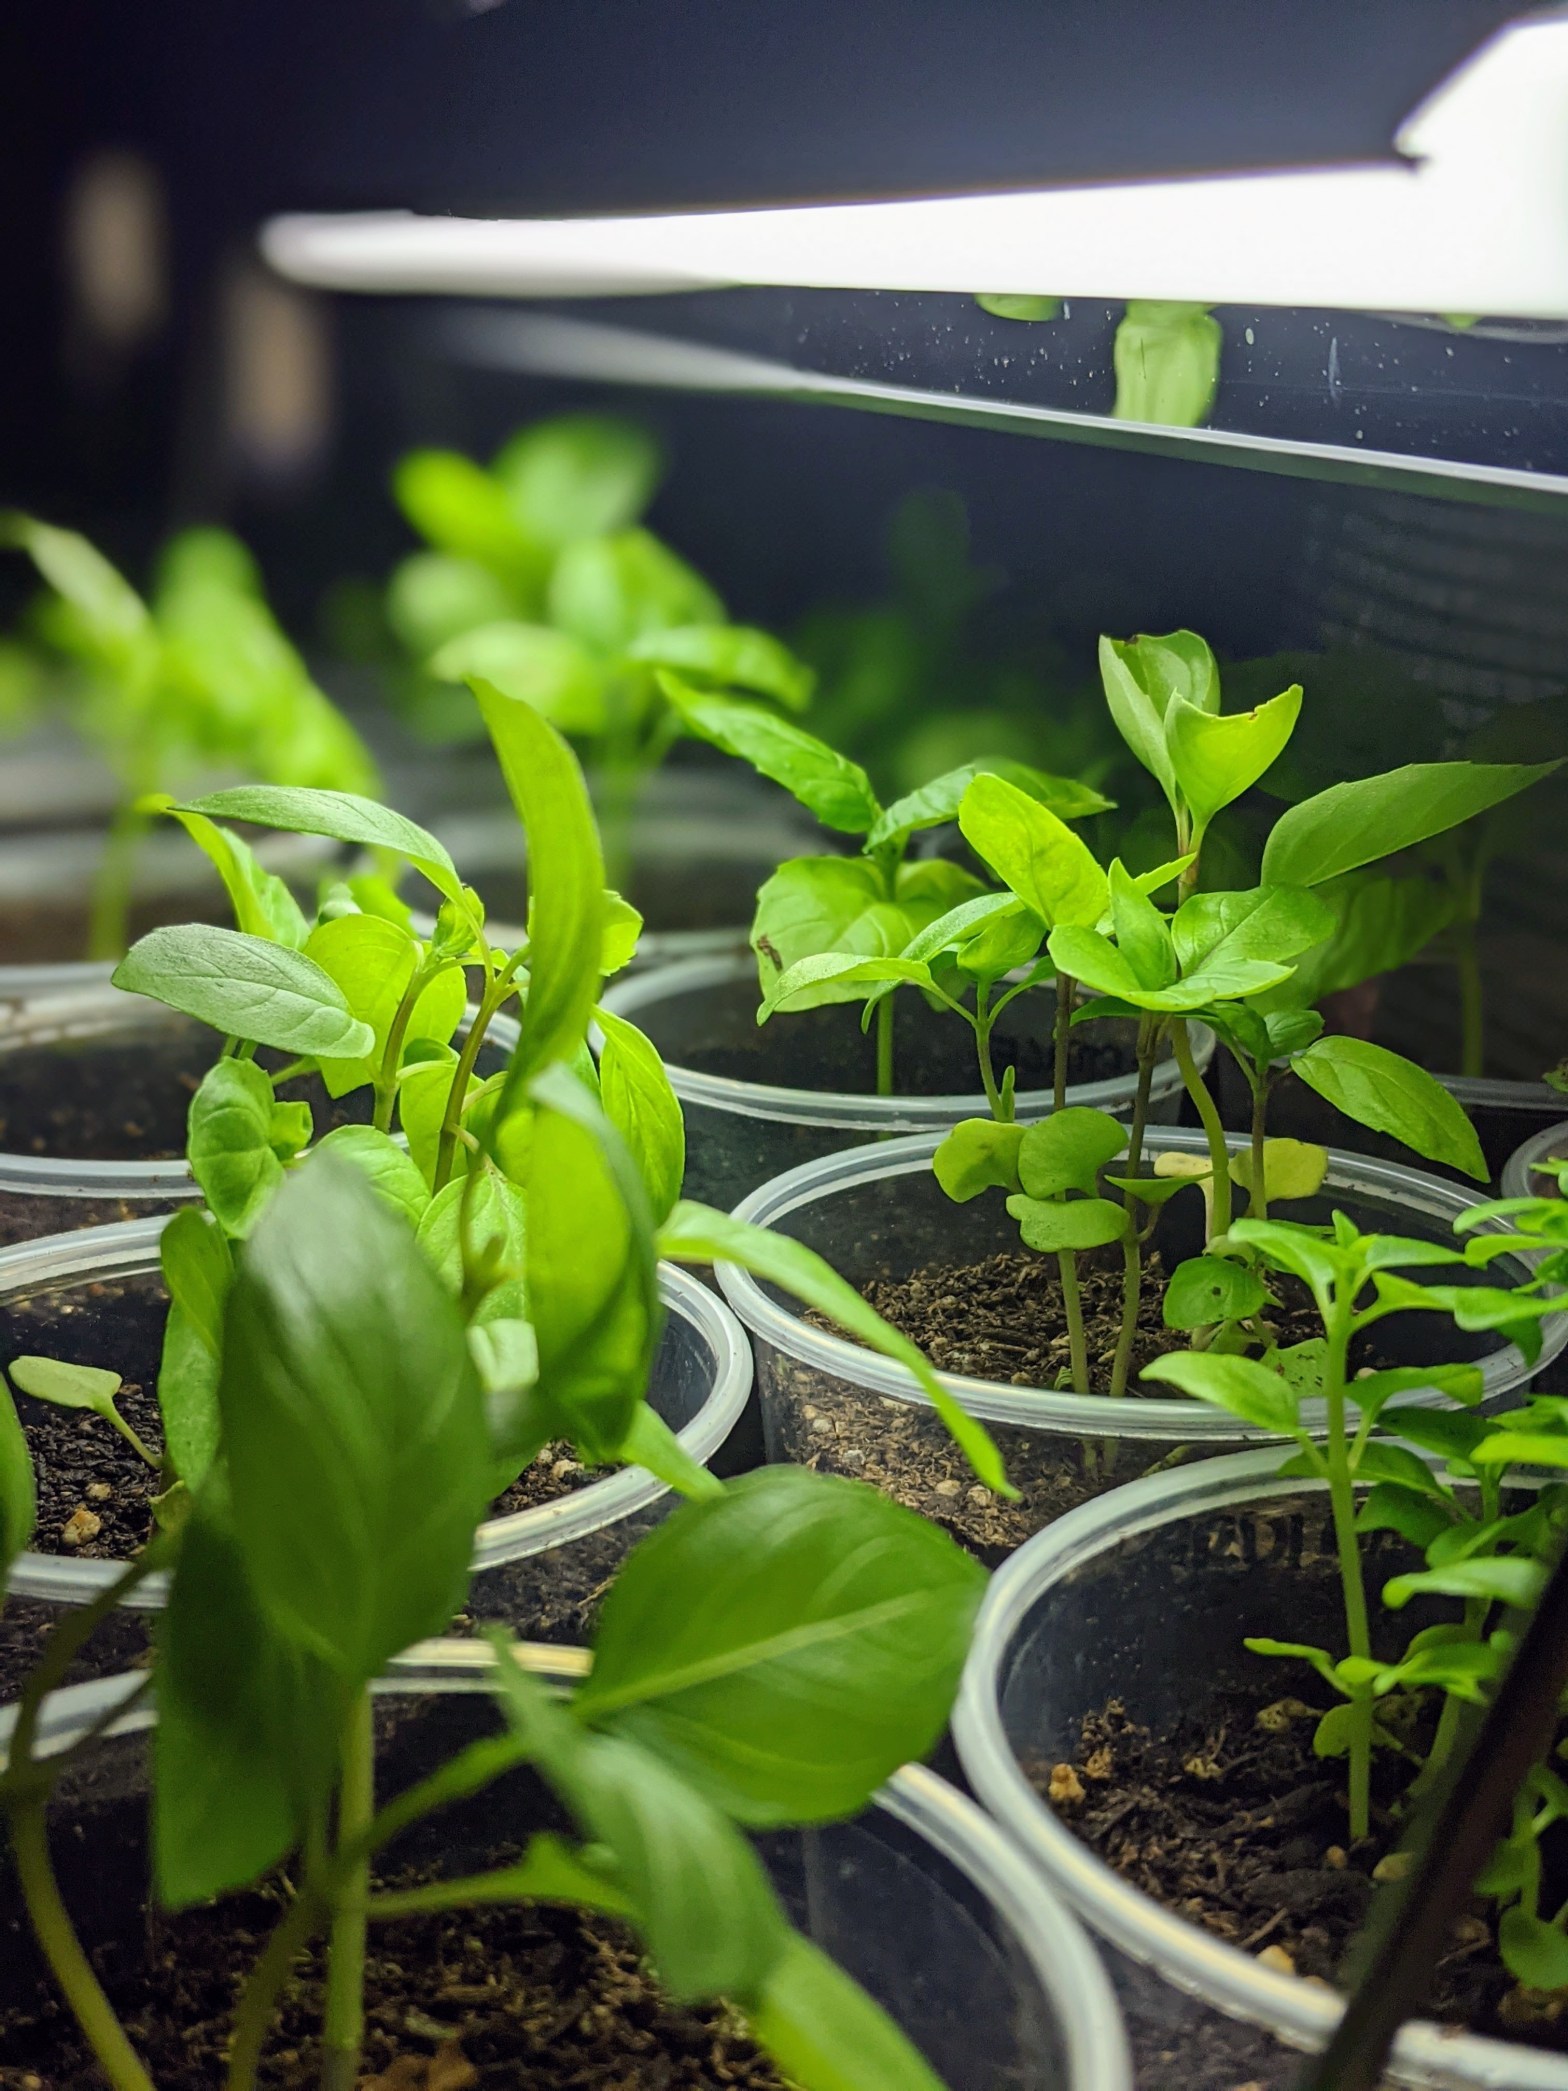
The Top 5 Reasons to Start Your Garden From Seed This Year
Whether you’re growing herbs, vegetables or flowers, the benefits of starting plants from seed are many! It may seem like a daunting task especially for beginner gardeners who haven’t grown into their green thumb yet. What you probably haven’t considered is that growing from seed can be easier than buying department store plants! Read on…
-
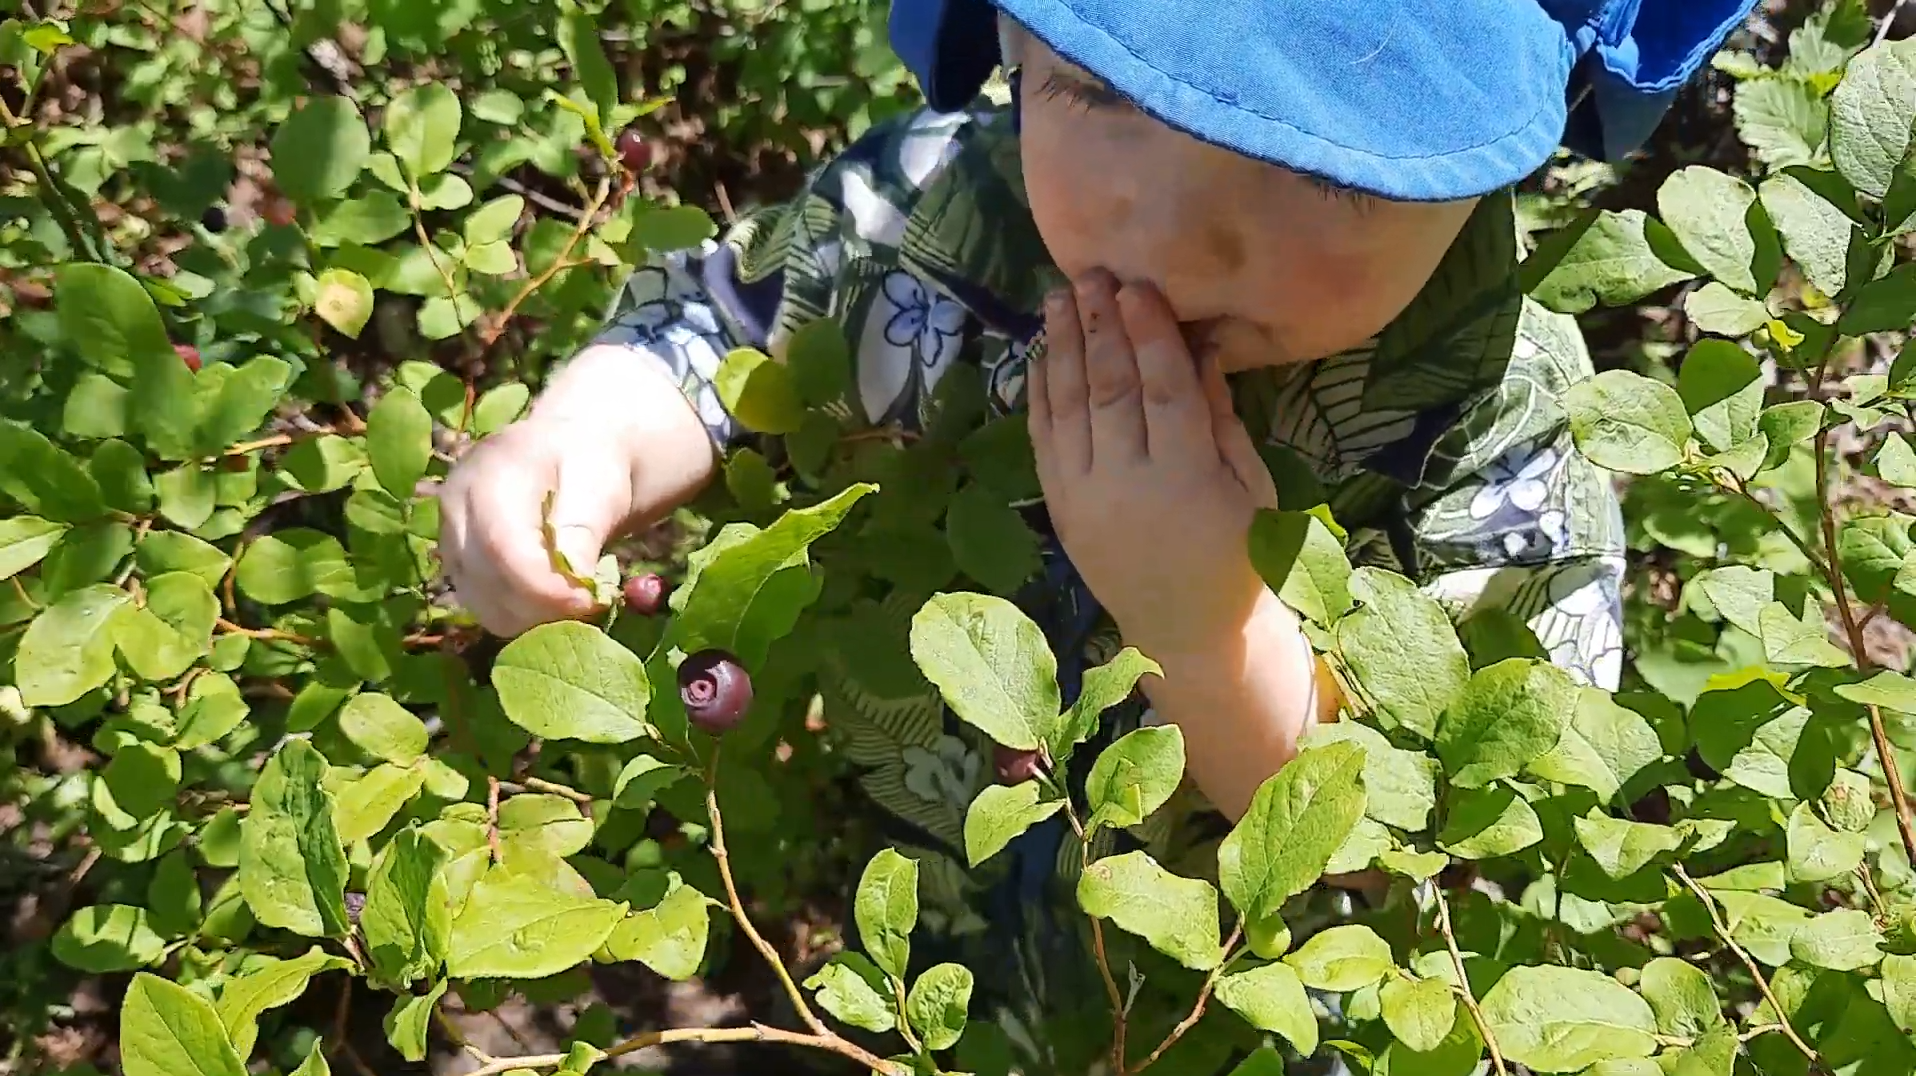
WRH Vlog #1: In Which Leroy Eats Huckleberries
My stepdad was so tickled when I told him, “Leroy has been huckleberry picking, but he has never picked huckleberries.” What I mean is that last year, at the ripe age of four months old, my mom and I took my son on his first berry-picking excursion on a mission to supply a gallon of…
-
Grow your Own: A Gardener’s Year
Planning – let alone executing – a vegetable garden can seem like a daunting task, but if you take it one season at a time you’ll be pleasantly surprised how much food you can grow for your family. For this program I chose to start the year on the most unlikely day – the day…

