This post – the first of what I hope to compile as a series of notes on culinary experimentation – covers my sourdough journey thus far. While I’m still in the beginning phases of sourdough bread making I’ve fed (and killed) many starters, and I’m finally getting the hang of using ferments in my cooking. I’ve learned a lot over the past month of regular baking so while I think these notes may be helpful for another struggling home baker, they’ll be useful for me to look back on in the future anyway.

In my opinion the hardest part of sourdough baking is feeding the starter. I recently revived a culture that I had been feeding irregularly before my son was born, and after tucking it away in the freezer for the past 2 years I’m amazed it came back to life. After a few days of regular feedings it has amazing activity! One of the things that helped me immensely when mixing my first batch was reading other people’s accounts of sourdough experimentation. I have baked three loaves (and had one fail to rise) so I wanted to share the experimentation I did over the past few batches.
Part I – The Culture
I believe my biggest obstacle to creating a successful sourdough starter was the feeding schedule and regularity. Not only was it hard for me to keep up with maintaining a daily (or twice daily) feeding, I am certain that I was feeding my starter too early in its fermentation cycle, and effectively starving it until I gave up on its lifeless form.

The turning point for me was to pay attention to my starter and feed it according to its physical characteristics rather than a set schedule. While a starter in most people’s homes will be ready to feed in 8-12 hours, I find that mine hasn’t doubled and fallen before 12-16 hours have passed since the last feeding. My gut tells me this is probably directly related to the temperature of our home (which is cooler than not during the winter months, when I bake the most bread) as well as the relative humidity. It should have at least doubled in size, should be frothy and might be creased from foaming activity, and have a pleasant sour smell. Don’t wait too long to feed it after it starts to fall back or it can throw off the balance of bacteria and yeast in the culture!
Another factor in my starter failures (and finally, success) was the use of rye flour in my early fermentation. I’ve heard plenty of people say to start with regular unbleached flour but I never had any luck starting out with anything but rye. Rye flour naturally has more yeast present in the grain and I think it gave me the head start I needed to get the fermentation going. I haven’t tried whole wheat yet, and now that I’ve got an established starter I may not need to. I’m not sure if this may be related to the temperature issue in our house – it makes sense that maybe a stronger source of yeast would be needed to establish fermentation in a less than perfect environment. Now that I’ve got that good, strong yeast and bacteria in sync I feed my starter with unbleached all-purpose flour.
So after researching what a mature starter should look like, I adjusted my schedule based solely on the appearance of my starter and thereafter have had great success. One of the reasons I think this was my biggest hindrance is the past week that I’ve spent at my mom’s. Since they have central heat and air their home is much more regulated than ours, which is heated with a wood burning stove. I brought my active starter with me for this most recent visit and while it did take a day to recover from travel, it was ripe within about 6 hours after feeding most days. It was really interesting to see this difference since nothing else about my starter has changed – it’s in the same container, being fed the same flour and at the same hydration.
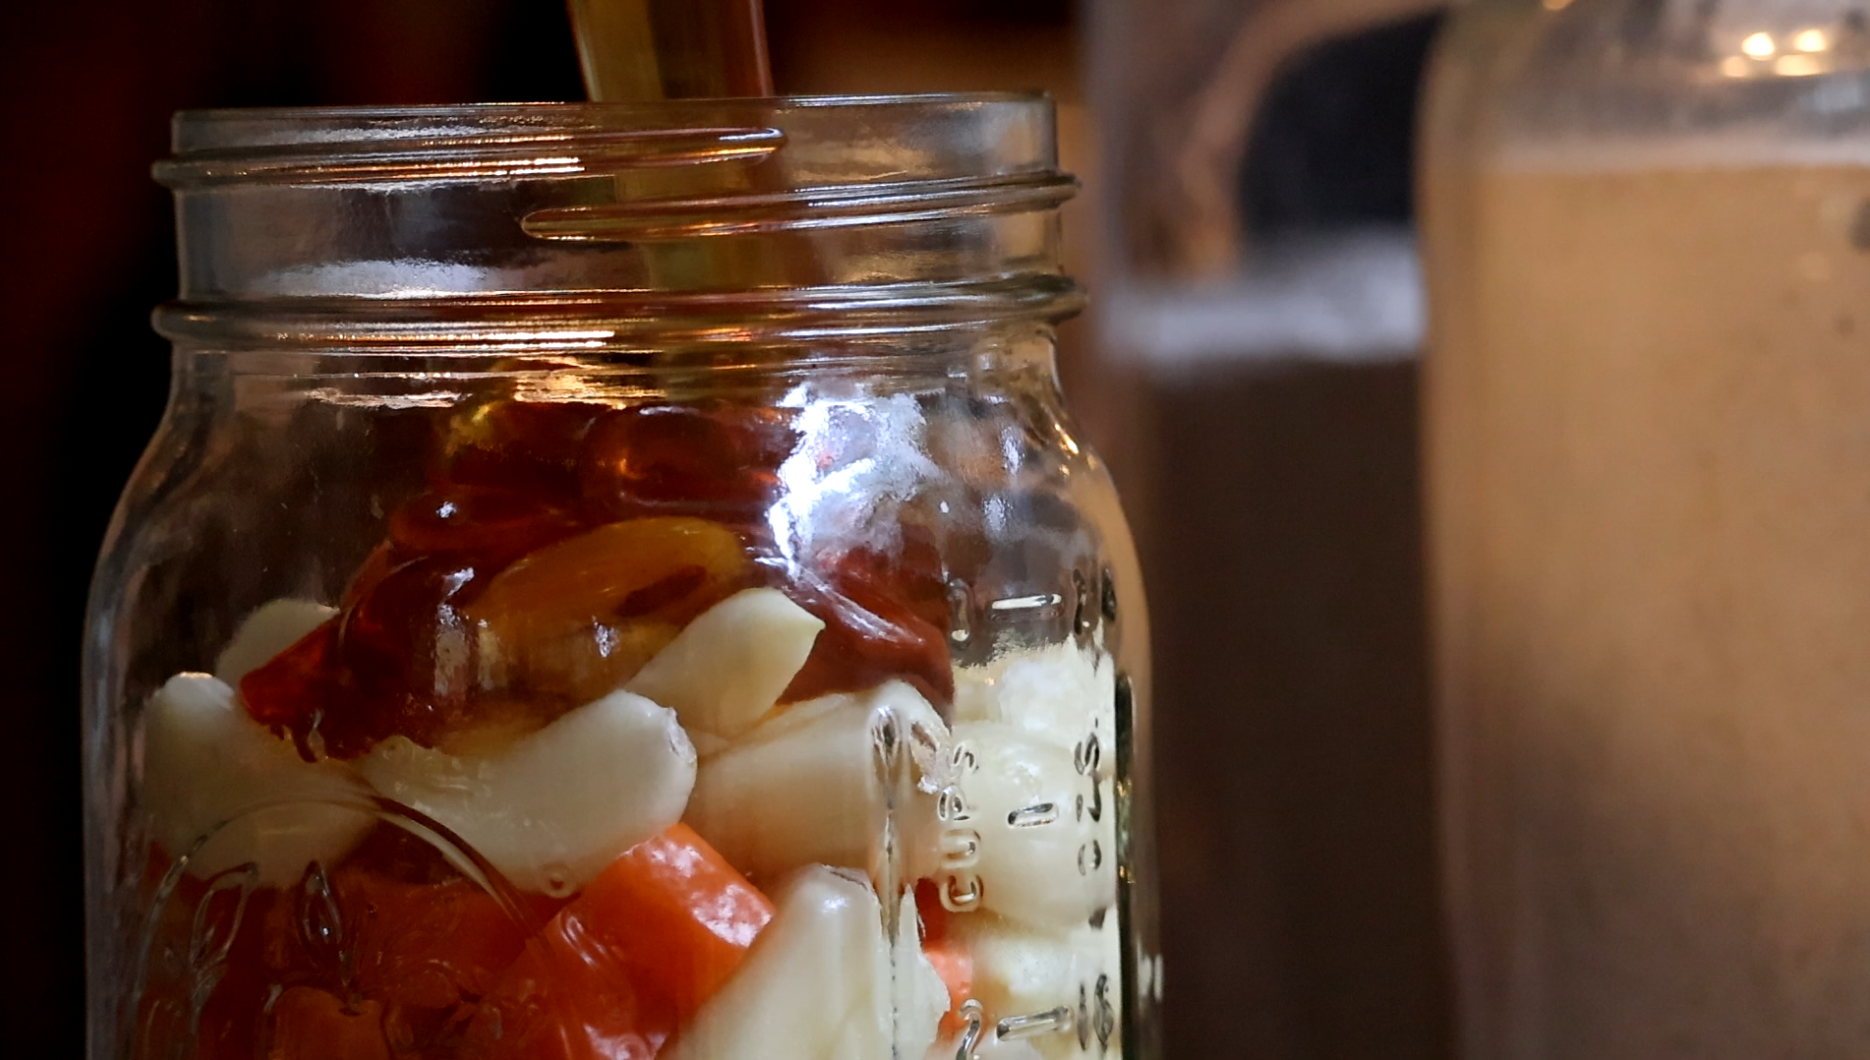
A few months ago I also started my first batch of kombucha and the things I’ve learned in my research about fermenting the drink also solved a few problems I was having with my sourdough starter, which is basically a SCOBY so it may have very similar characteristics. When I was trying to establish a dry sourdough starter from scratch following Shaye Elliot’s recipe I was having terrible issues with mold developing on my dough ball within 12 hours of mixing it up. My research has lead me to believe that like my kombucha (the first batch of which developed a horrifying layer of mold while I was trying to establish a hotel) if I left the jar of starter in the kitchen, far away from the wood stove, it was too cold and irregular in temperature for the good bacteria to prevail over the bad bacteria that causes fungal growth.
I really would like to decrease the hydration of my starter so that I can keep it in the fridge as Shaye does and refresh it only as needed, and I’m much more confident now that I have a raging culture to begin that process.

Part II – The Dough
Now that I’ve got a nice bubbly starter going I could hardly wait until baking day! After doing a ton of searching online I determined it’s not necessary to create a sponge prior to mixing your dough. A sponge is a mixture of starter, flour and water to kind of test your levain, similar to proving your commercial yeast in warm water. It requires a good strong sourdough starter to go straight to mixing but I prefer to do it this way. You combine all the ingredients and bring the dough together until it’s just combined, then begin the process of stretching and folding. This reminds me of lamination in pastry dough; you’re folding the dough over itself to create pockets of air and lengthen the strands of gluten in the flour. This gives your finished loaf lots of loft and that quintessential holey crumb. This doesn’t require flouring a surface and kneading the dough, which is the messiest part of bread baking. I love leaving the dough in the mixing bowl until it’s ready for its bulk proof!
Settling on a ratio of hydration I thought would be a good starting point – about 60% – I put together my first loaf of bread using my homemade starter. It had about 1/5 whole wheat flour in this bake which I discovered I don’t like as much as an entirely all-purpose recipe. What I discovered with this first bake is that many recipes I consulted would be far too dry for my liking. I’ve heard that baking at higher elevations can require more flour and I’ve had varying experiences with this phenomenon; with our house being just shy of 3,000ft there is a requirement for more flour to water ratio in any recipe I use. However, I have found that a hydration level of about 80% produces the best results in my kitchen. This is a bit messy to deal with when stretching but using wet hands while folding will help with sticking. It’s worth the trouble to get that perfect airy texture!


Keeping this in mind I made up my second loaf a few days later which turned out perfectly. It had a ridiculous amount of oven spring and delectable texture. The crust was very good, although it was slightly toasty on top while I was still working out the baking times and temp for my oven.
The third was equally as good but definitely had some different results after baking.
Part III – The Bake
The first loaf I made was terribly baked. It was burnt on the top and raw in the very middle, an indication that it was baked too hot and fast. The recipe I had referenced said to preheat the dutch oven to 500 degrees which in hindsight seems far too high. I’ve decreased my preheat to 450, set the loaf into the hot dutch oven and put the lid on for the first 30 minute bake; then decrease the oven temperature to 425 and remove the lid for the final 10 minute bake; and finally turn off the oven completely and let it finish to the desired doneness in the residual heat. I am using an electric oven so this may be a factor in my final baking times.
The second loaf I made turned out much better, although the top was still a little toasty. This is when I decided after some research to turn the oven off until it finished baking. I like a crusty bread but not rock-hard. Using rice flour also decreased the amount of browning on both the top and bottom, a result I was happy with if not just for aesthetic reasons. This is also why I choose to use white corn meal for my baking – to me it just looks nicer.


Part IV – Inclusions
While I’m not one to add a bunch of extras like olives or dried fruit to my sourdough I was really looking forward to making a wheat berry sourdough similar to a whole grain variety we used to buy when we lived in the Bay Area. It was the best of both my favorite breads: the perfect texture and flavor of sourdough but with the chewy bits from a whole wheat loaf. To my standard recipe (which I’ll share on the blog in a later post) I added 80g of whole wheat berries which I had chopped up a bit in a bullet blender. I like when the pieces are broken up a bit and not so in-your-face. I also decreased the hydration of the dough slightly, although after seeing much less oven spring I would either let it rise for longer or decrease the hydration even further for the next bake. Aside from being a little stout this load turned out amazingly. It had fabulous crumb just like its predecessors and overall was exactly what I had been aiming for! I can’t wait to bake it again and share the recipe. I sliced some of this loaf up for oil & vinegar and it was to die for!


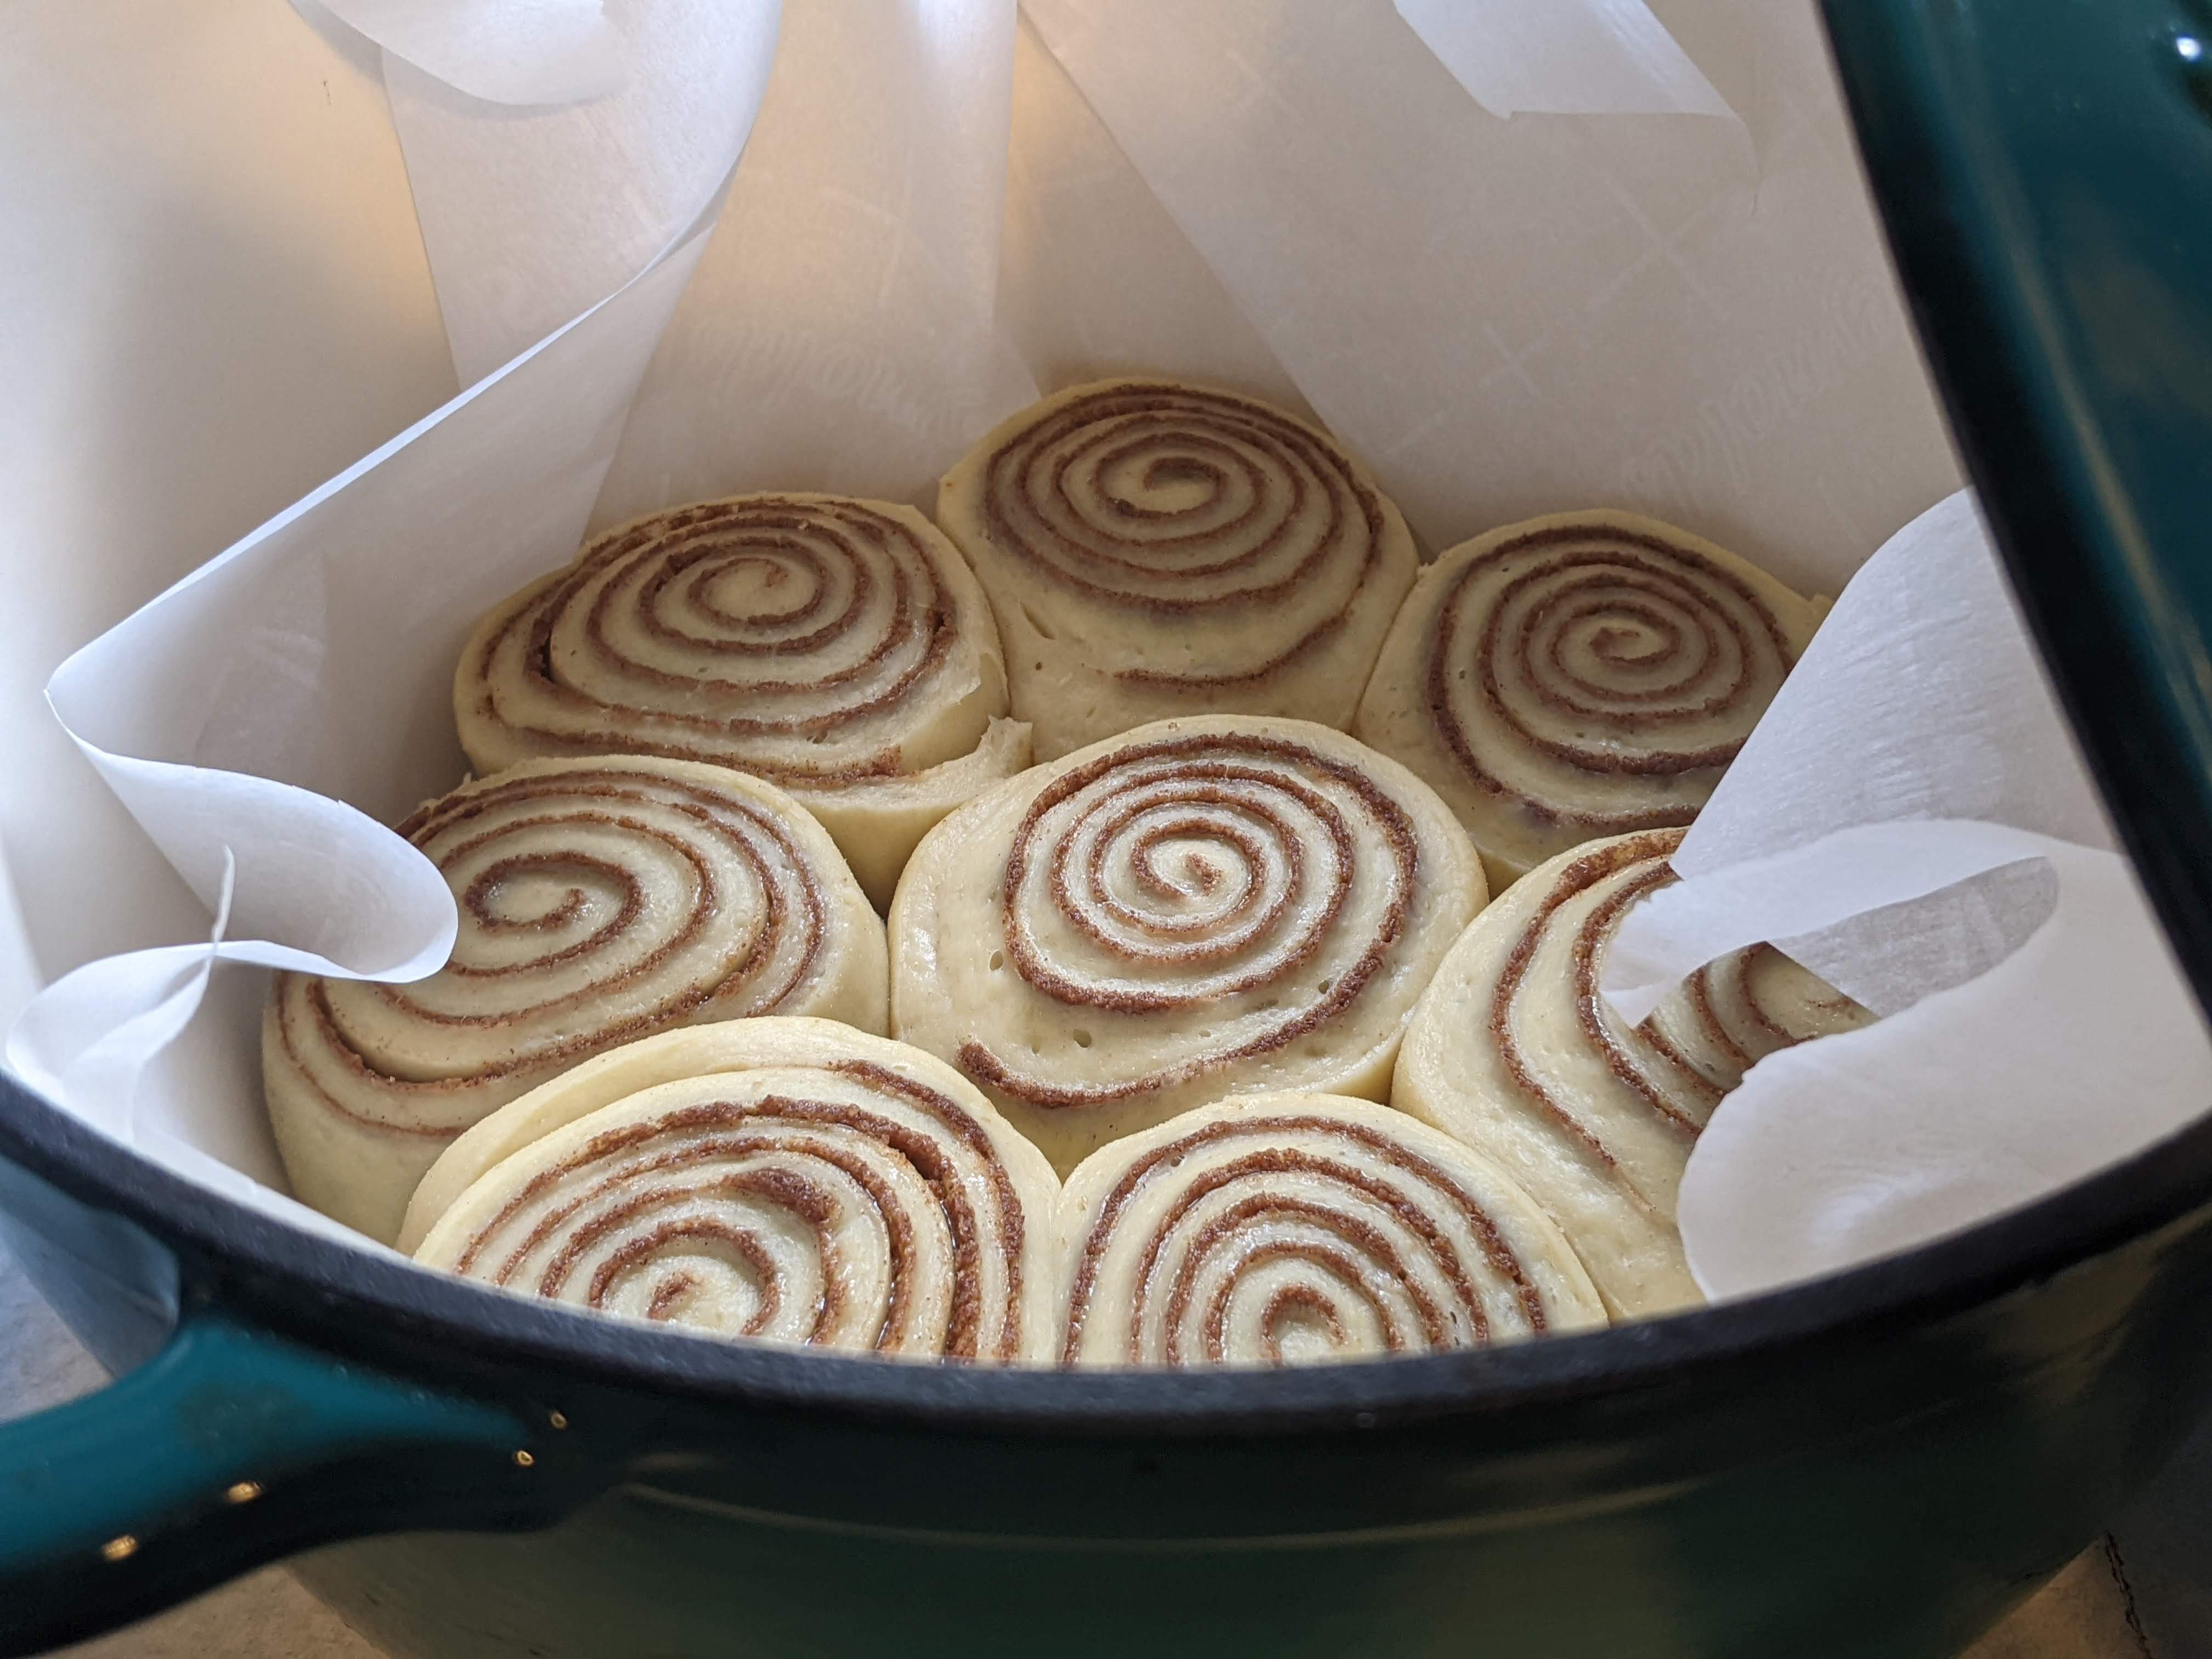
Next I’ll be tackling sourdough sandwich rounds baked in the vintage Pyrex Bake-A-Round that my grandmother gave me, as well as an artisan loaf of rustic rosemary olive oil sourdough.

One thing I think will take a while to get the hang of is scoring. This is the process of cutting the top of your risen bread with an extremely sharp knife just before it goes into the oven. This is for two purposes: decorative, of course; as well as what’s called expansion scoring, the act of controlling the way the bread grows and expands throughout the bake. It’s almost a science and I’m sure will take some practice to master beautiful breadmaking. Meanwhile, we will enjoy what I’m proud to say has been a delicious endeavor!


Leave a Reply