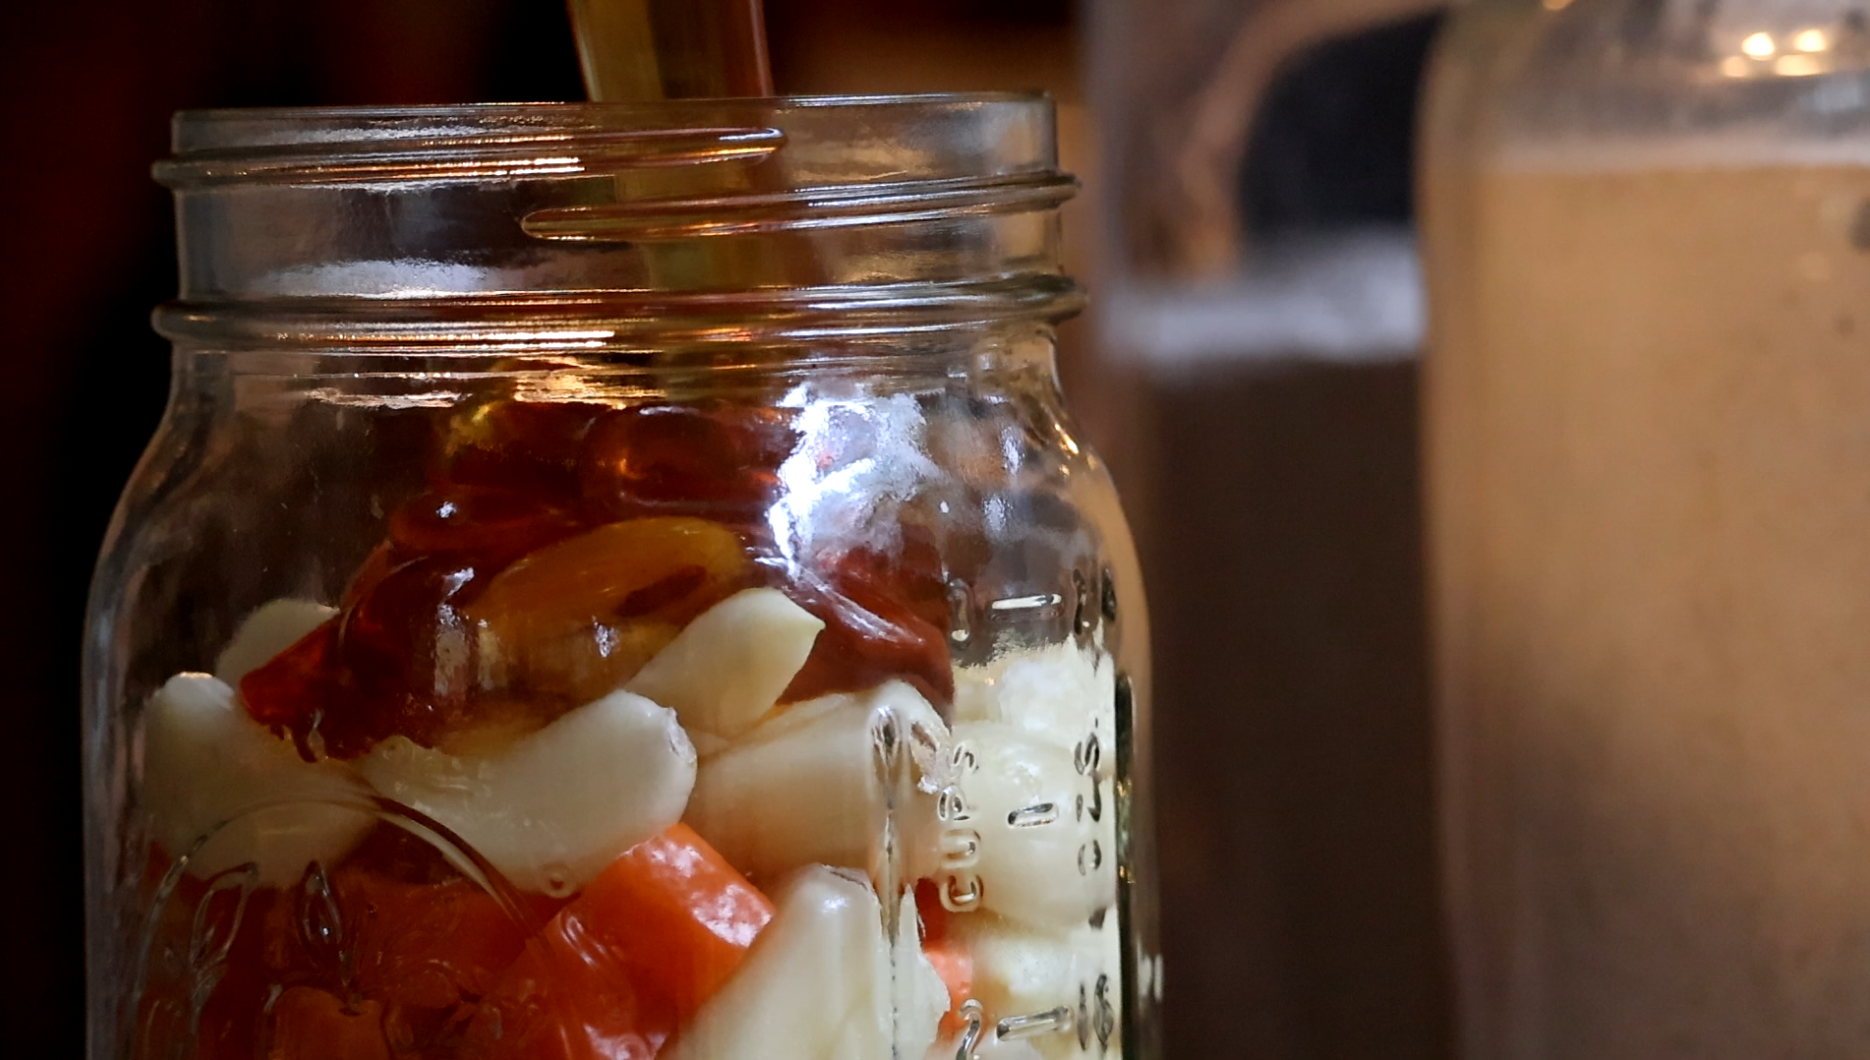
I’m on a mission to bake bread! After creating my own original Harvest Grains Artisan Bread recipe I was motivated to start another sourdough ferment. I’m only one of millions who have started and neglectfully killed many a sourdough starter, either forgetting to feed it or leaving it in the fridge over vacation until a thick layer of blackish alcohol forms on the top. With the assistance of a calendar reminder I’ve got a jar of levain just waiting for the weekend baking rush.

As we approach my son’s second birthday I’ve been trying to increase the number of projects I share with him. Baking has been one that he’s enjoyed immensely, and I’m in love with his willingness to help and learn! He did such a great job feeding our sourdough starter that I thought I would share our experience with you guys. One of the things I love most about being a stay at home mom is taking time to slow down and enjoy every little moment. Even though it takes twice as long (or sometimes more) to complete a task, I wouldn’t sacrifice the time I get to spend with my little sous chef to get a quicker result in the kitchen.
Cooking and cleaning, if handled properly, can be an invaluable bonding and learning experience for you and your children. After all, nothing brings people together like good food. So set aside some time to cultivate a relationship with your food (and your family) through sourdough!
Sourdough Bread Starter
Sourdough Bread Starter
Create a flavorful, renewable source of natural yeast with just two ingredients! This printable recipe contains all the information you need to go from fresh starter to baking day and beyond.

Ingredients
New Starter
Maintenance Feeding
Instructions
To make a new starter:
-
Combine water and flour in a jar or crock, mixing well and scraping the sides. Be sure not to leave any dry flour anywhere in the container, and your starter should be free of lumps.
-
Let sit at room temperature for 12-24 hours. Bubbles should begin to form before the next feeding and it should have a sour but pleasant bready aroma.
Maintenance feeding:
-
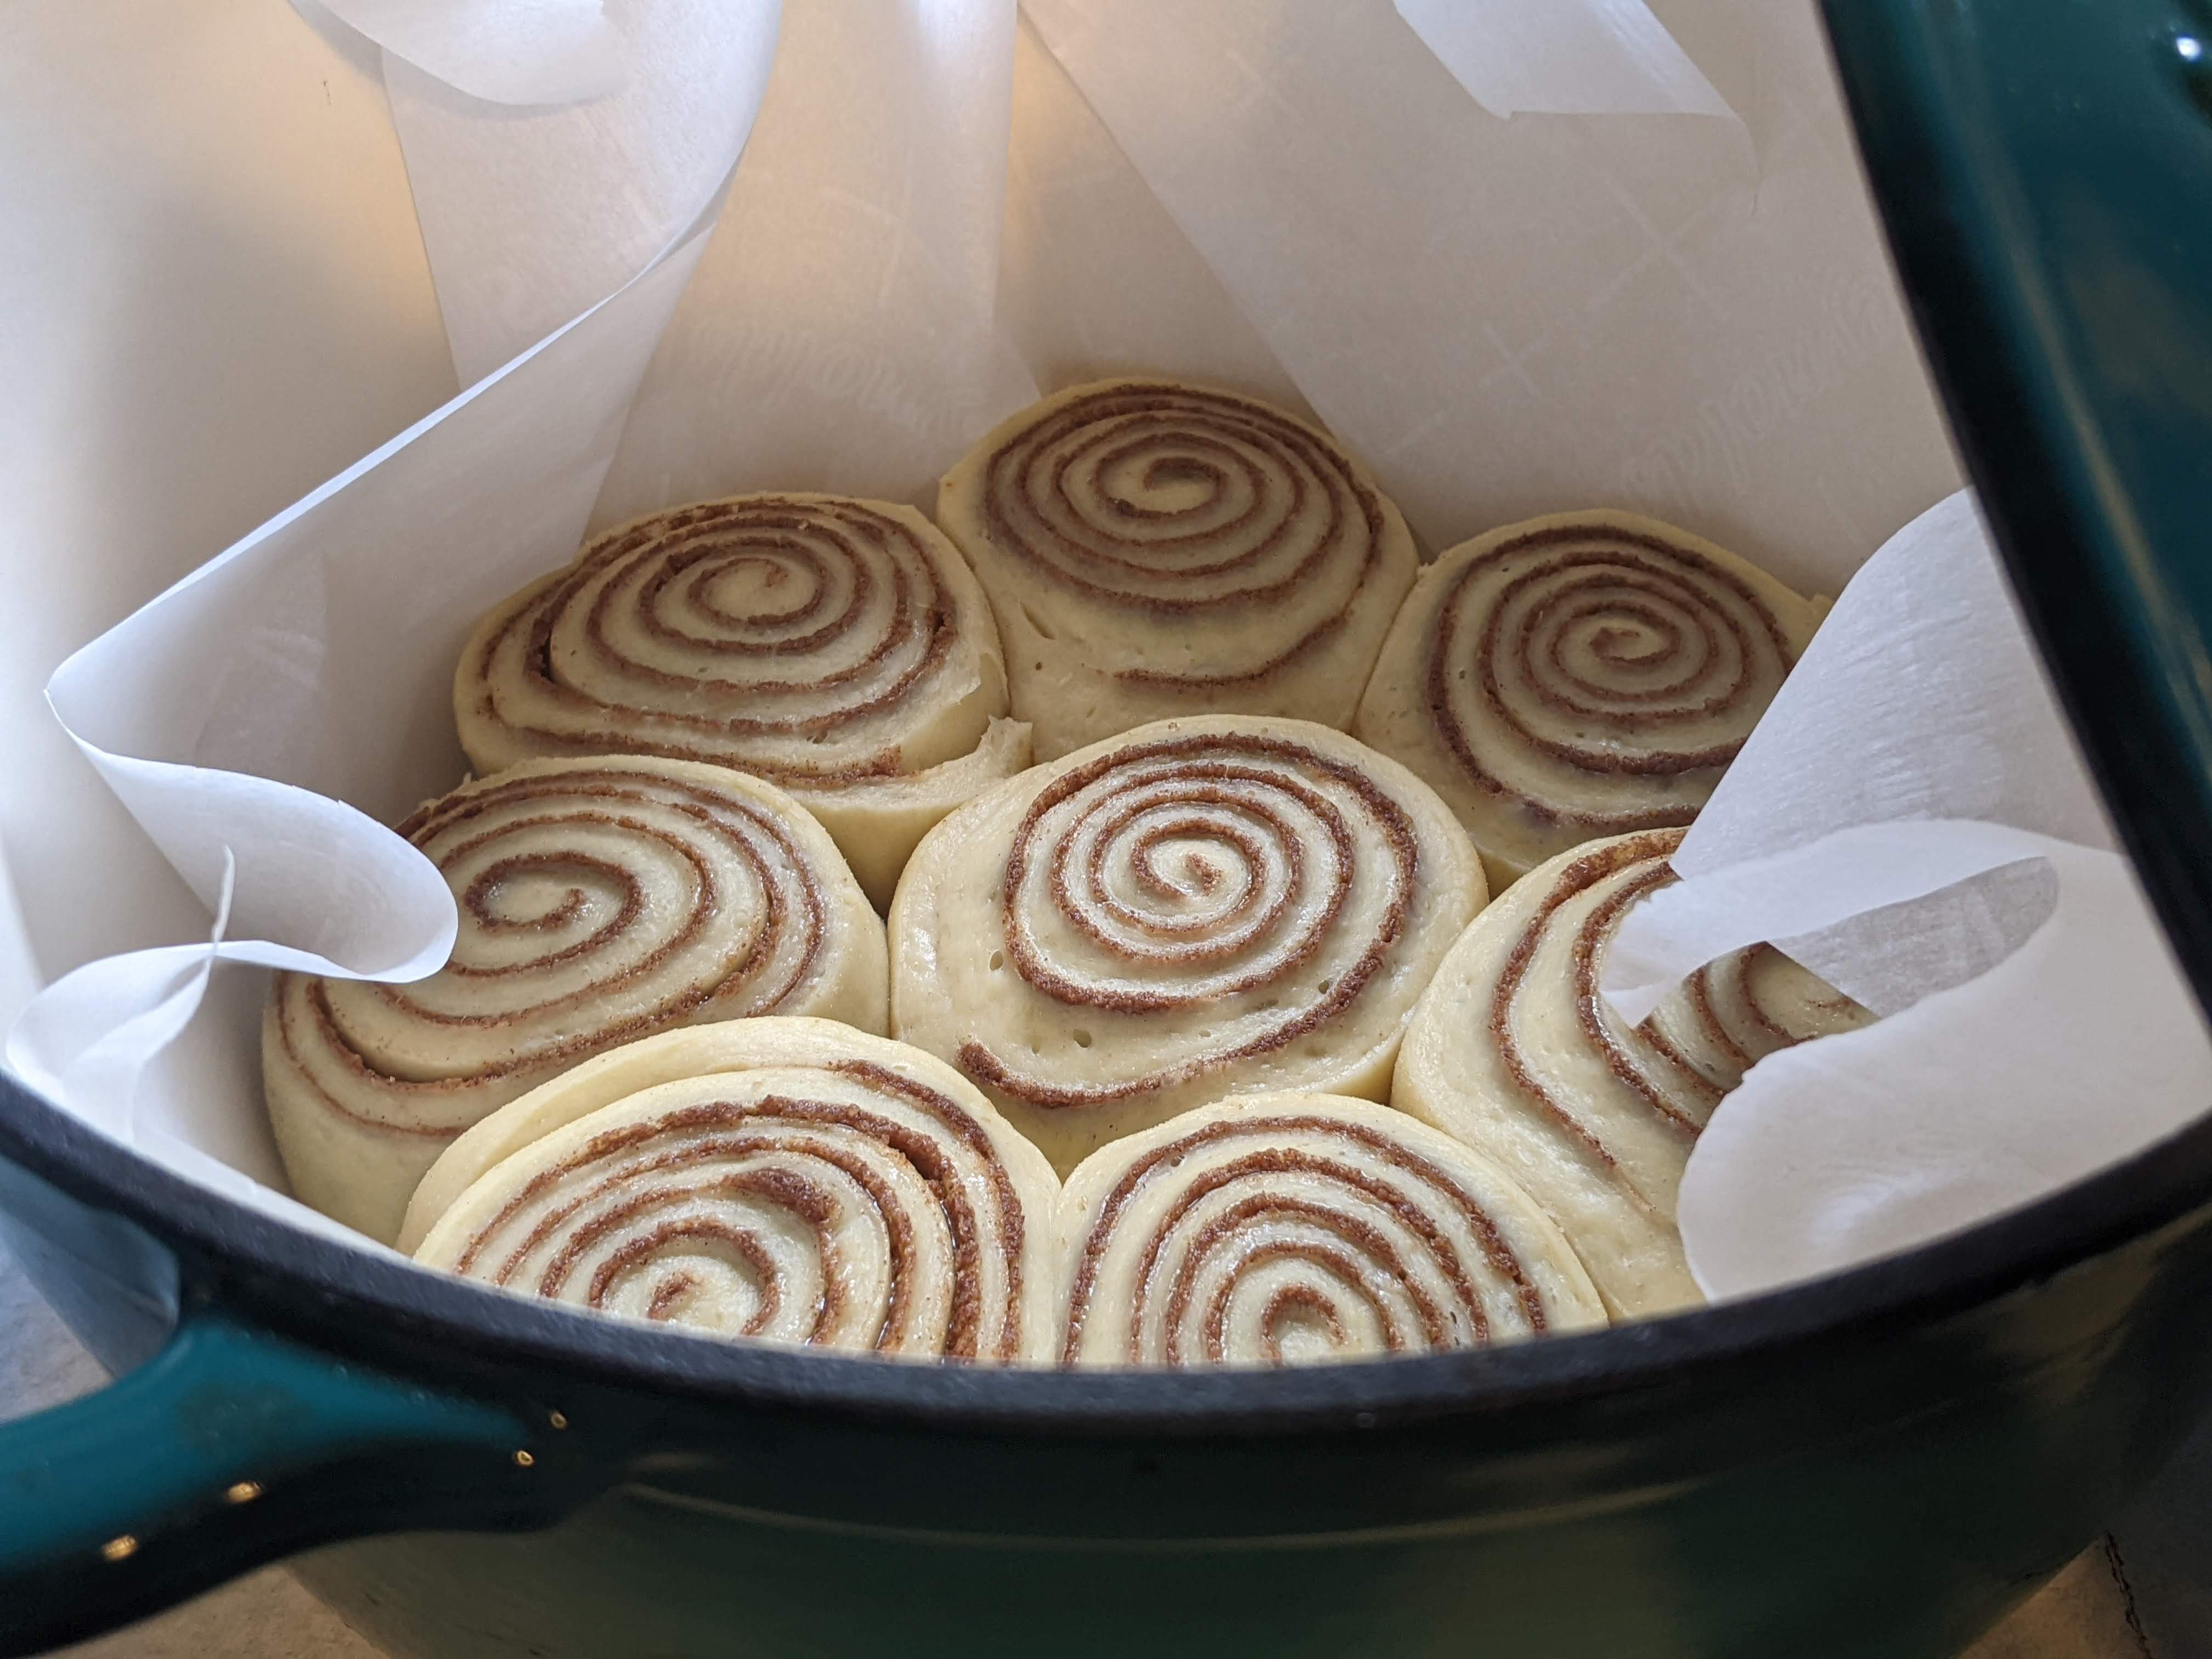
Refresh with 100g water and 100g flour. Mix well and replace the lid. Continue with the maintenance feeding every 12-24 hours depending on your indoor temperature until baking day. Your starter should be doubling in size during the fermenting period and will start to sag under its own weight when it needs to be fed.
-
If you're taking your starter from the fridge it's best to perform a twice daily maintenance feeding for two to three days before baking day. Discard about half the starter.
Pre-bake feeding (levain):
-
On baking day, take the discard (about half of your starter) and give it a maintenance feeding. In about 8 hours it will be ready to use in your desired recipe. Be sure to measure by weight and not volume, since mature starter can vary in size due to rising and falling.
Storage feeding:
-
With the remaining half of your starter, perform a maintenance feeding and allow it to ferment for an hour or two before placing in the fridge. Your starter can remain in this refrigerated, unfed state for about 7 days and up to two weeks, although you may see a degradation in the quality of your starter the longer you leave it in hibernation.


Leave a Reply