I’ve referenced in some of my other sourdough posts that I think it’s a process that’s been way over-complicated! I get great results with my half-assed, hair-brained efforts as a toddler mom with little time (and short-term memory) to spare.
Here I will run through a very basic long-term care routine for your sourdough and how to use it to bake a perfect loaf of bread maybe once a week, and less often than that if needed.

First, you’ll need a good sourdough starter. You can get some from a family member, a friend, or even an online marketplace! Sourdough is having quite the renaissance in the home kitchen so now is a good time to source some starter. You can even freeze it and keep it on hand for emergencies (this is how I made it through the post-partum period without killing my two-year-old culture!)

Second, you’ll need to make sure your starter is nice and active before putting it into hibernation, as I like to call it. This can be a few days or up to a few weeks of time it’s spending on vacation in the fridge.
Third you need to find an appropriate container. A pint Mason jar may be appropriate, or you may need a larger amount of starter depending on the amount of baking you’ll be doing. I like to use this jar from WalMart, but unless you’re baking at least weekly, and making more than just one loaf of bread (perhaps cinnamon rolls, or English muffins?) it’s not worth the fridge space.
Then, all you’ll need to do is pull the jar out of the fridge before baking day, split it into two portions, and feed them both: one portion will go back into the fridge for later use and the other will be used in your baking for that day.
You always have to have a portion of starter to continue its legacy, so don’t ever use it all up! You’ll have to get or make more if you do.
Below you’ll find the feeding schedule as well as a simple recipe for a rustic loaf of sourdough bread, perfect for the first-time baker. Be sure to check out my other sourdough recipes as well.
Lazy Sourdough Starter


Lazy Sourdough Starter
Description
This is a perfect way to maintain your sourdough starter without it taking over your life! It spends most of the time in the fridge in a small jar, but it's always available if you need it. When baking with it always remember to reserve at least 50 grams of starter to keep it going.
Ingredients
First Feed
Second Feed (Day 2, or Before Baking Day)
Simple Sourdough Bread (Baking Day)
Instructions
First Feed
-
On the first day that you bring home your sourdough starter (or use a portion of your active, pre-made starter) perform one First Feed in the evening: discard all but 30g of the starter and add 30g of flour and 40g of water. Mix thoroughly, place in a pint jar or similar container and replace the lid (or cover loosely) and let ferment overnight or until doubled in size.
Second Feed (Day 2, or Before Baking Day)
-
On the second day, in the evening, empty the entire contents of your jar into a bowl – it should total about 100g. Feed it with 100g all-purpose flour and 100g water. Mix thoroughly. Now, place 100g of this fed starter back into your jar and place into the refrigerator for hibernation. If baking on a regular basis, leave it out on the counter or transfer to a larger container for more feedings. Leave the 200g of excess starter in the bowl, and cover tightly with plastic wrap or a damp cloth and leave to ferment overnight or until big and frothy.
-
Now that you've put your sourdough in the jar and into the fridge you can skip the first day feeding! The next time you want to bake, remove it from the refrigerator and perform the second feed and proceed to baking day. As long as you always feed and replenish your refrigerator starter you will never run out of natural, home-grown yeast. If you're not baking every week, try to feed your starter at least once a week or two. Leaving it for longer than that can stress the cultures and may set your starter back a bit. If you notice your starter is a little weak, perform a feeding with rye or whole wheat flour.
Mixing the Dough
-
On the third day, in the early evening, add the ingredients from the bread recipe to the bowl containing the 200g of starter. Combine well with a spoon or spatula, using hands if necessary to bring together. It will be sticky but needs to form a cohesive mass that is well mixed. Cover tightly with plastic wrap or a damp cloth and allow to rest for 30 minutes.
-
Perform a series of stretch and folds. Recommended: For the first hour, stretch and fold every 15 minutes; for two hours following, stretch and fold every 30 minutes; covering bowl in between cycles. At least two stretch and folds are necessary for good crumb. When finished, cover and allow to double overnight.
Simple Sourdough Bread (Baking Day)
-
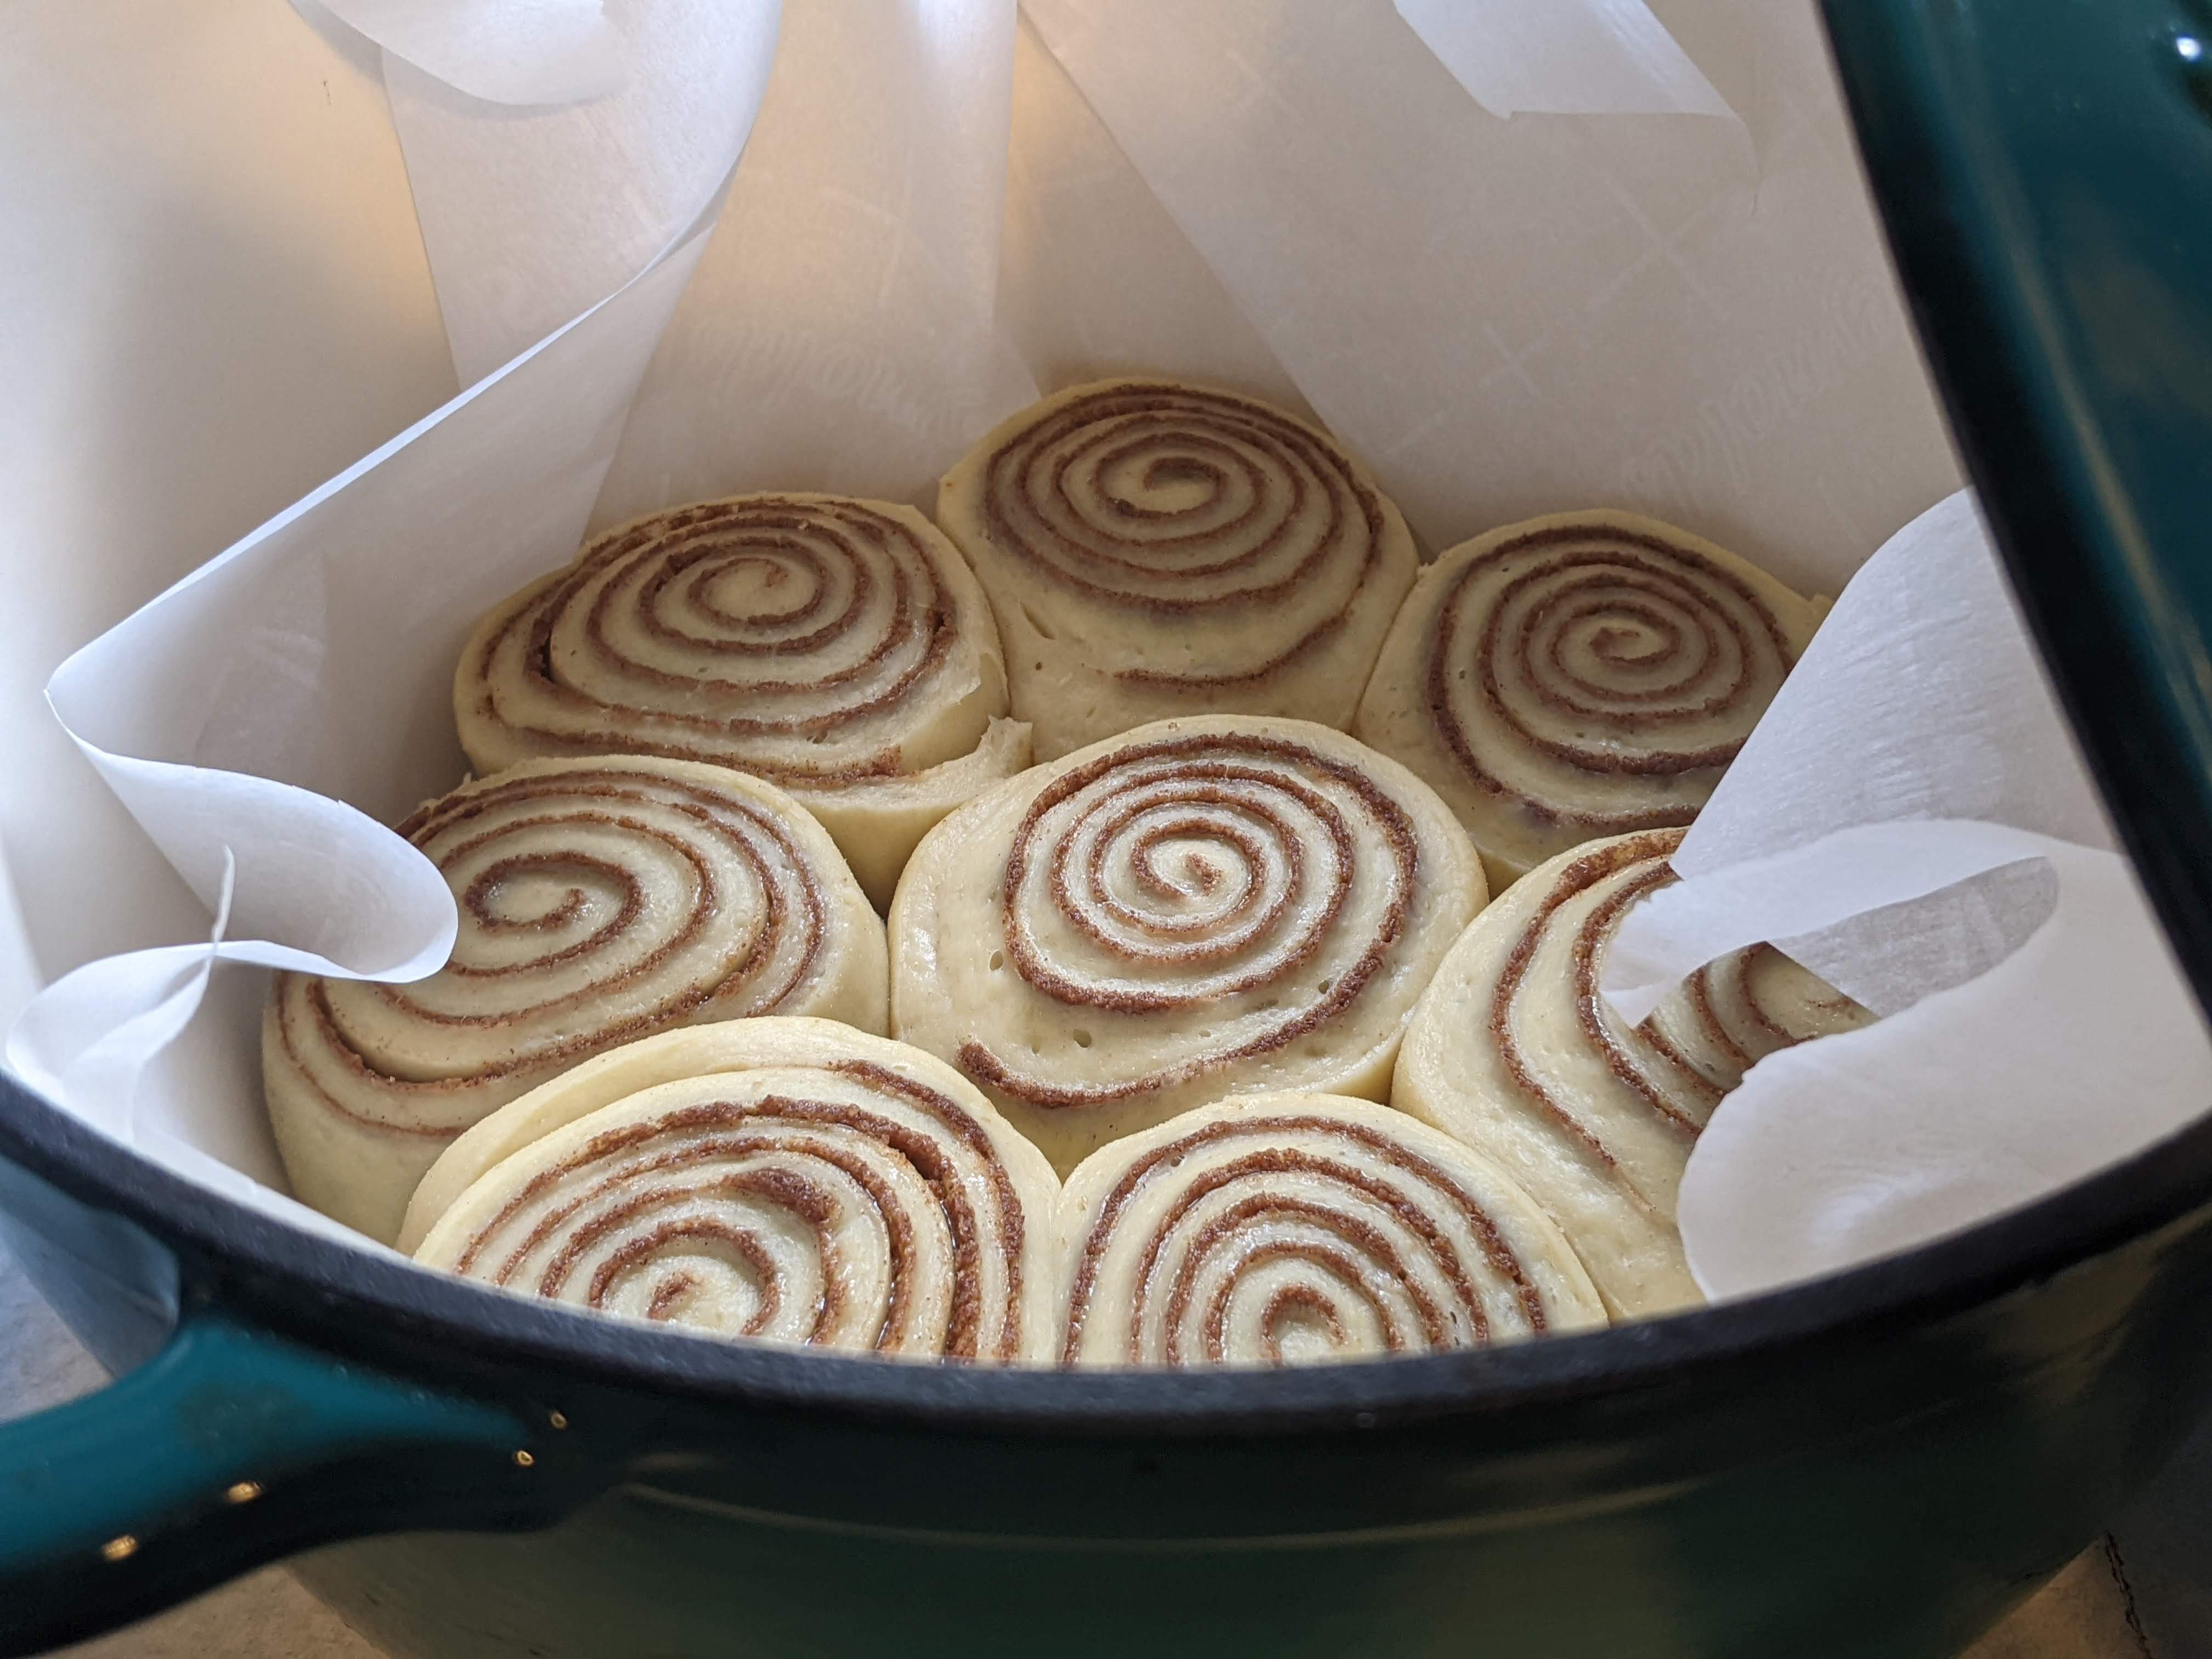
In the morning, or no more than 12 hours after setting the dough to rest, preheat your oven to 450°. If baking in a dutch oven or skillet, place in the oven before preheating to warm the pan. Turn the dough out onto a floured surface. You may bake as a large rustic loaf in a 6-qt dutch oven, or choose to cut the dough in half and make two smaller loaves. Shape, score and place in the baking vessel and allow to rest for 30 minutes before baking.
-
Bake for 40 minutes or until top is golden brown, or darker depending on your preference. Baking with a lid on the pan will produce more oven spring and a lighter, crispier crust; baking without a lid or removing the lid during the baking process will yield a thick and crunchy exterior.
-
When your bread is done baking remove it immediately from the pan and place on a cooling rack. Wait at least 5 minutes to slice your bread in order to avoid scorched fingertips. Otherwise, enjoy!
Note
I may or may not be guilty of wearing an oven mitt to facilitate the impatient slicing of a loaf of freshly baked bread. It is recommended to wait at least 4 hours before slicing your bread to yield the best results. I have a theory that people who actually wait the 4 hours are certifiably insane.
Happy Baking!
-Elizabeth


Leave a Reply