
Cinnamon rolls are a quintessential part of American comfort food culture: thanks to the opening of international giant Cinnabon in 1985, you can get your cinnie fix in most shopping malls nationwide; however, Pillsbury brought the popular popping can to American kitchens all the way back in 1958! I was tickled to find that something I fondly remember as a childhood core memory has been an enduring part of our culture since my parents were kids. And while the history of cinnamon rolls extends many hundreds of years before the settlement of the US, the iteration we know and love today is a creation of this century.

Despite the easy access we have to commercially produced cinnamon buns there is just something incomparable about homemade sweet rolls. Like any other baked good, scratch-made is always just better. Sometimes you can’t put your finger on exactly why it’s better, but especially in this age of curbside pickup and hot ‘n ready, the taste of a home-baked good is a special treat. I’ve talked before about our family being made up of seasoned foodies, and especially when it comes to baked goods there are some particularities that we just won’t give up on. Cinnamon rolls aren’t exempt from this standard of culinary excellence at the cabin – I have been baking them from scratch since I was a teenager.
In this post I’m going to touch on all the challenges I’ve had with baking cinnamon rolls over the last decade, and how I fixed them through years of trial and error!
Recipe Selection
For many years (and even before I started keeping my own sourdough starter) I used the Better Homes & Gardens recipe for cinnamon rolls. This is a great place to start for home bakers because BH&G is a time-tested, nationally-loved resource for recipes of all kinds. Sometimes when you look for recipes online you will run into websites which post un-tested versions, just plain terrible recipes, or even AI recipes. This can be especially discouraging for beginner bakers who don’t know the nuances of yeast doughs and can’t troubleshoot these problems on their own. So start with a tried and true recipe and go from there!
Yeast or Sourdough?
When I did start keeping a sourdough starter I was amazed to find what a great effect it had on sweet doughs. I think there’s a general misconception that sourdough can only be used for savory breads, but that’s a post for another day. My advice is if you have a starter available, ALWAYS use sourdough over commercial yeast! The flavor and texture it lends is absolutely incredible, and it’s a little more flexible for timing when it comes to your baking schedule. If you’d like to see my own recipe for Sourdough Cinnamon Rolls you can visit my post here.
Filling Composition
One of my biggest pet peeves when it comes to homemade cinnamon rolls is leaky filling. You put so much time, energy and love (not to mention costly ingredients) into this fabulous baked good only to find when out pull it from the oven, all the delicious filling has bubbled up and out of them, or pooled into the bottom of the pan! This was one of my longest-lasting trials in the homestead kitchen, but I have narrowed it down to a couple of important factors. The main ingredients in cinnamon roll filling are butter, sugar and cinnamon; and aside from upgrading the basics for a better result, I have added a couple of secret ingredients to create the ultimate stay-put filling.
First, the sugar you use really makes a difference. Granulated sugar, the most common household sweetener, tends to melt at lower temperatures in the oven. I always use dark brown sugar for toppings and streusels for its ability to hold its shape, so I thought why not use it in the cinnamon roll filling as well? I use a combination of raw cane sugar and dark brown sugar for my filling and it has never been better. The brown sugar maintains its shape and stays in place during baking, while the larger crystals of the raw sugar lends crunchy interest to the otherwise soft and gooey texture of the cinnamon roll.
Butter is normally used as the spreading medium for cinnamon filling, and while most recipes call for melted butter, this is the absolute worst thing you can do for your filling! I use softened, but NOT melted butter when I am mixing and spreading my filling. If your butter is melted it will begin to dissolve the sugar which makes the leaking problem worse from the get-go. You have to be a little more gentle when spreading it on your rolled-out dough, but the finished result is well worth the extra care.
Finally, I have added just two secret ingredients to help the filling hold its own during baking, and they’re in small enough quantities that it doesn’t affect the taste at all. The first is flour: just a tablespoon is enough to level out the texture of the cinnamon spread without affecting its taste; and corn starch, which essentially binds the sugar and butter together and helps it retain its shape. I have seen small amounts of flour added to fillings in other recipes but I’ve never seen cornstarch used. It’s my secret weapon!
I will list just my filling recipe below if you’d like to add it to a favorite cinnamon roll recipe of your own. You won’t believe the difference!
Recipe Card
Perfect Cinnamon Roll Filling
Ingredients
Instructions
-
Place all ingredients in a small mixing bowl and mix with a spatula or fork until fully combined. Set aside for spreading on desired cinnamon roll dough. If refrigerating for later use, be sure to bring back to room temperature before spreading with an offset spatula on your rolled dough.
Rolling and Cutting
When handling a brioche-type dough such as cinnamon roll dough there is a certain amount of care involved. One of my best tips for rolling it out (without tearing it) is to use a tiny amount of whole wheat flour in your recipe. Just replace a small portion of the total flour amount with whole wheat, which contains more gluten than all-purpose or pastry flour and will be more elastic when it has proofed properly. You can also use two sheets of butcher or parchment paper to keep it from sticking while you’re rolling it out. You don’t want to add too much flour while rolling or this will change the hydration of the dough and ultimately the final result.
I do like to roll my dough pretty thin, maybe 1/4″ thick before I spread the filling on and roll it up. Most recipes call for about 1/2″, but we like the thin, flaky layers that are created by more aggressive rolling. This also means that you will get more filling in every bite.

I actually saw my handiest cinnamon roll trick on YouTube while I was doing what I call R&D (research and development – AKA watching countless hours of videos on a particular subject). I saw a Tasty chef cutting cinnamon rolls with dental floss. I actually use fishing line since it isn’t flavored, but the concept is the same, and it’s life-changing! I used to really struggle when cutting the rolls with a knife which tends to seal the dough shut where it’s cut. There are some tips for doing it this way but it’s nowhere near as good as using floss. If you haven’t tried it I highly recommend it!
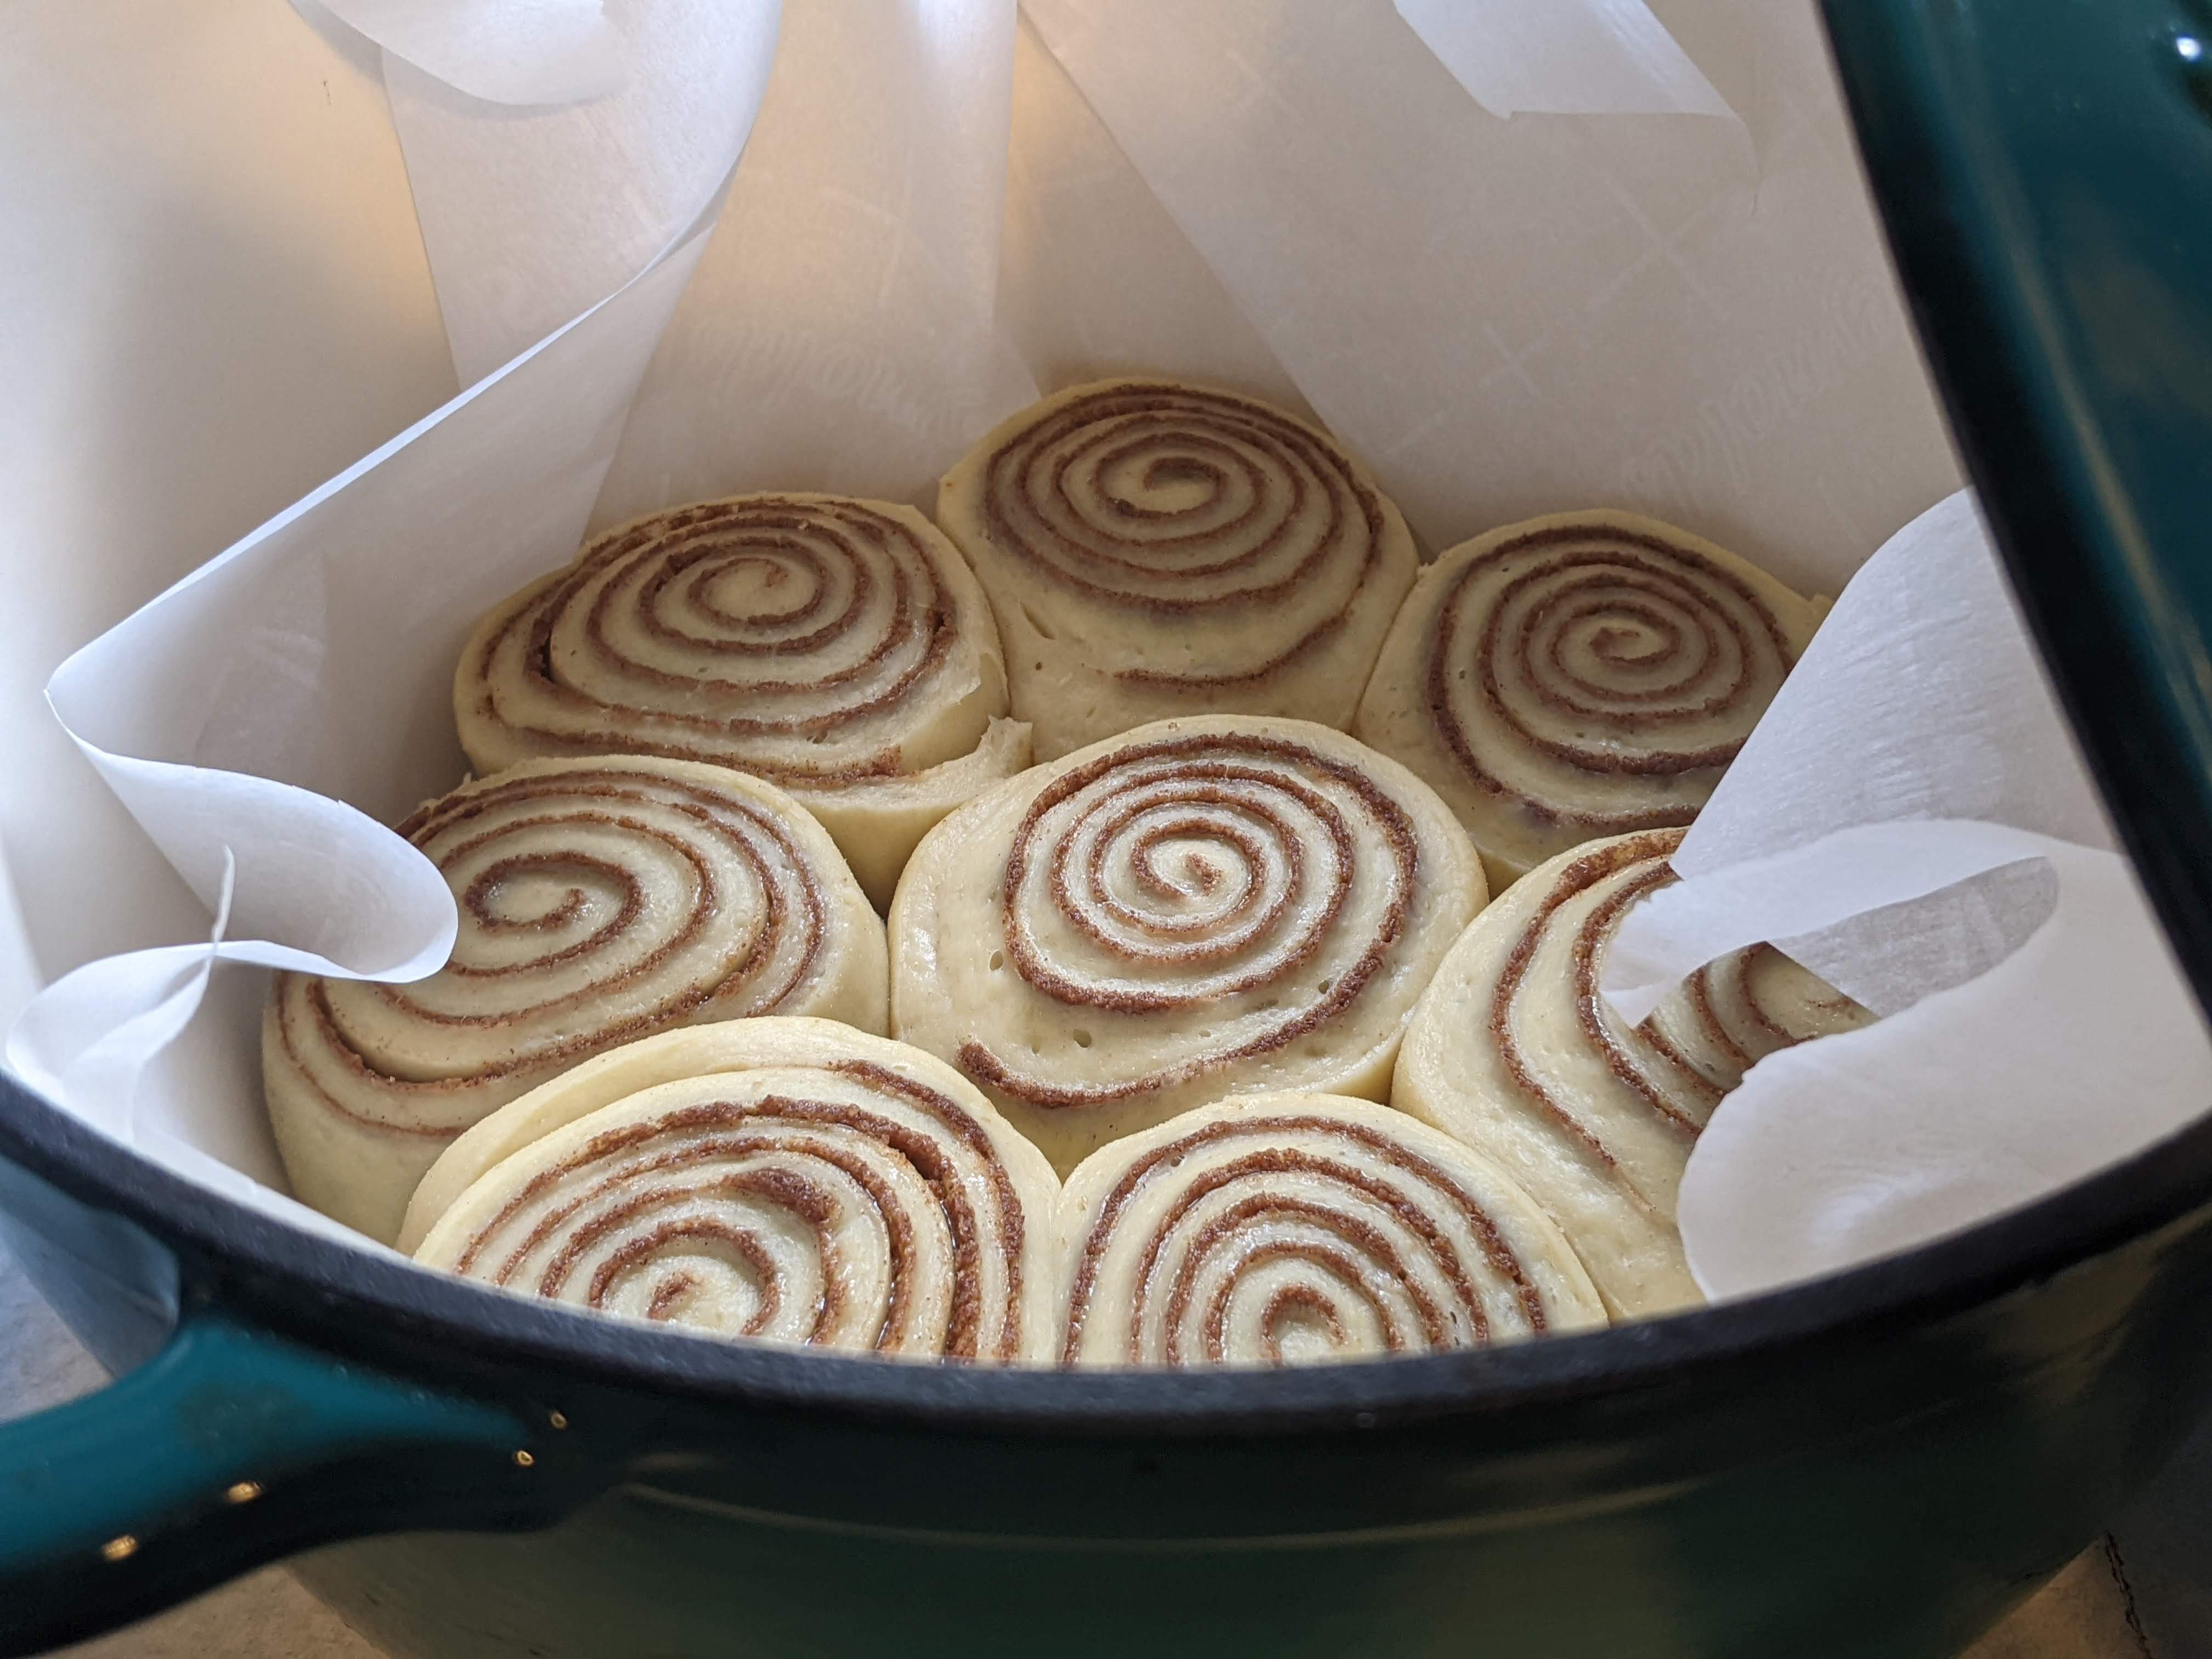
The Bake

Since I started studying sourdough bread I have learned a few things about how to achieve your desired bake. While my husband likes crispy, browned rolls, I like them to be soft and gooey through and through. In order to get this soft and delectable texture while still being thoroughly cooked, baking in a dutch oven is the best way to go. That way you have the option to bake with the lid on for a soft and fluffy roll, or take the lid off for the last portion of the bake (or leave it off entirely) for a nicely browned top. Overall, cast iron will produce a more even bake, and I’ve even made cinnamon rolls in a skillet. If you’ve never baked in cast iron it’s absolutely amazing. It’s also a great use for those skillets that you may find at thrift or yard sales that may be a little too warped to sit flat on a stove, but are still perfectly good for baking in the oven (and can be found at bargain prices!)
I also leave a pan of water in my oven when baking any type of bread or baked good which adds a level of moisture during cooking that is usually lost in traditional home ovens. Most commercial ovens have hermetically sealed doors or even incorporated humidifying systems, and this was another thing I learned online that really helped me engineer the best way to get bakery-style results at home.
Frosting
Most cinnamon roll recipes will call for a simple powdered sugar icing, but my family prefers to feast on buttercream. It sounds a little complicated but it’s really not! Our frosting recipe is an original of mine and it has been touted as the best cream cheese frosting around. It also keeps in the fridge for a surprisingly long time, so I will keep a pre-prepared container in the refrigerator while we have rolls around. Un-baked, unfrosted cinnamon rolls also freeze amazingly well so this makes for an awesome, ready-made treat. We love to slather chilled frosting on a nice warm cinnamon roll just before digging in, and that brings me to my notes on frosting application.
Serving
There is something really special about the contrast of a warm gooey cinnamon bun topped with ice-cold buttercream frosting. The symphony of flavors, textures, and temperatures is what can take a cinnamon roll experience from good to heavenly.
For best results, bake your rolls and do not ice them! Feel free to enjoy them straight from the oven, but frost them individually as you are serving them rather than slathering the whole pan in frosting. This way each person can decide how much frosting they want and how much they want it to melt before digging in. It also makes for easy enjoyment of leftovers. Nobody likes to put a pre-frosted cinnamon roll in the microwave and watch in horror as the icing melts away!
I just keep the un-frosted buns in a bag in the fridge along with a tub full of prepared icing. That way when you’re ready to enjoy one (if there are any left over!) you can re-heat the bun as desired and apply the icing after the roll is hot and ready.

However, if you’re taking a pan of homemade cinnamon rolls for a function or gathering, feel free to ice the whole pan JUST before serving. This makes it easy to ensure the rolls can be re-heated to piping hot when presented and still enjoy the gorgeous swirls of chilled icing when served – to the great satisfaction of the crowd, I guarantee it!
I hope you enjoyed my cinnamon roll brain dump! Do you have any tips to add to my repertoire? Please share your thoughts with me below!


Leave a Reply