-
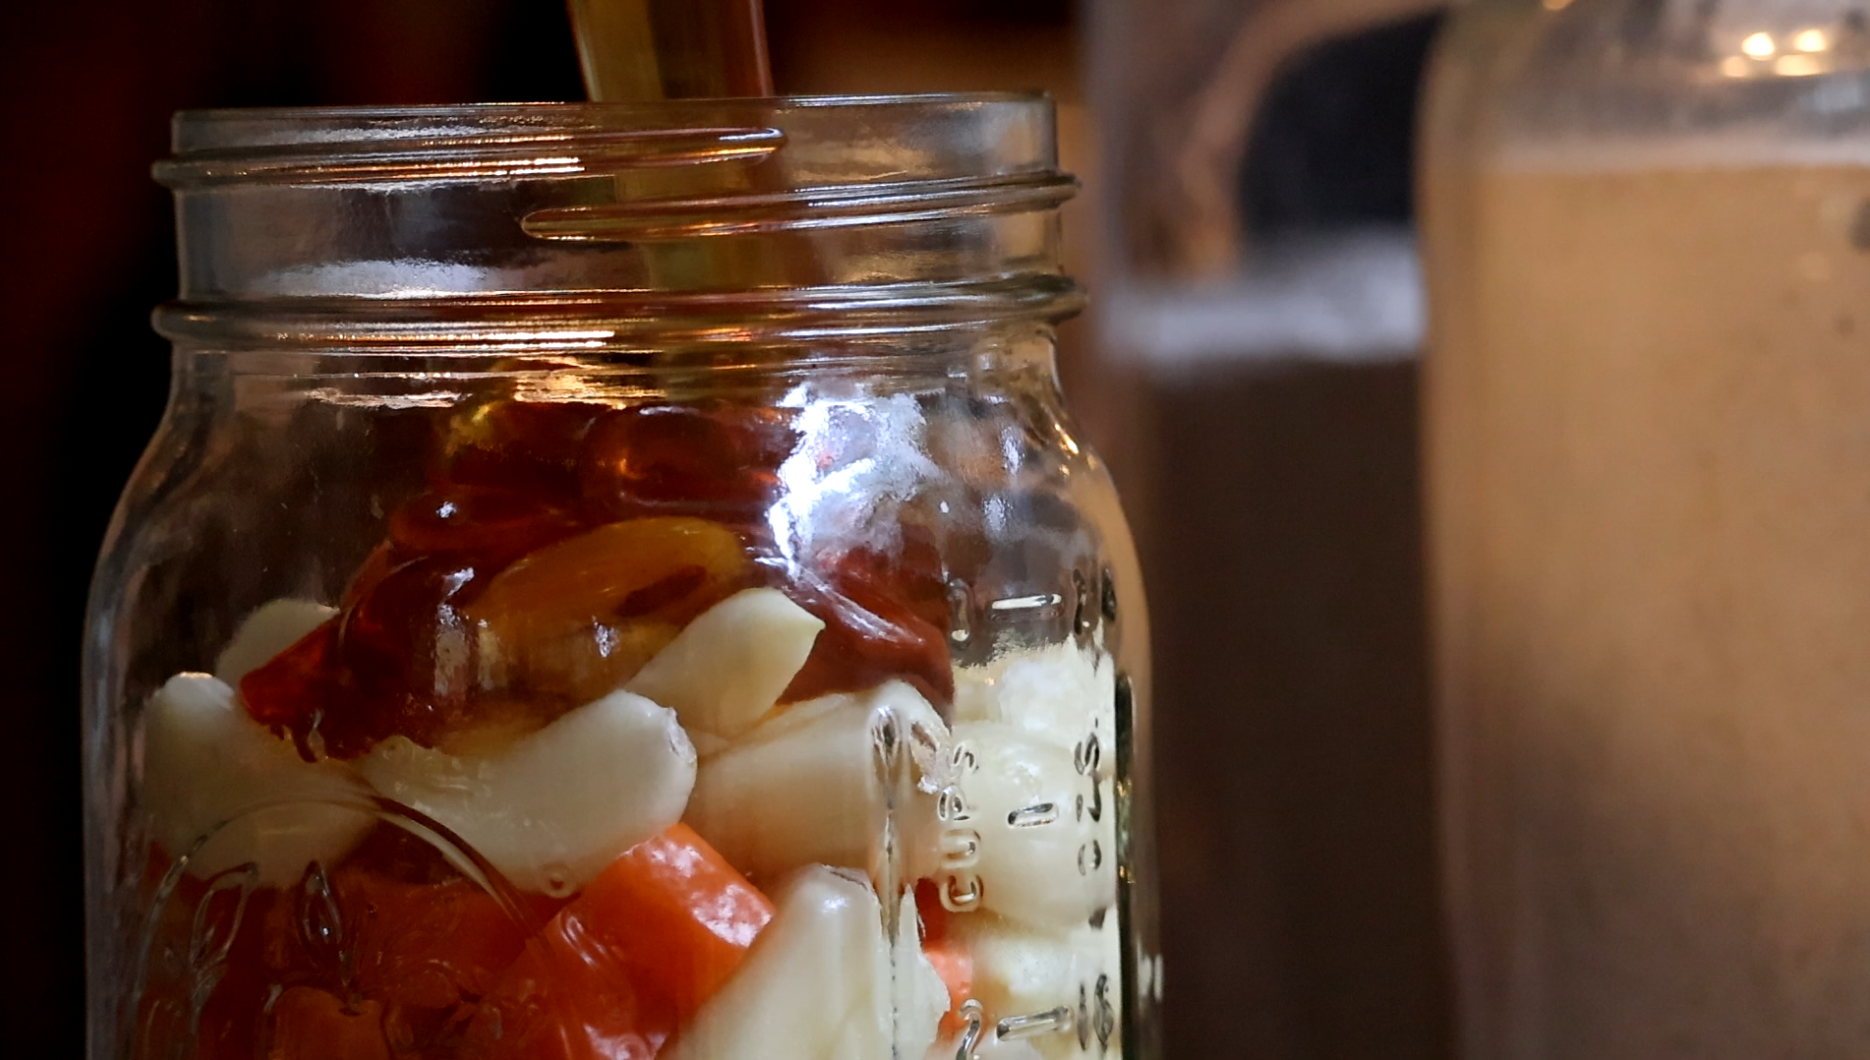
10-Pepper Hot Honey Fermented Garlic
This super-healing concoction is not for the faint of heart! Whether you’re a die-hard “sweat it out” kind of healer, or just a seeker of spicy deliciousness, this recipe is packed full of antibacterial, antimicrobial, and anti-inflammatory properties as well as smoking-hot flavor. You’ll love this hot honey fermented garlic!
-
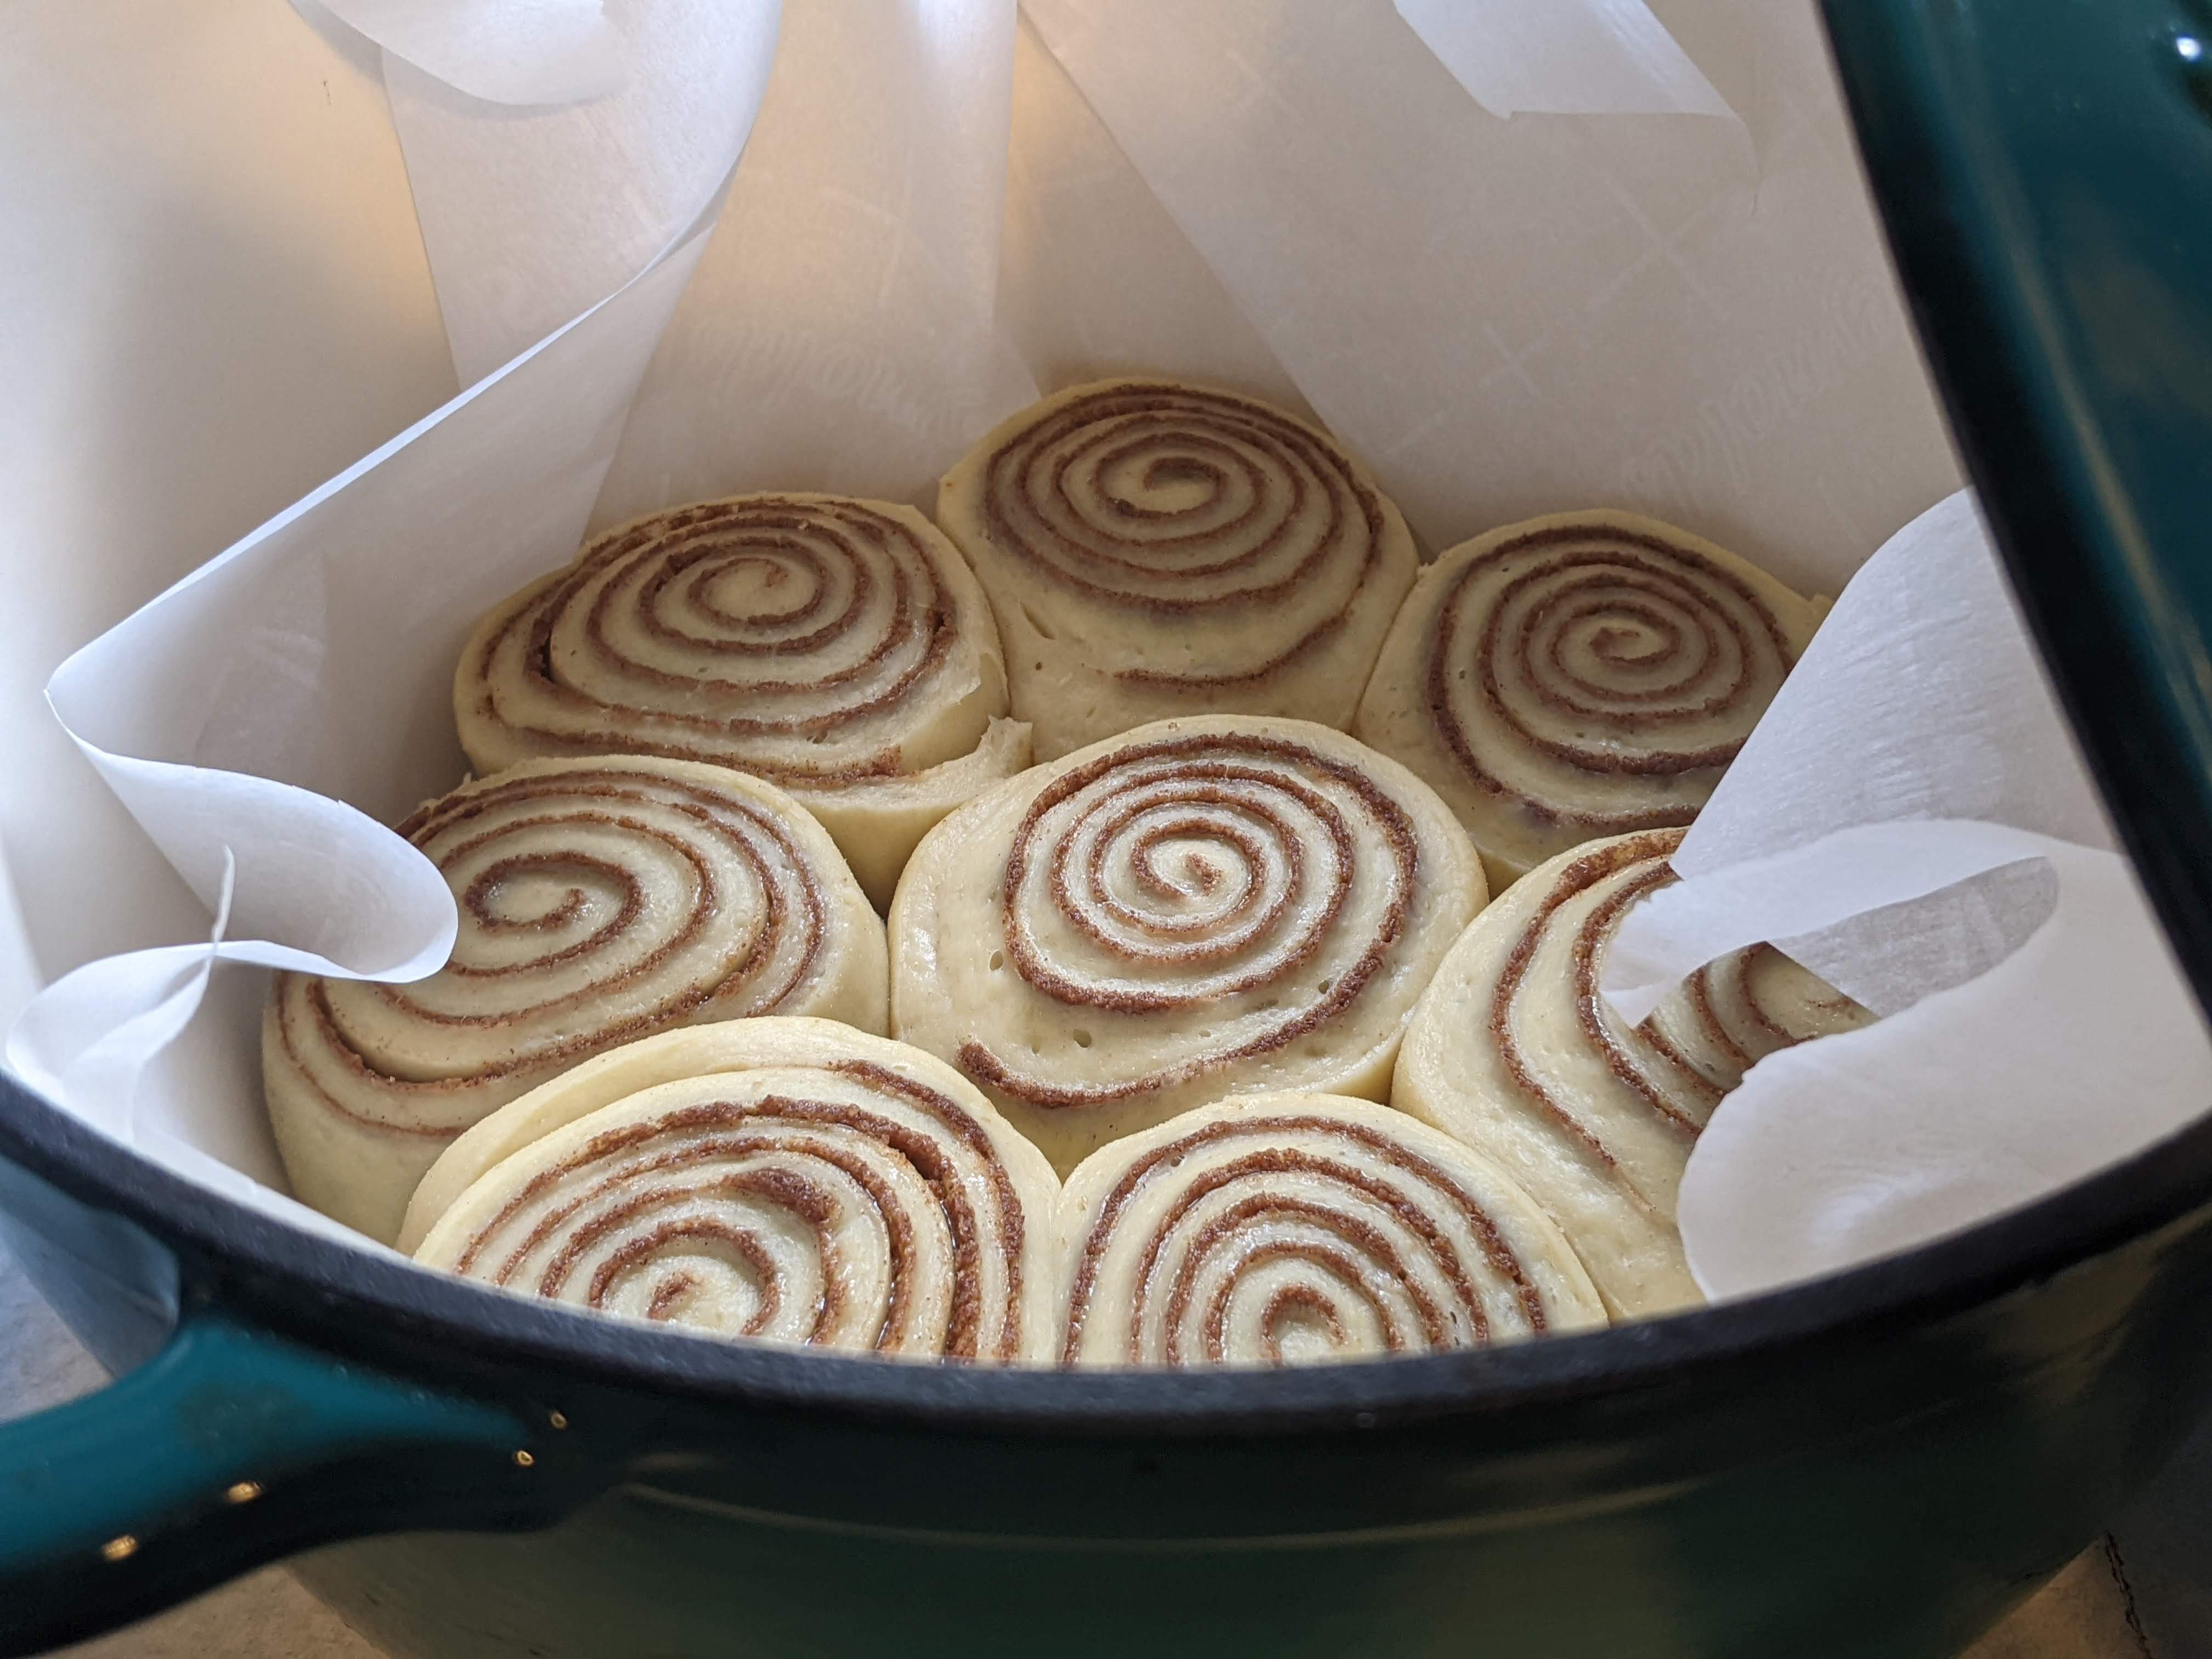
Homestead Diary: Secrets for Cinnamon Roll Success
Despite the easy access we have to commercially produced cinnamon buns there is just something incomparable about homemade sweet rolls. Like any other baked good, scratch-made is always just better. Sometimes you can’t put your finger on exactly why it’s better, but especially in this age of curbside pickup and hot ‘n ready, the taste…
-
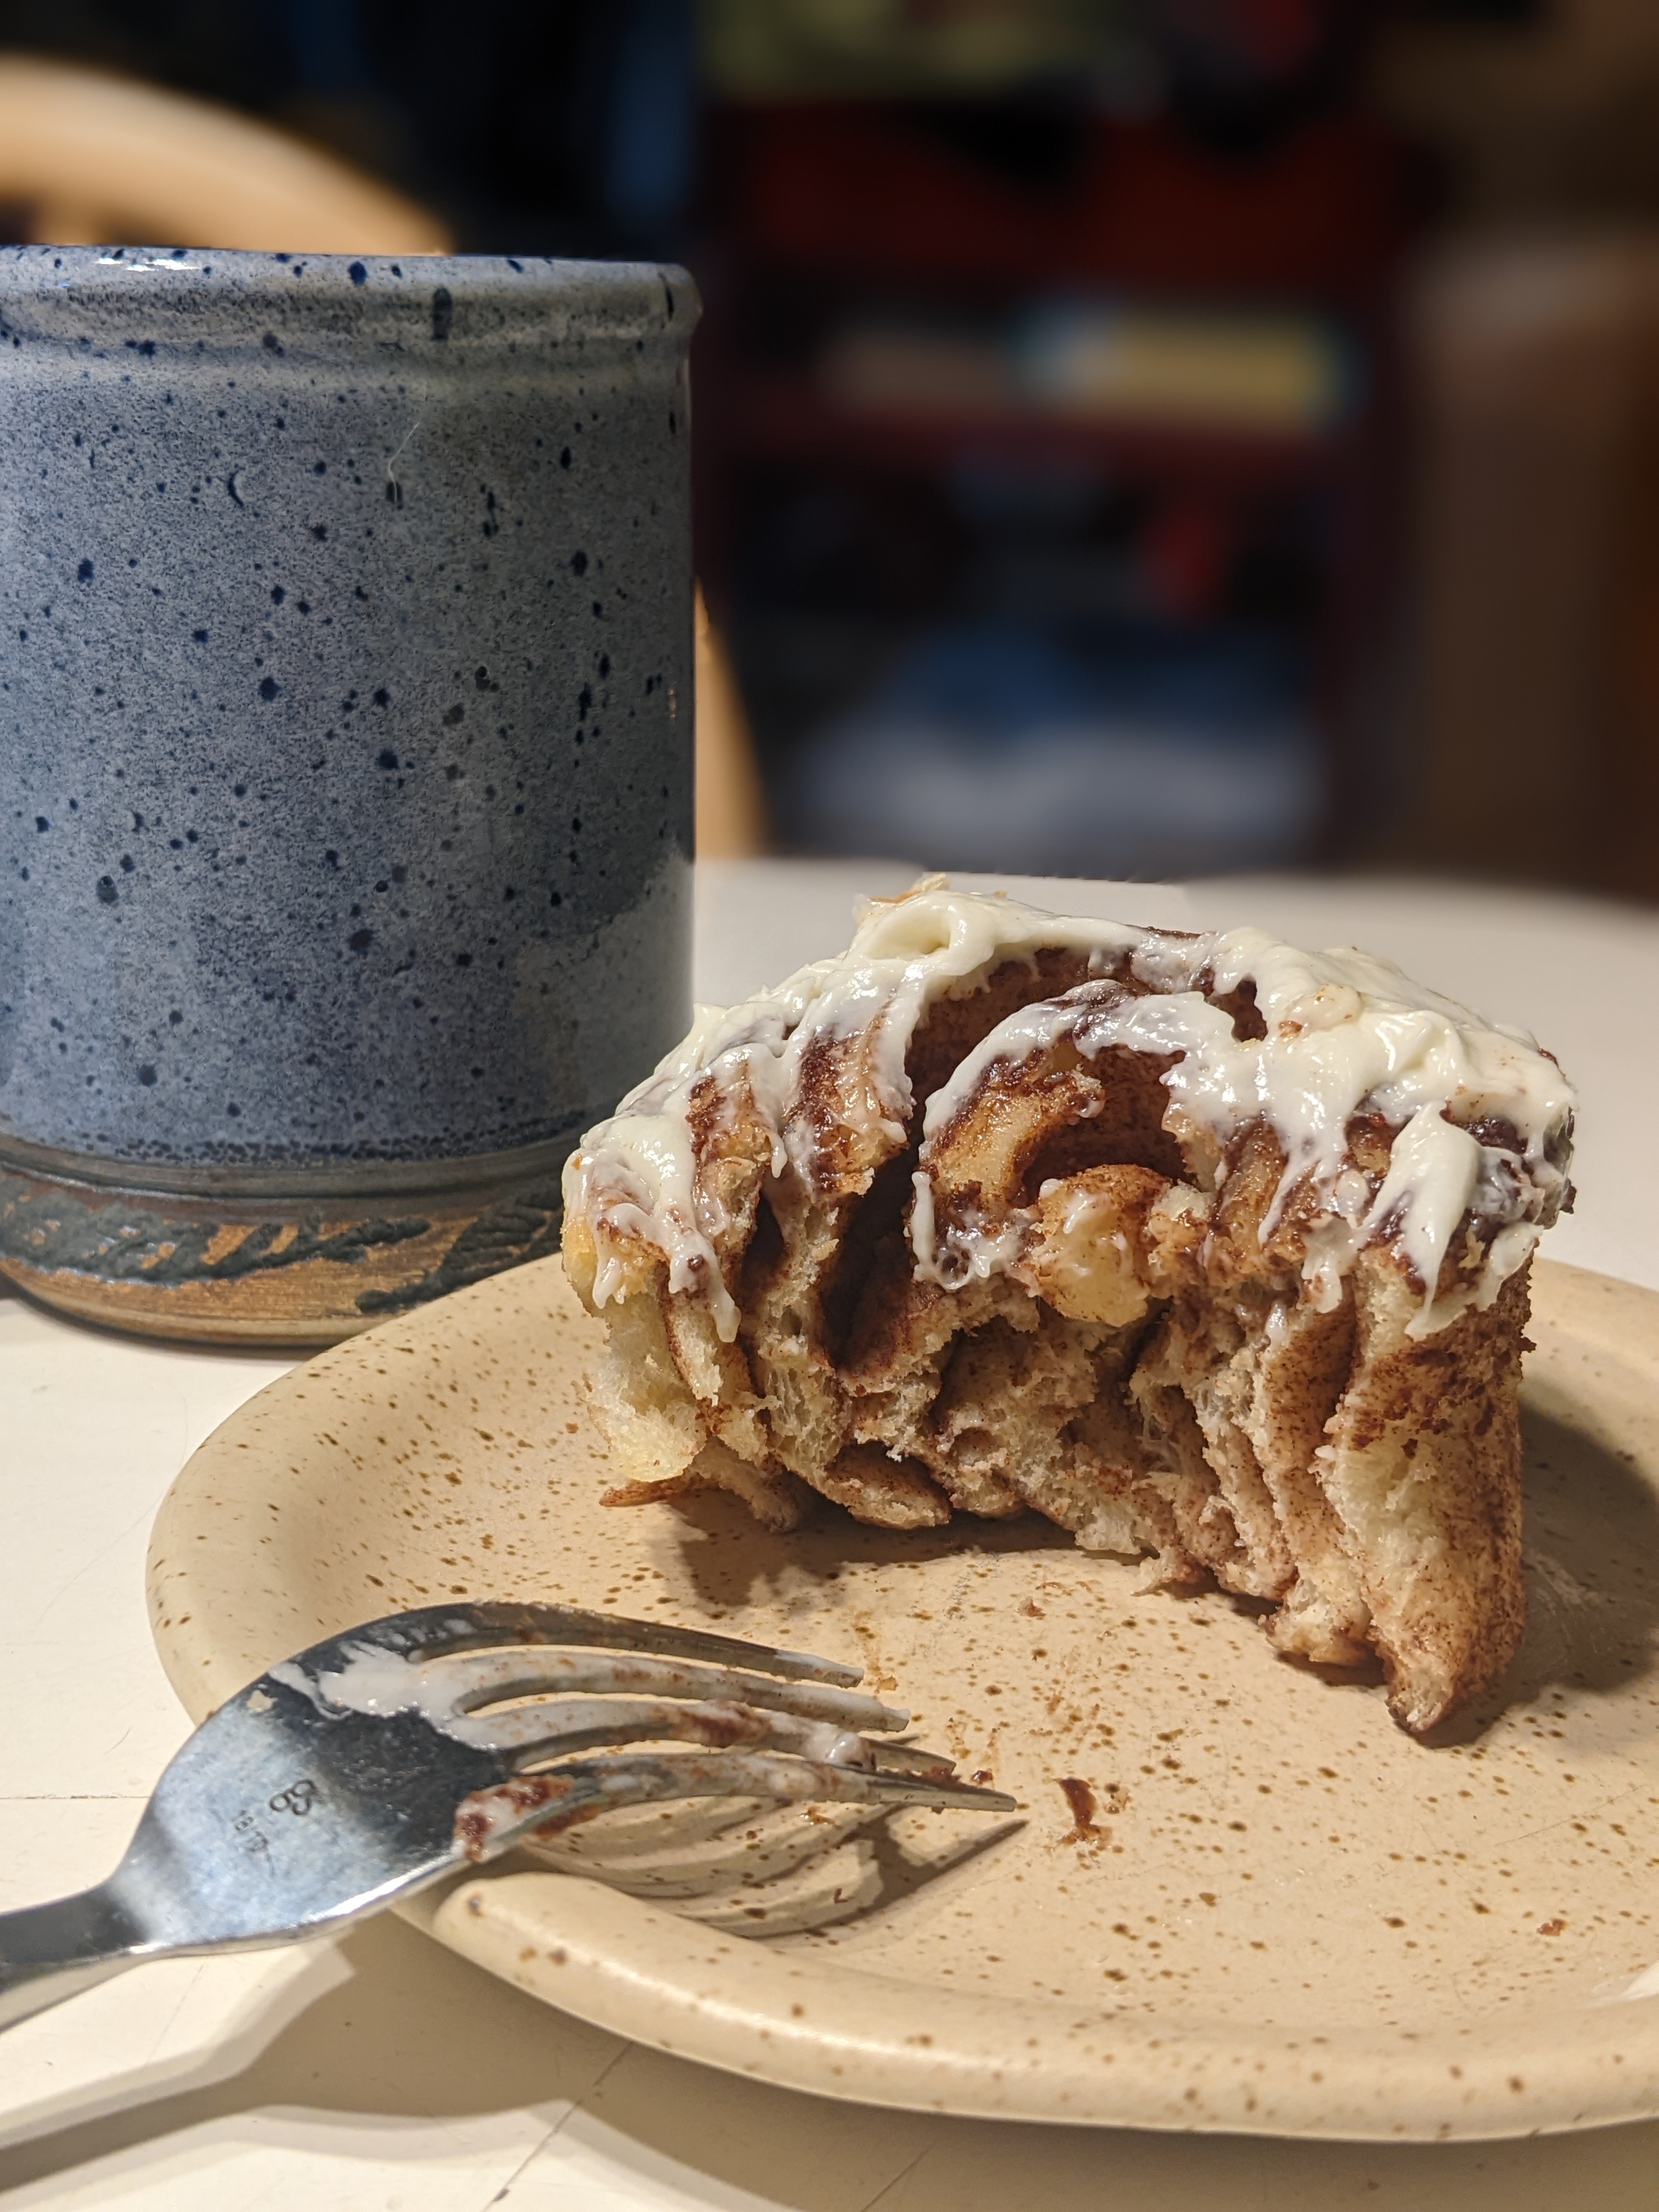
Secrets For The BEST Cinnamon Rolls – Recipes
You can combine any part of this recipe with another for your desired results. For instance, if you have a family recipe you really love but the frosting isn’t quite right, give mine a try! You won’t be disappointed. It’s like Build-A-Bear Workshop, but for pastry. What’s not to like? To read my entire dissertation…
-

Campfire Chili – Recipe
If you’re looking for a recipe to warm your belly and your heart, try simmering a pot of this Campfire Chili over an open fire for a truly unforgettable outdoor experience. While I tend to make this on the mild side it is easily spiced up with a few shots of your favorite hot sauce!
-

Homemade Chai Tea Concentrate
When I found the idea to create a homemade chai tea simply syrup online I was beside myself! We could have delicious, flavorful chai tea concentrate, made with our own ingredients, non-GMO sugars, and other fun flavors and sweeteners ready to go in the fridge anytime? Sign me up! This concentrate can be combined with…
-

Sissy’s Famous Sweet Cream Biscuits – Recipe
These gigantic drop biscuits come together quick and always wow a breakfast crowd! Enjoy with butter and jam or smother in a delicious sausage gravy.
-

Sourdough Belgian Waffles – Recipe
You can use your starter in any stage to make these absolutely scrumptious Belgian-style waffles, since they’re really leavened with baking soda and baking powder as a traditional recipe is. However, sourdough waffles and pancakes are a great way to use up discard if you do have to get rid of some during feeding and…
-

Rice Krispie Treats – Recipe
Who doesn’t love a homemade rice krispie treat? I doubled the classic recipe for a large-batch option, always a necessity in our home, and a fun sprinkle assortment pressed into the top makes for a festive touch. They come together in a flash for delicious weeknight treat or a last-minute party favor!
-

Spiced Christmas Jam – Recipe
I really wanted to up my game this year with homemade Christmas gifts. I love to make candy, put together bread mixes, or crochet cute little presents for my friends and family each year. I was reading a vintage cookbook and found an astonishingly simple yet delicious-sounding recipe for Christmas Jam, a festive fruit preserve…
-

New York-Style Turtle Cheesecake – Recipe
It has been a few years since I made a cheesecake so I decided for this Thanksgiving I would whip up the classic dessert for our family dinner in Oregon. I’ve made many a cheesecake in my day and I was really looking forward to creating the perfect, creamy concoction for the dessert table. I…
-

Grandma Jill’s Favorite Fudge
Before we moved to the homestead we made the trip to Oregon each year for every major holiday. Christmas is absolutely my favorite holiday and it’s always a tradition for me to make candy, jam and other various baked goods. Fudge being a personal and family favorite I started making it for our celebrations in…
-

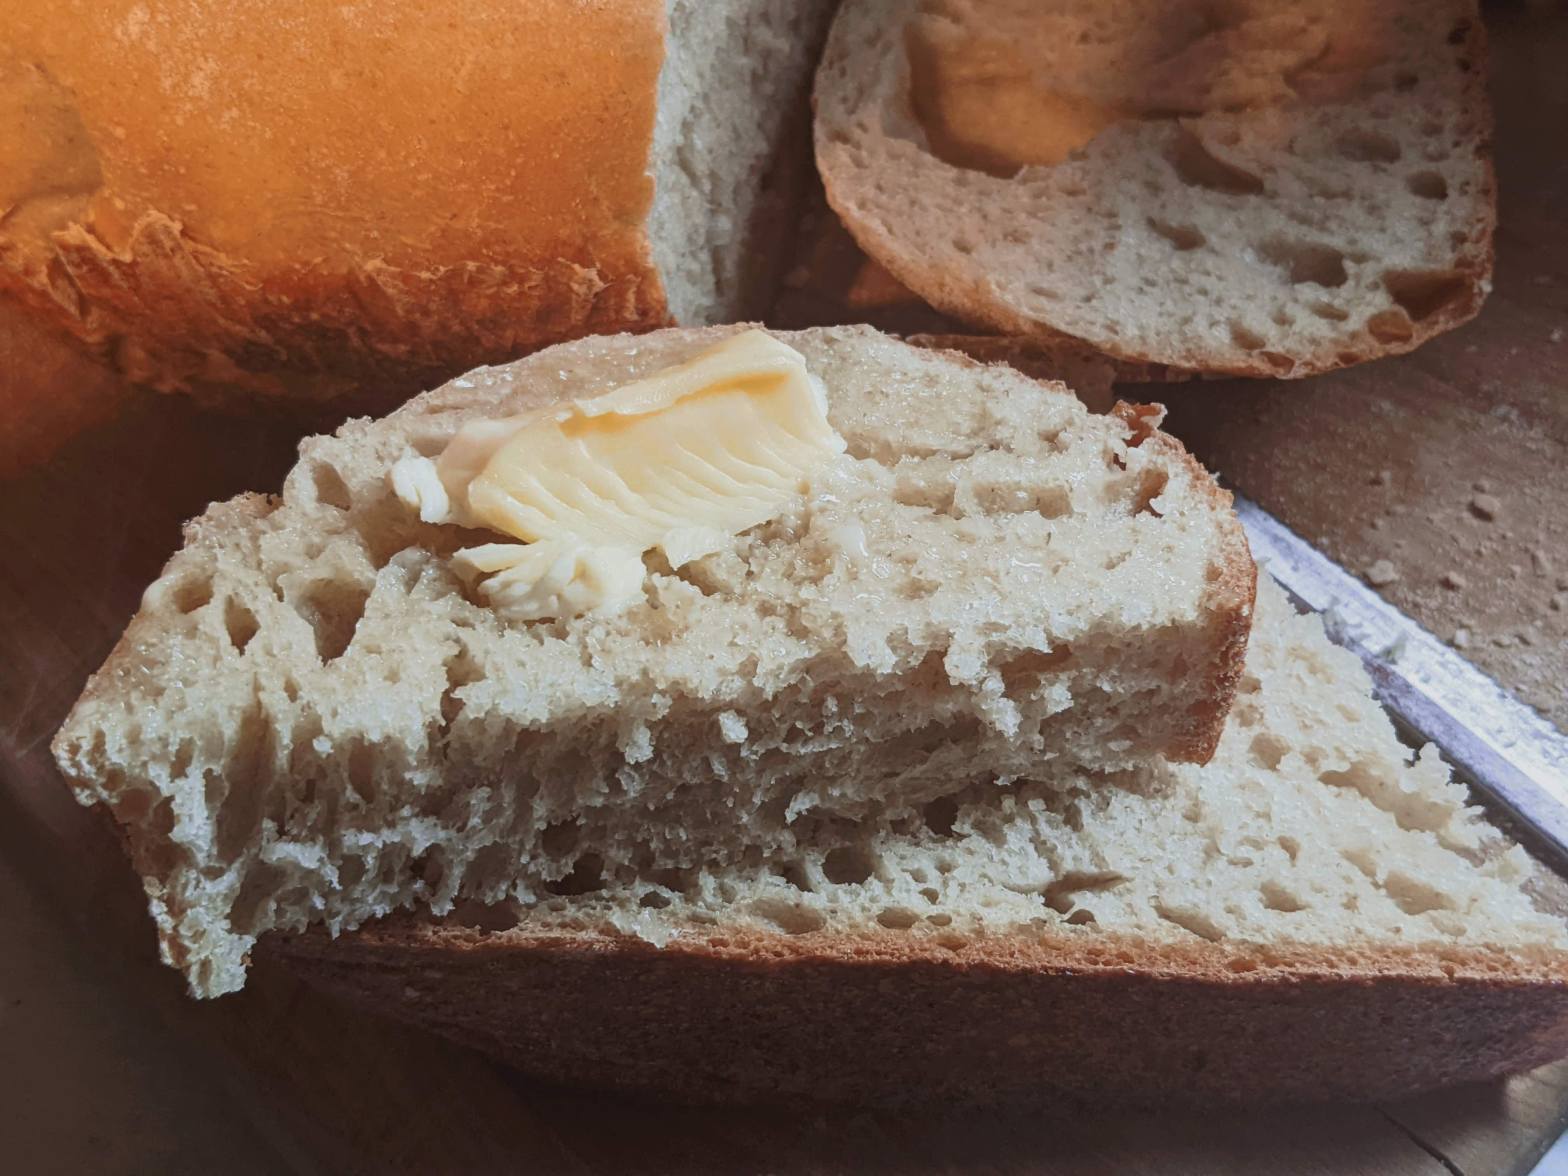
Hearty Sourdough Multigrain Bread – Recipe
Do you love the sweet and nutty chewiness of a whole wheat loaf of bread, but want to leaven it with sourdough? Look no further. While I use a homemade seed mix, Bob’s Red Mill makes a nut & seed mix that can be added to any bread recipe for a hearty dose of heart-healthy…
-
The Lazy Girl’s Guide to Sourdough
This is a perfect way to maintain your sourdough starter without it taking over your life! It spends most of the time in the fridge in a small jar, but it always available if you need it. When baking with it always remember to reserve at least 50 grams of starter to keep it going.
-

Garden Minestrone – Recipe
I can say without an ounce of trepidation that this batch of minestrone soup is the BEST we have ever tasted! I have made gallons of it, and the pot is always scraped clean by the night’s end. It comes together quickly and easily, and pairs amazingly with a side salad or even just some…
-

Homestead Diary: Making Yogurt At Home in The InstantPot
But now that I’ve started making my own yogurt at home I have cut our overall dairy cost by over half, even though I’m paying twice as much for milk – and in my mind that’s an investment worth making. A two week supply of yogurt now costs us $7 instead of $50 and it…
-

Rosemary Olive Oil Sourdough – Recipe
In my quest to find a traditional sourdough recipe for this type of bread, I found two things to be true: it is typically made with olive oil, something that I’m not as experienced with in sourdough; and the rosemary is either added to the olive oil to impart flavor, or the dried herb is…
-

Sourdough English Muffins – Recipe
Over the past year that I’ve spent honing my home baking I’ve come to one important conclusion: Bread is not as complicated as it’s made out to be. This is especially true when it comes to sourdough! I don’t feed my starter on a regular schedule, rather by what its reaction is to feeding; I…
-

The Best Homemade Bouillon – Recipe
While it’s more of a guide than a recipe I’ve written up my garden bouillon process below. I highly recommend experimenting with the meats and veggies you add to the stock pot for an interesting flavor combination!
-

Whole Chicken Soup Stock – Recipe
Making your own chicken stock (or any kind of broth, really) is amazingly effortless, especially if you own a pressure cooker! I threw this recipe together after butchering a naughty hen from our egg layers – you can see more about that experience in my Homestead Kitchen Diary – but you can use any whole,…
-

Homestead Diary: My First Butchering Experience
I finally got the courage to cull my first hen after we adopted a few rescue chickens from a backyard chicken owner. They had been kept indoors pretty much all their lives and came to us with a number of problems, one of which being the dreaded egg-eating. This counterproductive problem got worse and worse…

