-

A Rainbow of Gardens: Orange
My son’s favorite color is orange and he chose to plant only orange cultivars of each item in his garden bed for the 2024 season. This was a fun and easy homeschool project for us but it gave me the idea to share a resource of garden plants that fit within a specific color scheme!…
-
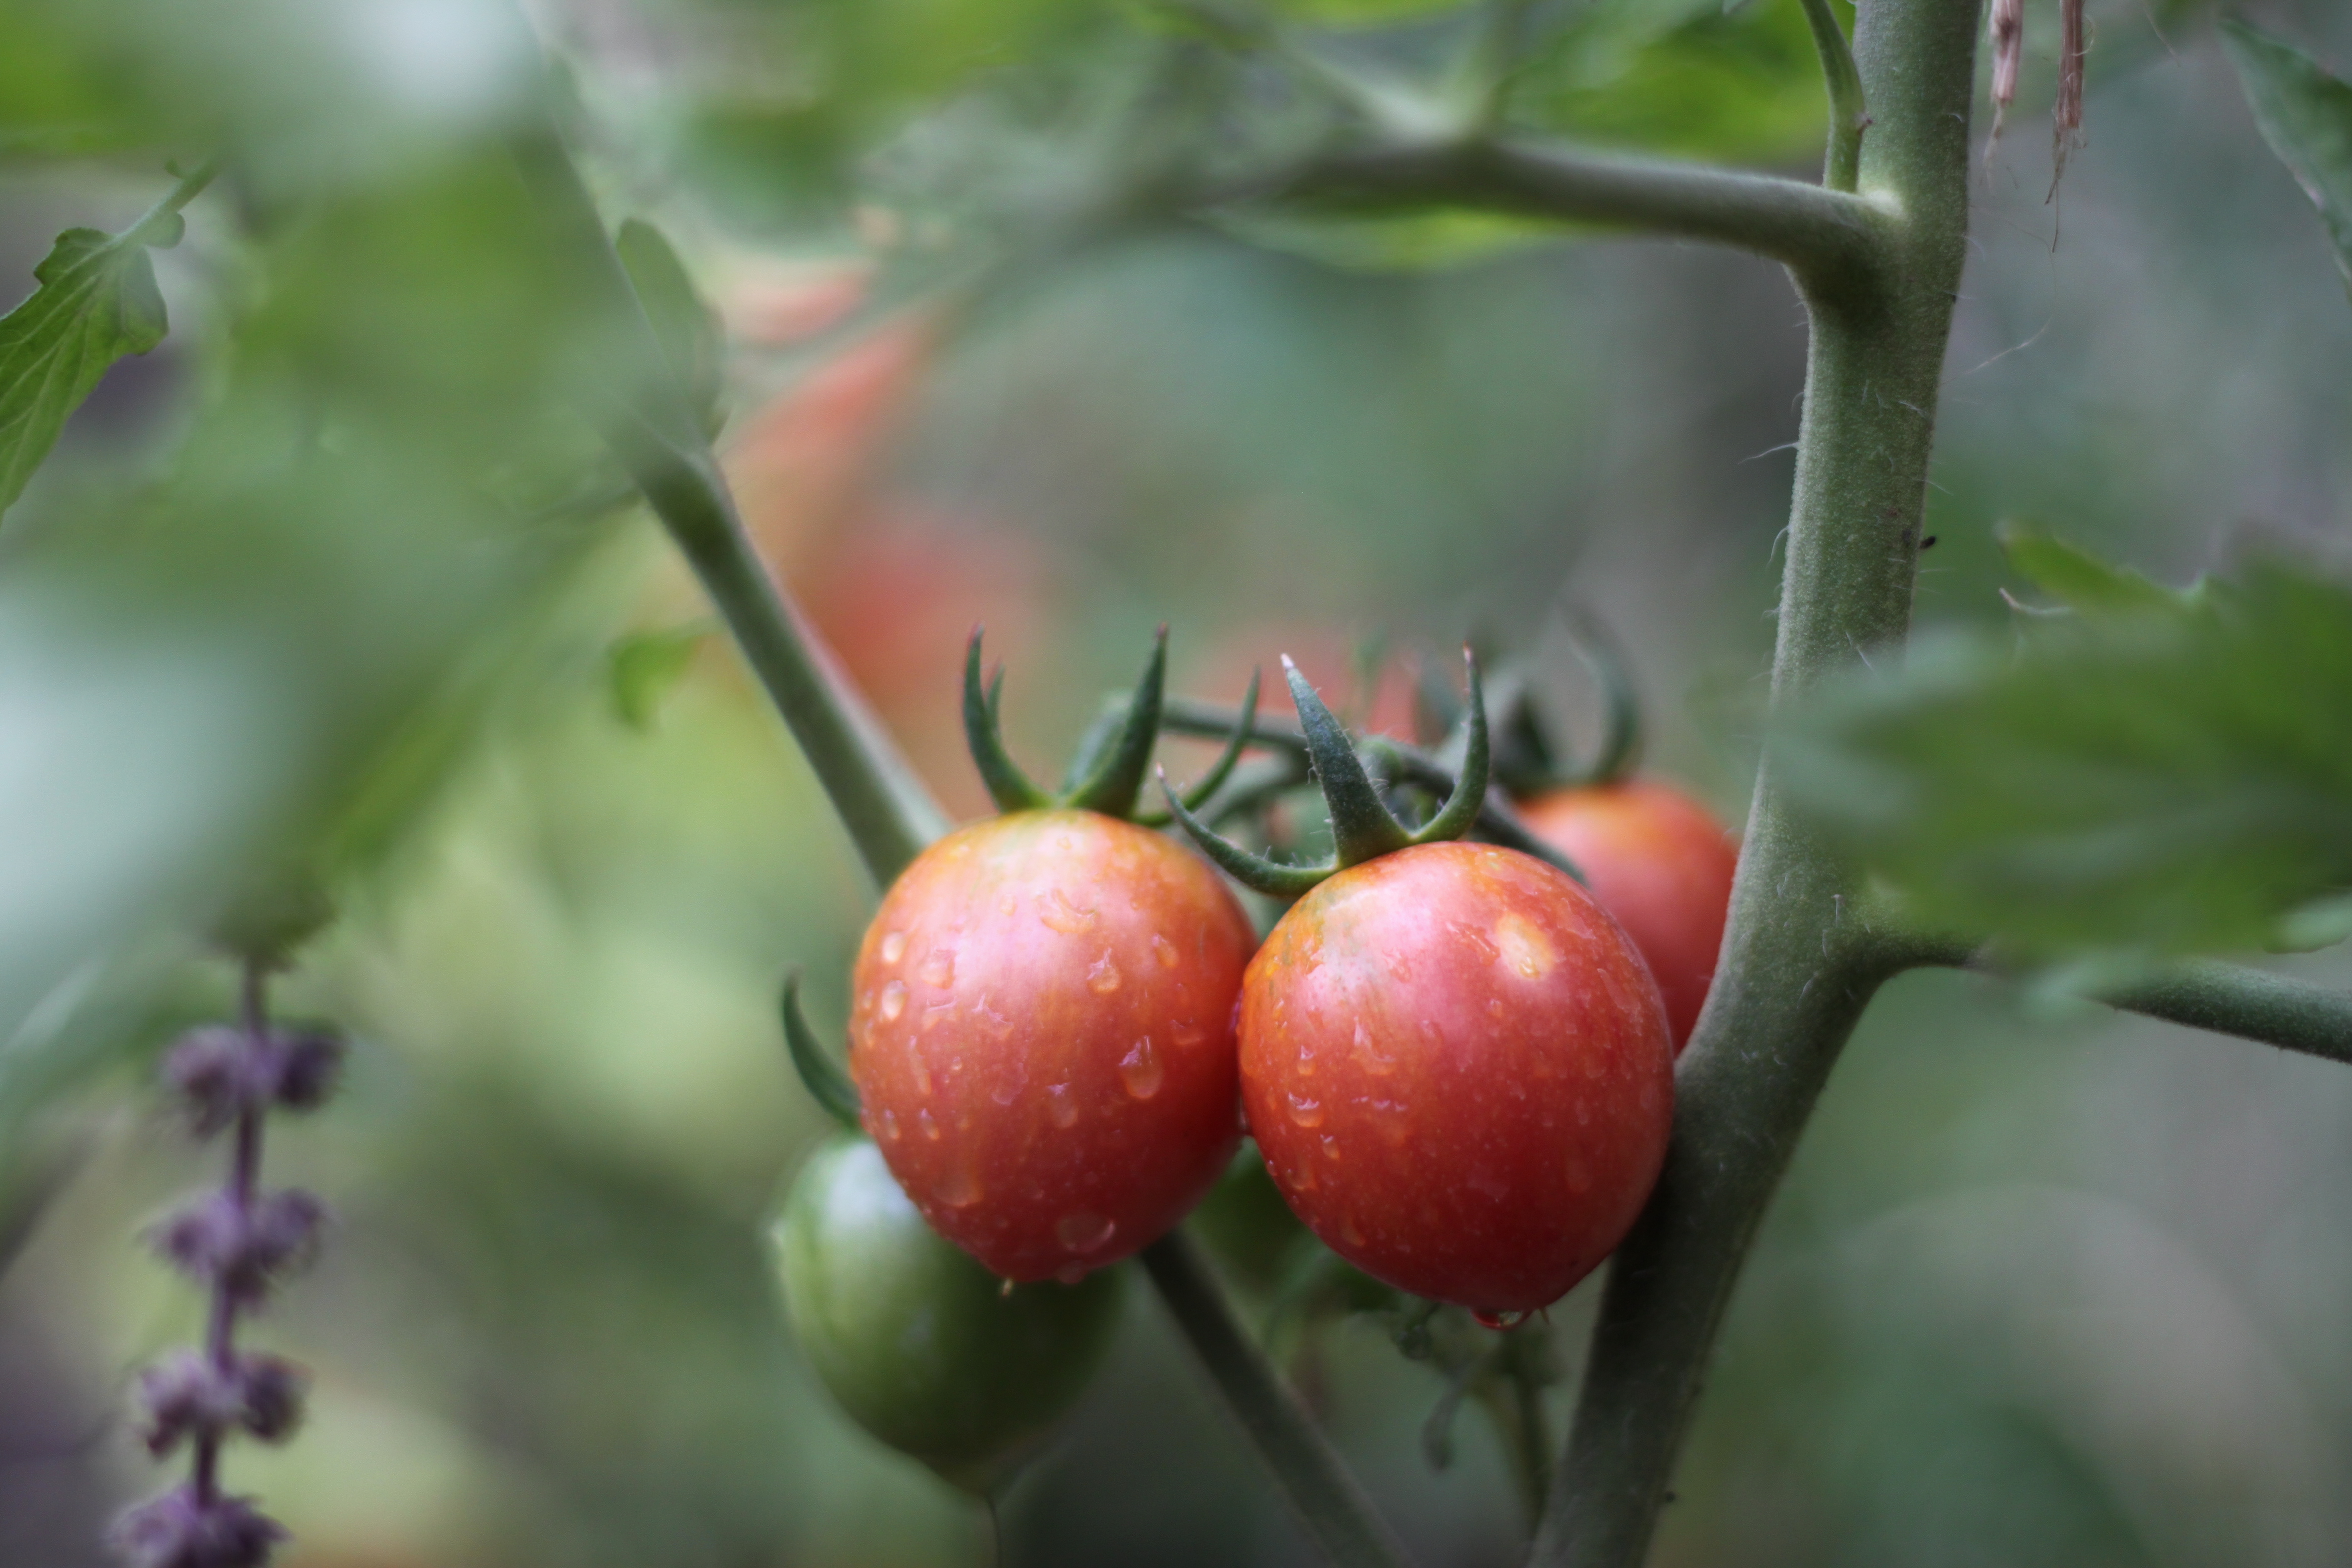
Tomatoes: The Complete Gardening Guide
Tomatoes are quite arguably the most popular garden-variety vegetable of all time. They are the quintessential home garden fruit and are quite often the “gateway” plant into growing vegetables not just because they’re relatively easy to grow, but because the quality and flavor of home-grown tomatoes is so superior to supermarket standards you’re likely to…
-

The Importance of Day Length When Selecting Onions
Day length is the term for different durations of photoperiod response for daylight-sensitive plants. That sounds really scary and complicated but the point is this: an onion, in particular, will wait until the hours of sunlight in a day have reached a certain point before it starts to form a big, delicious bulb like we…
-

Soil Blocking: Everything You Need to Know About Plastic-Free Seed Starting
While it’s gaining relative momentum in the online community, soil blocking is still mysterious and even misunderstood by the average home gardener. I discovered it while scrolling through Instagram and when I saw the tidy little squares with their beautifully formed seedlings, my mouth dropped open. What is this sorcery and how do I master…
-

All About Seed Starting Mix + Recipes
While you can easily buy prepackaged seed starting mix anywhere that gardening supplies are sold it can be very beneficial (and cost-effective) to make your own seed starting medium. There are dozens of recipes to be found online, but I’ve narrowed them down in this post as well as providing an in-depth explanation of each…
-

Homestead Diary: The Heritage Apple Project
Over the last few years I have been building a generous collection of foraged apple seeds. I have a tradition of sprouting these seeds as early as New Year’s as a totally gratuitous mid-winter gardening activity. The first couple of years I only collected a handful of varieties, but over this last summer my little…
-

Where to Get My Favorite Free Seed Catalogs
In the colder months when the wind blows snow flurries over our lifeless garden and the fire burns cozy in the living room, one of the most anticipated events in my house is the mid-winter arrival of the annual seed catalogs. There are few things more comforting than relaxing on the couch with a colorful…
-

How I Organize my Garden Seeds
Welcome (or welcome back) to the cabin! I’m sitting down with a cup of tea and my seed purchases for the 2023 season to chat with you about what I’m most excited to grow this year as well as how I organize my seed stash.
-

Lavender: The Complete Growing Guide
Lavender is a hardy perennial herb renowned for its aromatic blooms and soothing medicinal qualities. Popular with pollinators and astoundingly deer-proof, this classical, compact shrub is a fabulous choice for low-maintenance landscaping or beautifying a kitchen garden. Dating back to the Old World and being native to the Mediterranean, lavender is drought-tolerant, easy to grow…
-

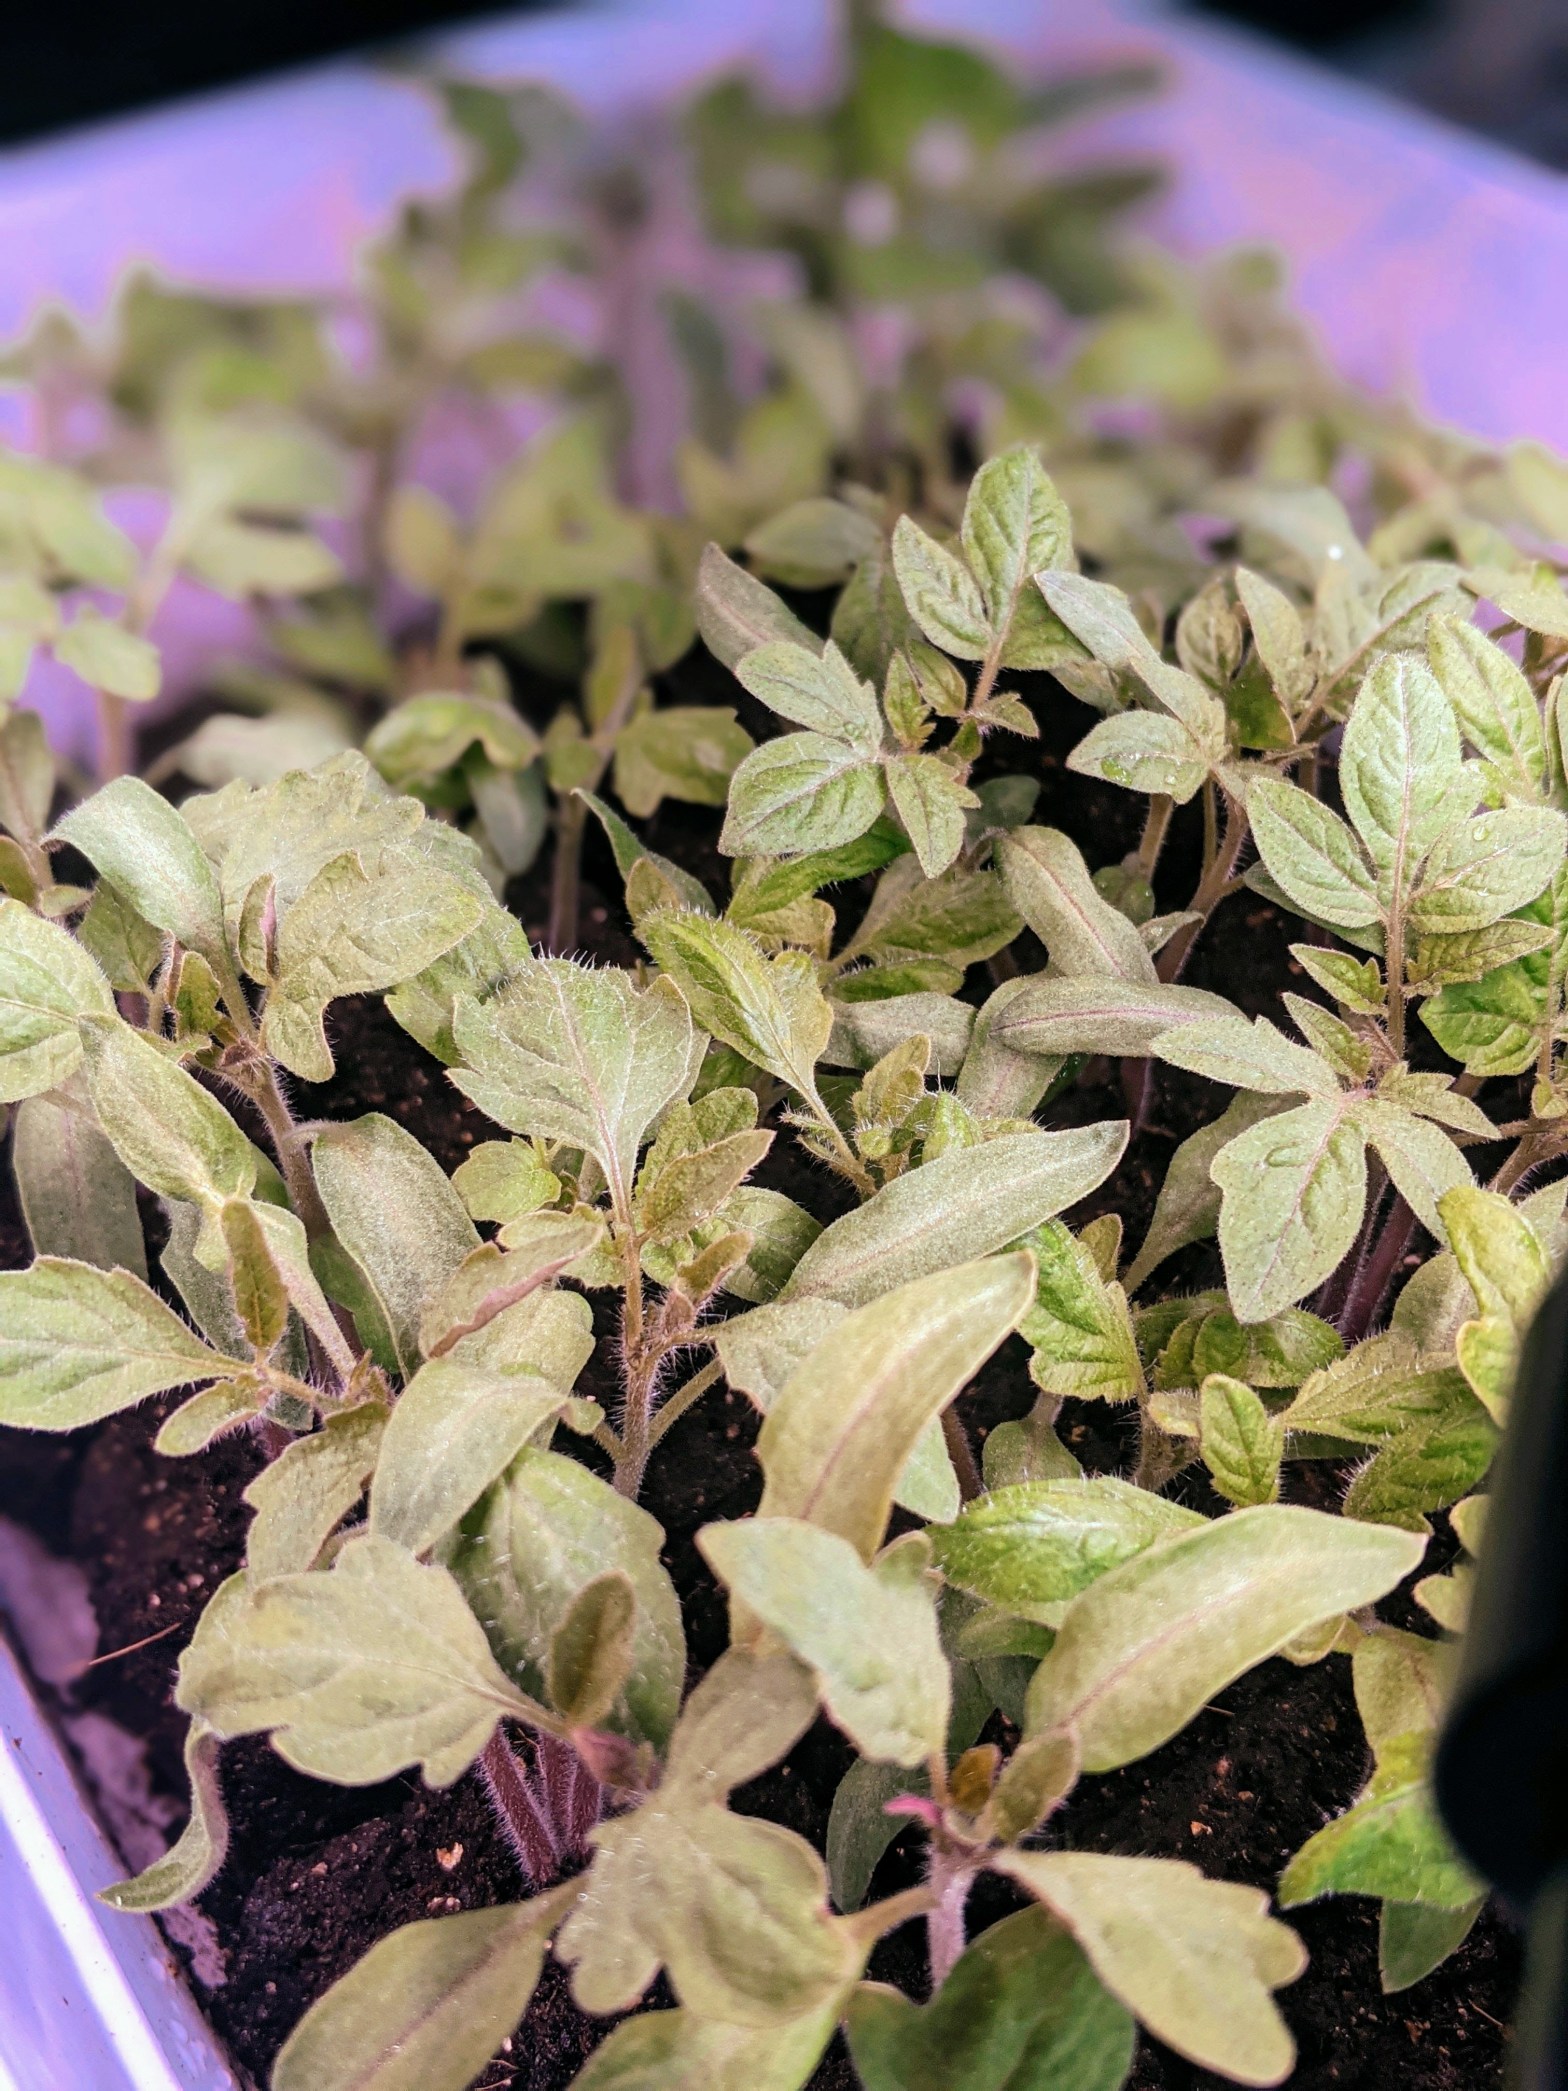
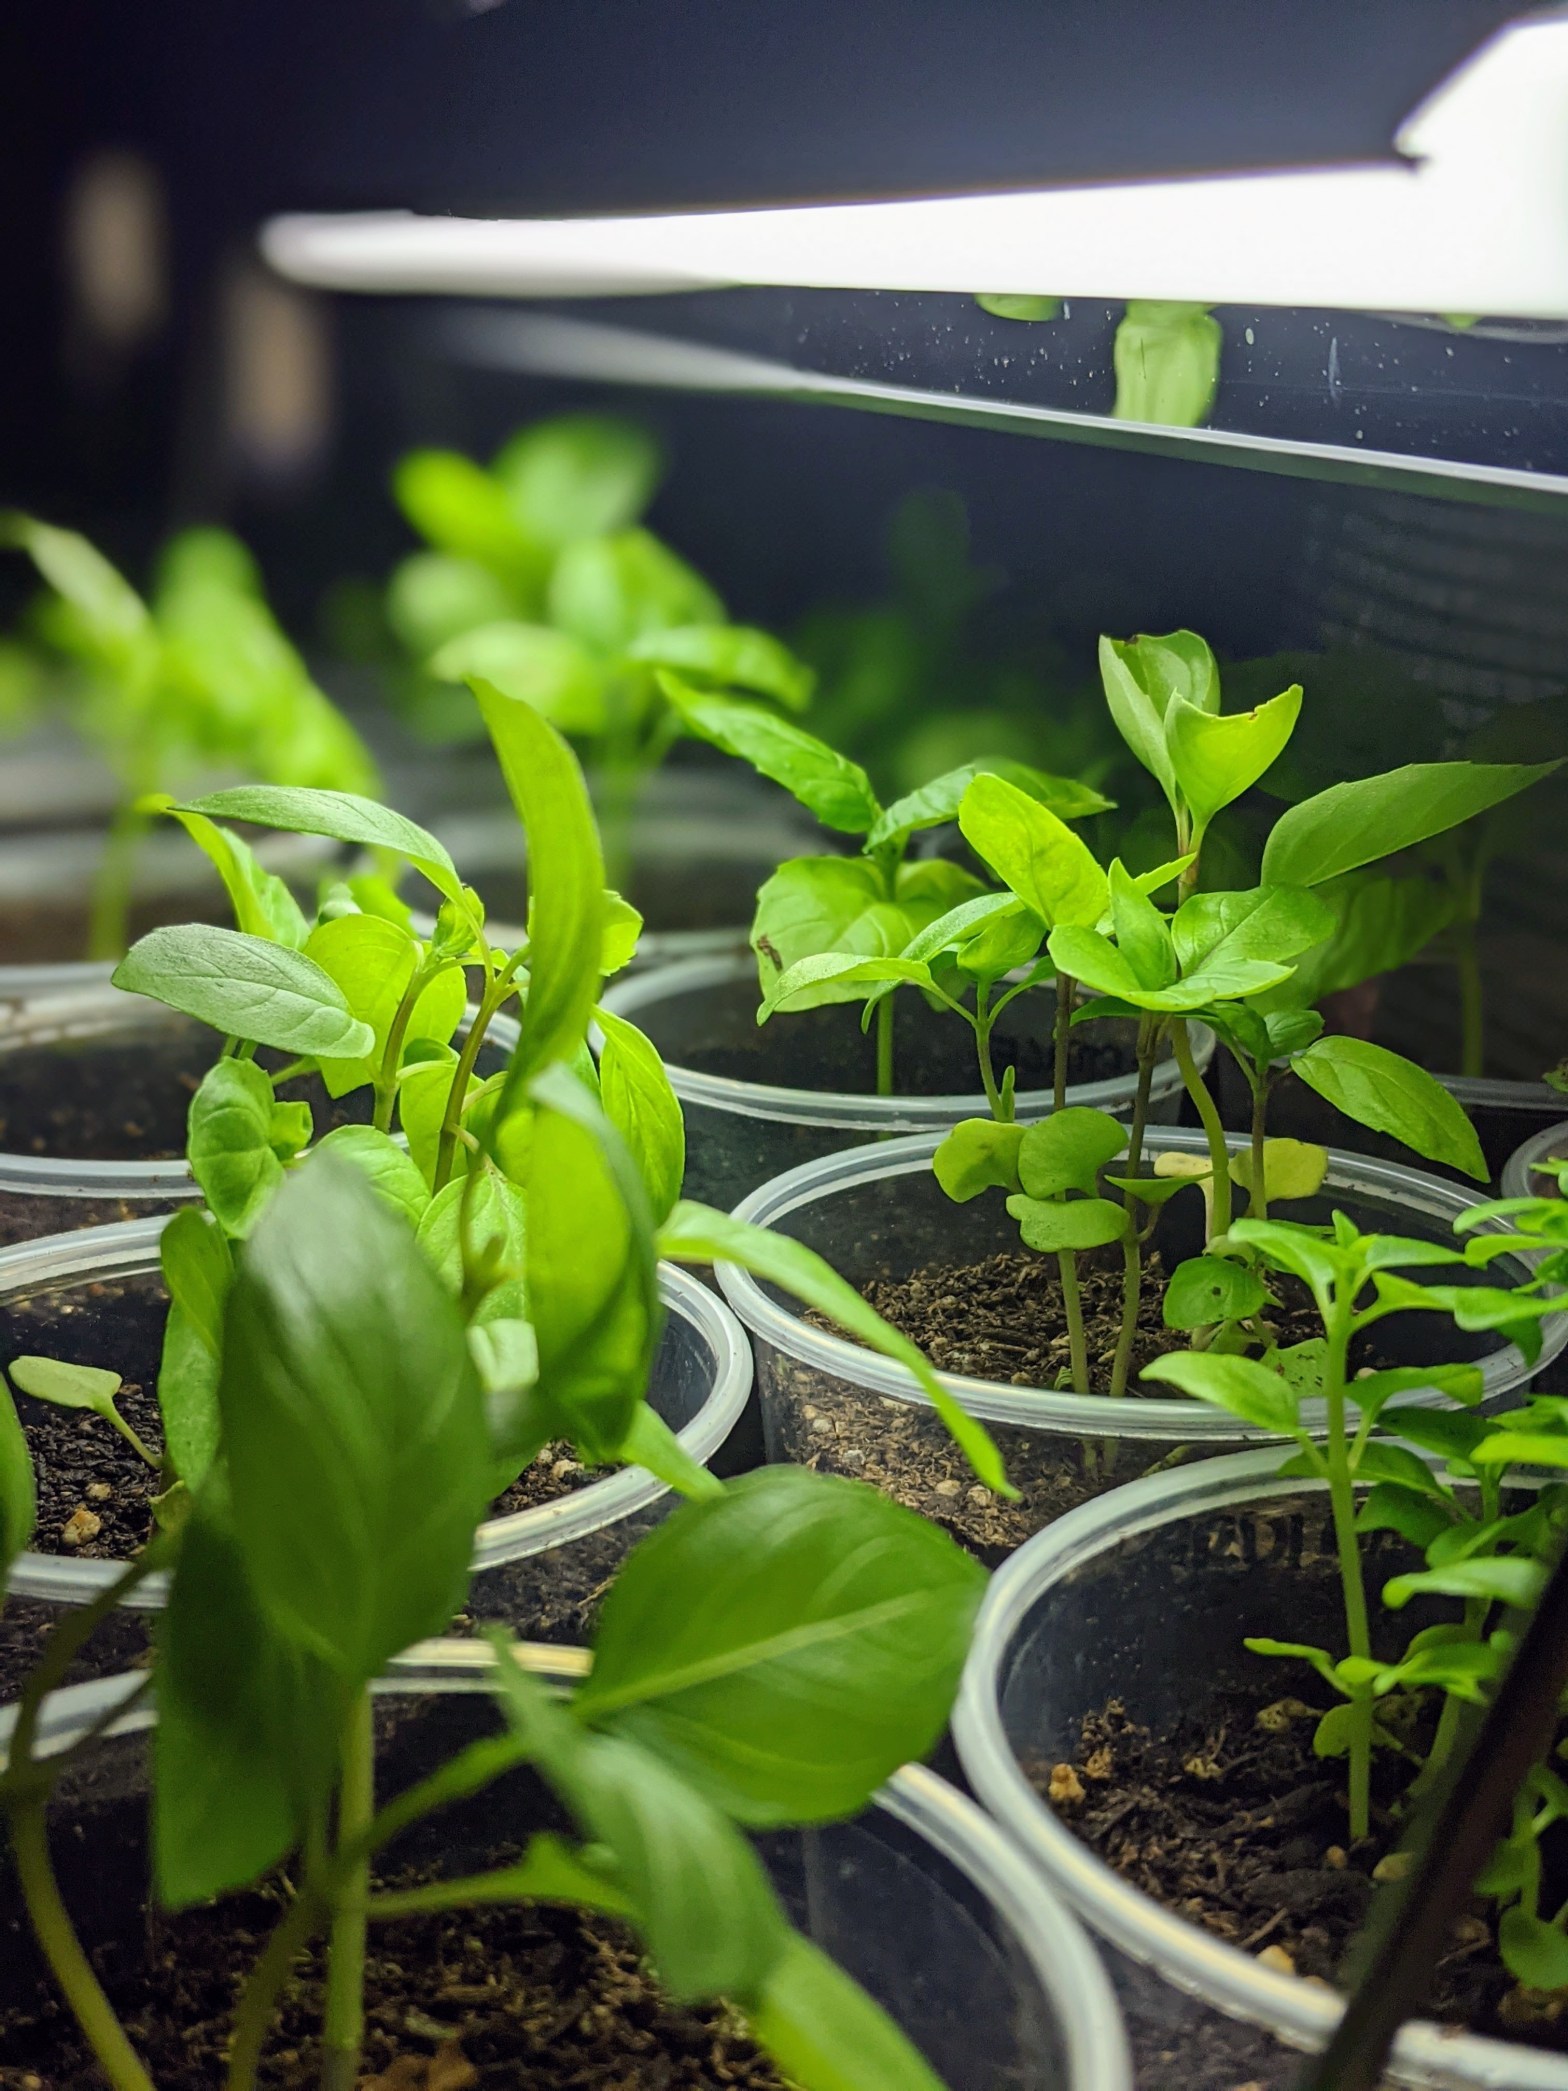
Four Different Seed Starting Methods
If you’ve found me via the rabbit hole of seed starting, welcome! A cursory internet search will turn up an overwhelming amount of advice, and I’m glad you’re here to check out mine. Through all my research and personal experience I’ve come up with the four most popular methods of seed starting and I want…
-

10 Things I Wish I Had Known When I Began Seed Starting
Let me preface this post by stating that I am in no way an expert gardener. It takes many years of research and experience to gain such an illustrious title, and although this will be my fourth year gardening at the homestead I still have so much to discover. Nonetheless I have learned enough in…
-

What to Grow in an Heirloom Children’s Garden
During the 2021 season I was able to grow a few veggies in my son’s play yard that he enjoyed immensely. Can you say instant snack? This year I’m enlarging his garden area and I’m even installing a few small raised beds for us to play in now that he is a little older. These…
-
How Many Plants For Your Family? Vegetable Planting Chart
feed your family through the summer? What about for your home canning needs? Depending on what type of fruit and veg your loved ones eat the most, it can be more than you think. I’ve compiled this handy chart to help you plan your seed starting or plant shopping, and below you’ll find tips on…
-

How To Shop For Nursery Seedlings
veggie starts may look herculean compared to humble home-grown seedlings, looks can be absolutely deceiving. Read on for my best tips on how to shop for nursery-grown plant starts.
-

3 Reasons Why You Should Be Saving Your Own Garden Seeds
Did you know that with proper selection and care you can grow your own seed stock right in your home garden? Planting heirloom fruits, vegetables, and herbs can provide you with an unlimited supply of garden seeds for generations to come. Read on for my top reasons why you should start saving seeds this season.
-

How to Shop for Garden Seeds Like a Pro
Hybrid, heirloom, non-GMO? Oh my! What do all these things mean for a gardener when shopping for seeds? I’ll tell all in this lengthy post and I’ll also share some of my favorite vendors (and coupon codes!) with y’all. If you’re ready to dive into my best practices for seed shopping, grab a hot drink…
-
The Top 5 Reasons to Start Your Garden From Seed This Year
Whether you’re growing herbs, vegetables or flowers, the benefits of starting plants from seed are many! It may seem like a daunting task especially for beginner gardeners who haven’t grown into their green thumb yet. What you probably haven’t considered is that growing from seed can be easier than buying department store plants! Read on…

